
Arduino IoT Cloud Lesson 1: Light
This is the first lesson of the Arduino IoT Cloud handleiding . In this first lesson you will learn how to configure your new Arduino Nano 33 IoT in Arduino Create. We will explain the basic concepts in the IoT cloud and show you how to control a light via the internet.
What is Arduino Create?
With Arduino Create you can write code, access content, configure boards and share projects. The Arduino Create is an always up-to-date and online version of the Arduino IDE . It offers the possibility to share builds and receive feedback. This ensures that you can work efficiently and effectively from home. If you don't want to start a project from scratch, there is always the possibility to use the power of the community. This can be done on the Arduino Project Hub by browsing through projects and making them your own.
Setup Arduino Create
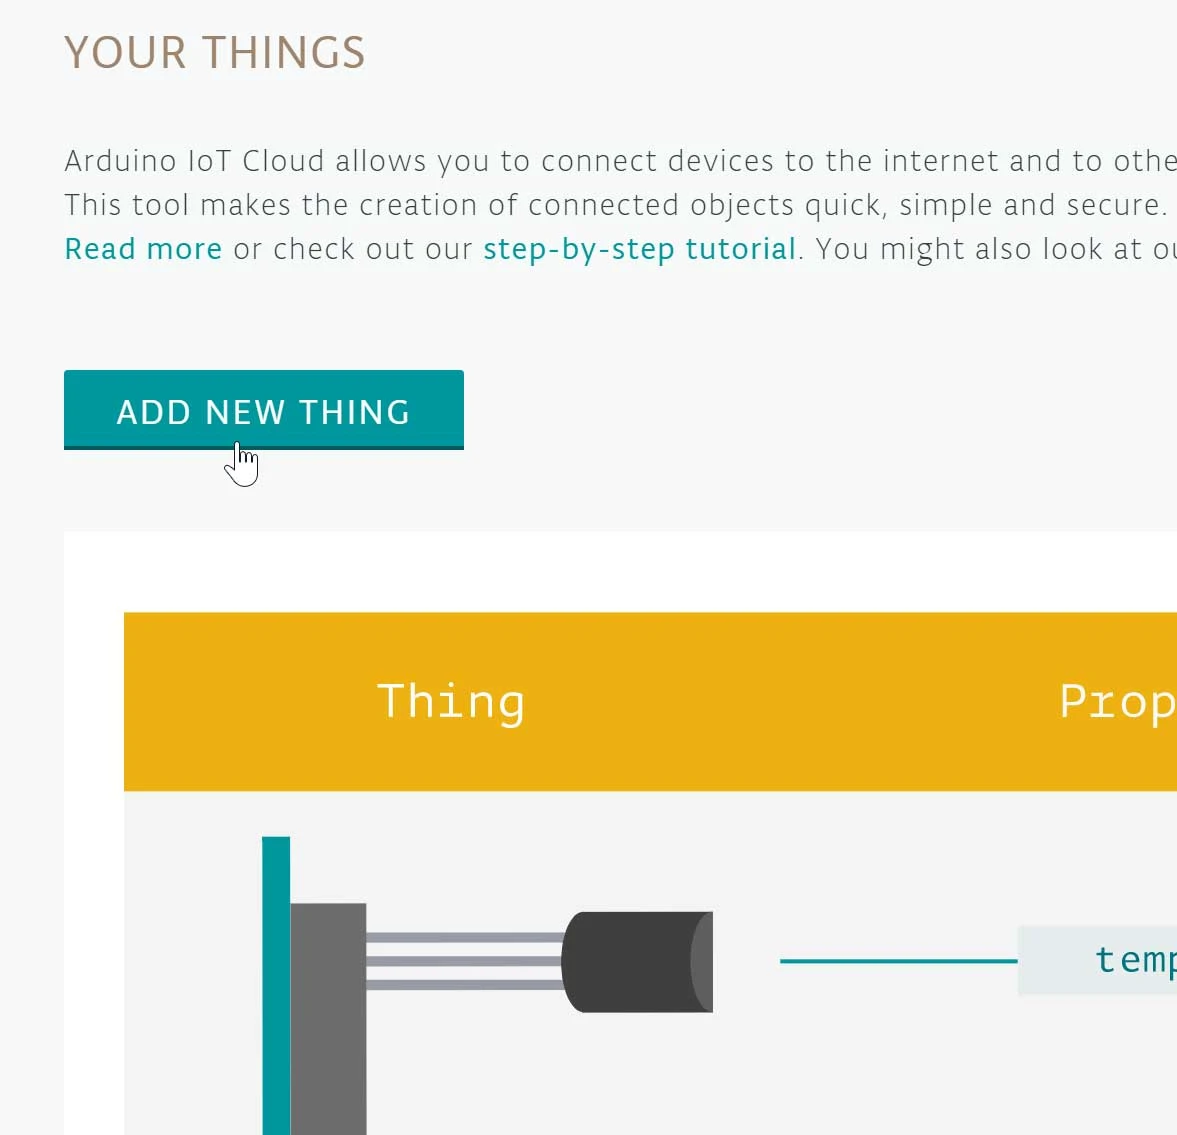
First we are going to configure the board in Arduino Create. Go to: https://create.arduino.cc/ . You will then see the main menu. Select IoT Cloud here. If you are already logged in you will end up on a screen that says "Your Things". If you are not logged in yet you will have to log in or create an account. Arduino Create is free but there is also a paid version available. Depending on what you want to do with Arduino Create and how much you use it you can choose between these versions.
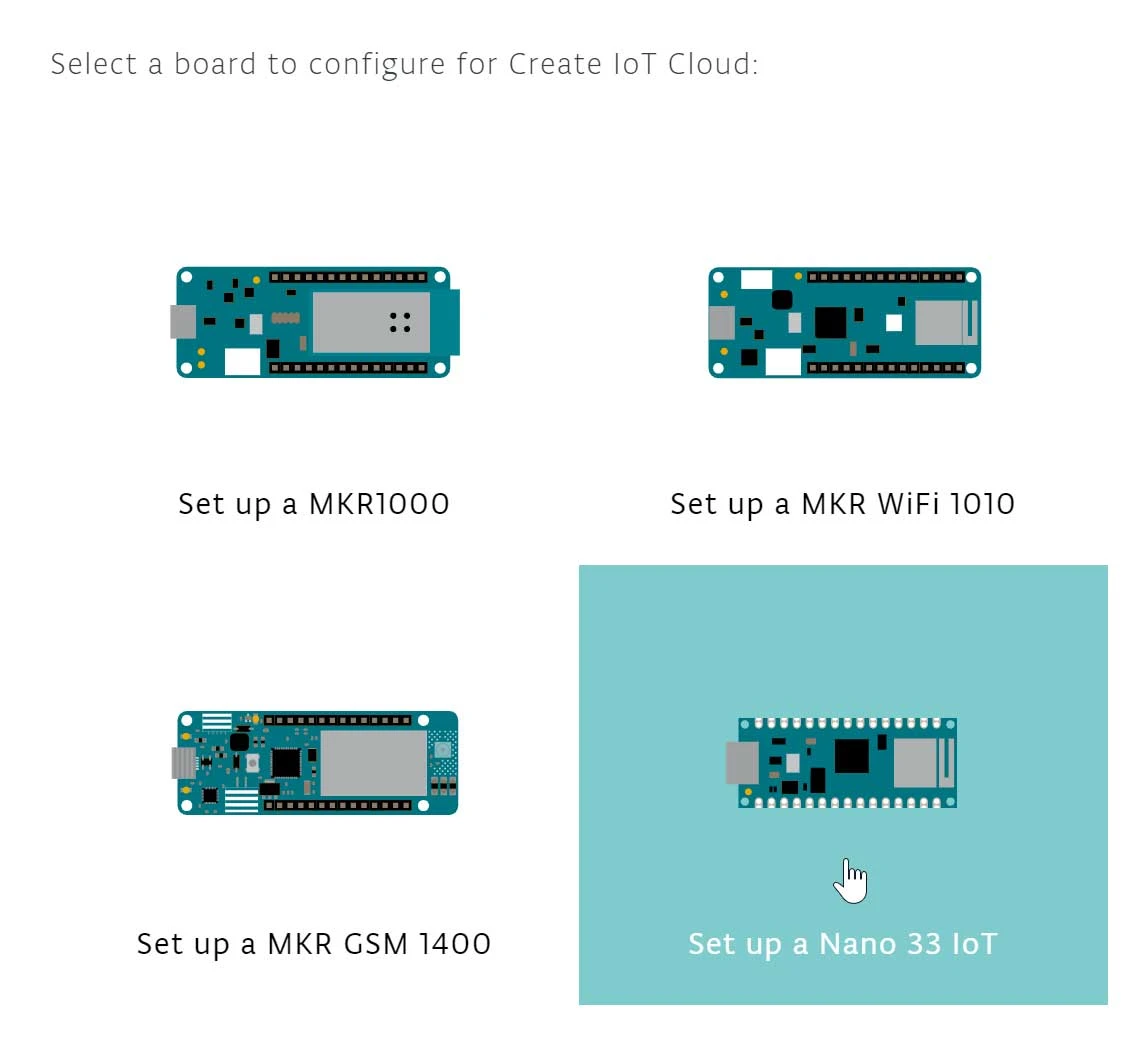
When you are logged in and on the IoT Cloud page there is a block that says "Create New Thing", select this. You will now come to a new screen. Here you can choose a board. Since we are working with an Arduino Nano 33 IoT in this project, select this. You will come to a new page where some things are explained. To configure the board, select "Start".
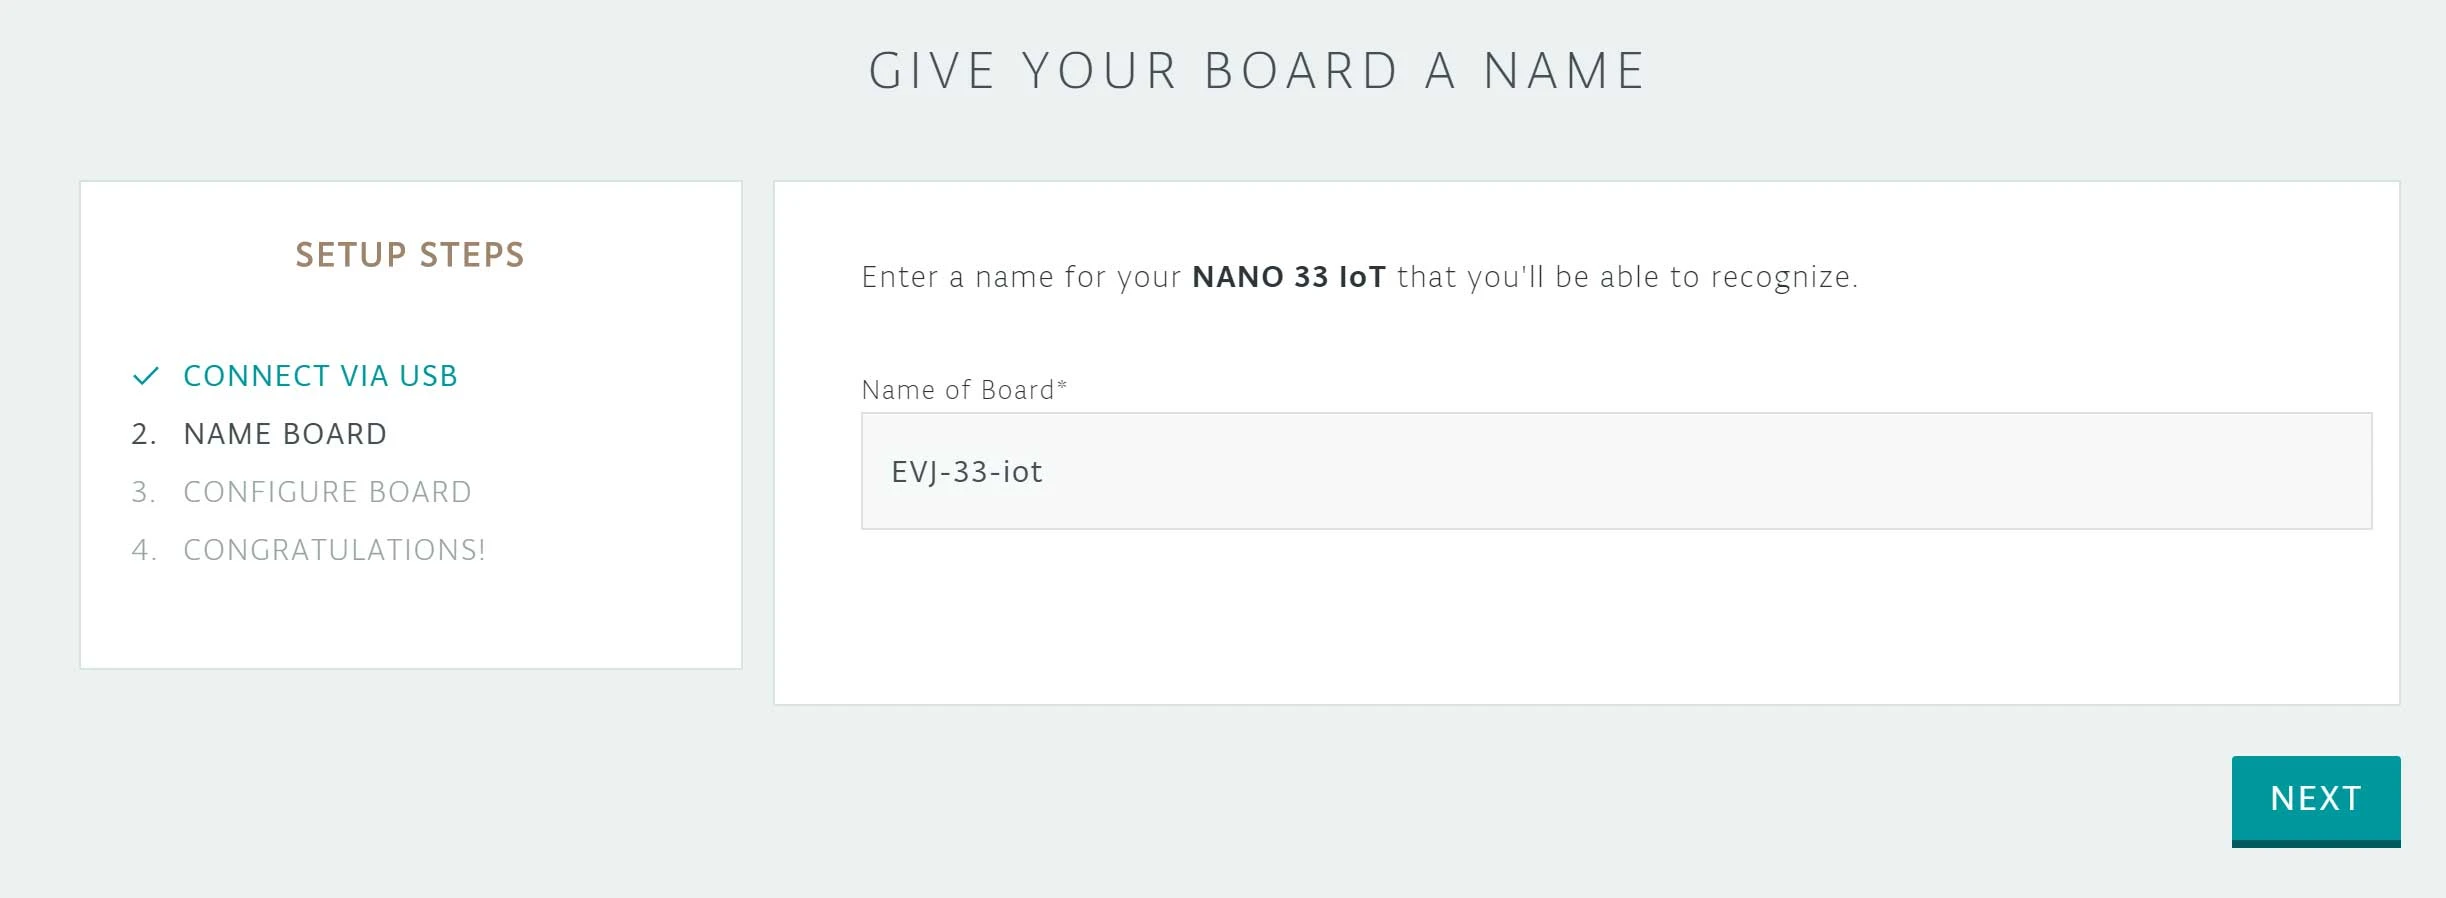
Now connect your Arduino Nano 33 IoT to your computer via a USB cable. When the computer finds the Arduino board you will automatically go to the next step. In this step you will have to give your Arduino Nano 33 IoT a name. We named ours ”EVJ-33-iot”. But you can give yours a name of your choice.
Once you have named your board select “Next”. Now you can configure your board. You will be given the option “No Thanks” & “Configure”. Select “Configure”. The Arduino Nano 33 IoT has a Microchip ECC508 crypto chip . This chip is used to protect the identity of your board when it is linked to your Arduino account. Once the chip is configured the board is ready to use. Now select “Back to Cloud”, this will take you to “Create New Thing”
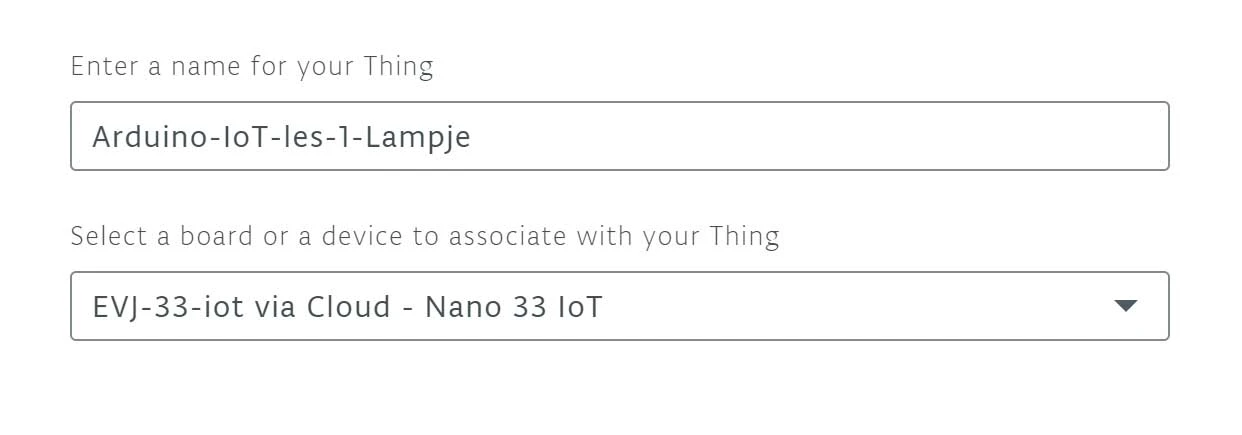
Here we fill in a name and choose the board we want to use. Once you have filled this in, select "Create".
Now that you have created your Thing you can add a property. In this project the property is a (red) LED light. Select ”Add property”
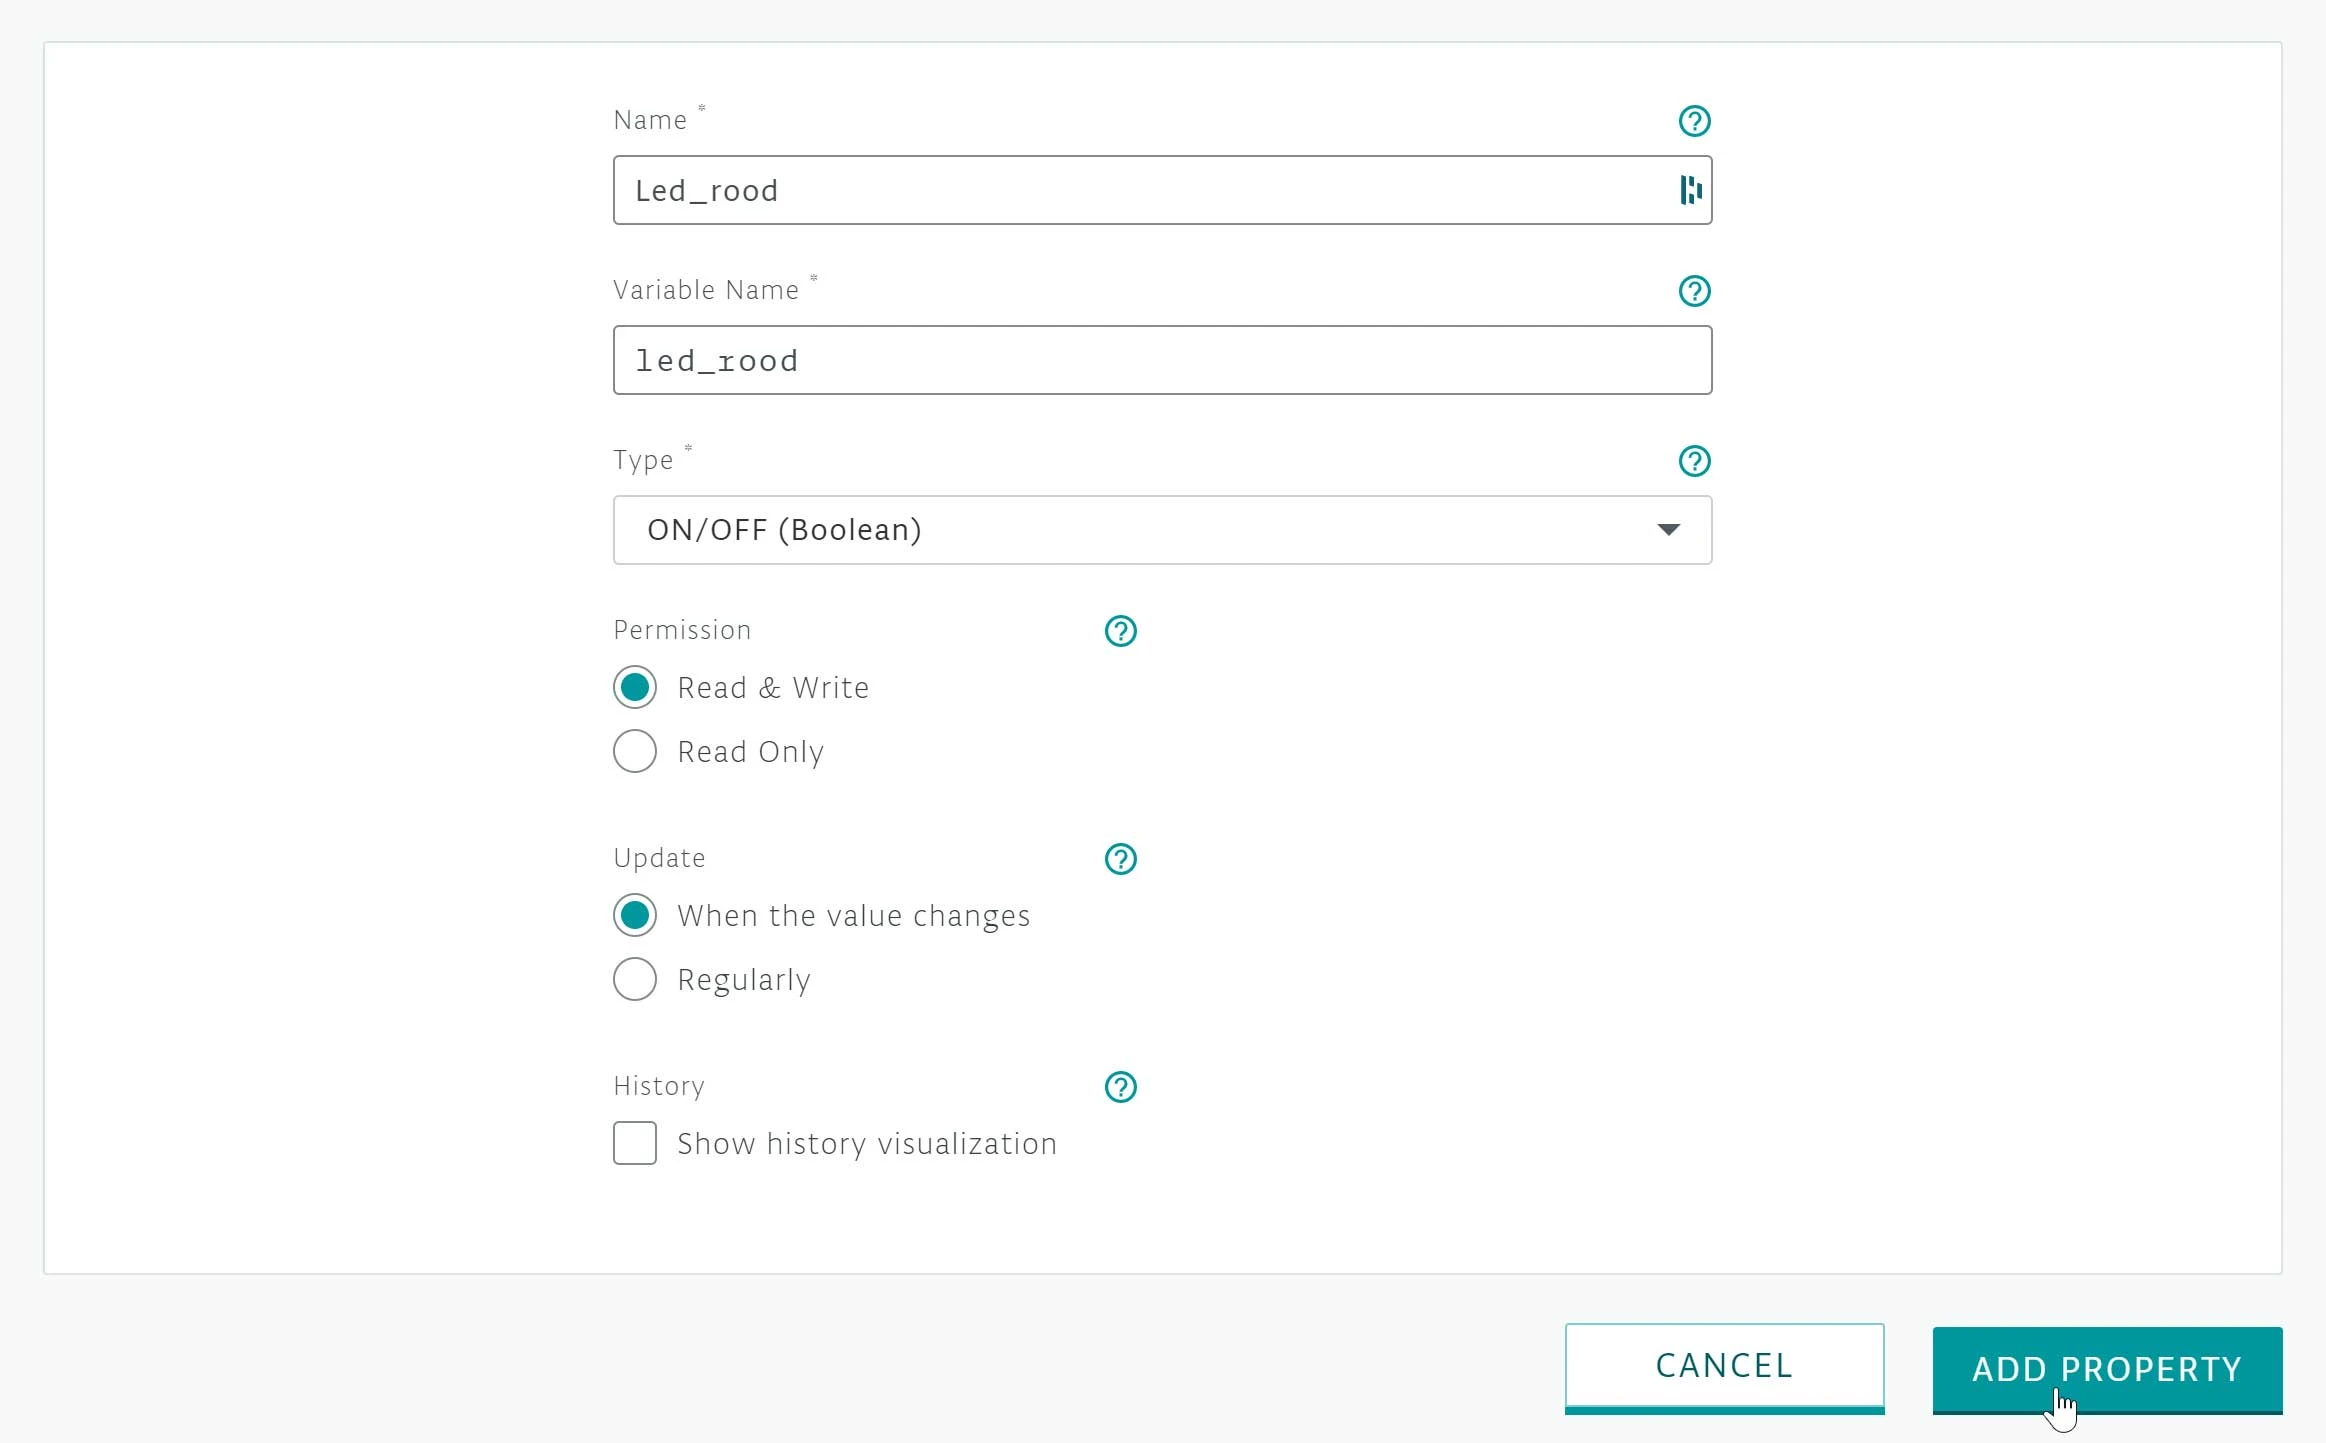
On this page we give the LED a name. In this case "Led_red". For the type we select "ON/OFF (Boolean). A Boolean is a data type with only 2 possible values.
Under “Permission” select “Read & Write”. We do this because we can switch the LED on and off from the IoT cloud.
We also leave Update set to “When the value changes”, this will ensure that whenever the value of the property/variable changes within the board sketch, that value is immediately sent to the Cloud. Once you have filled all of this in select “Create Property”
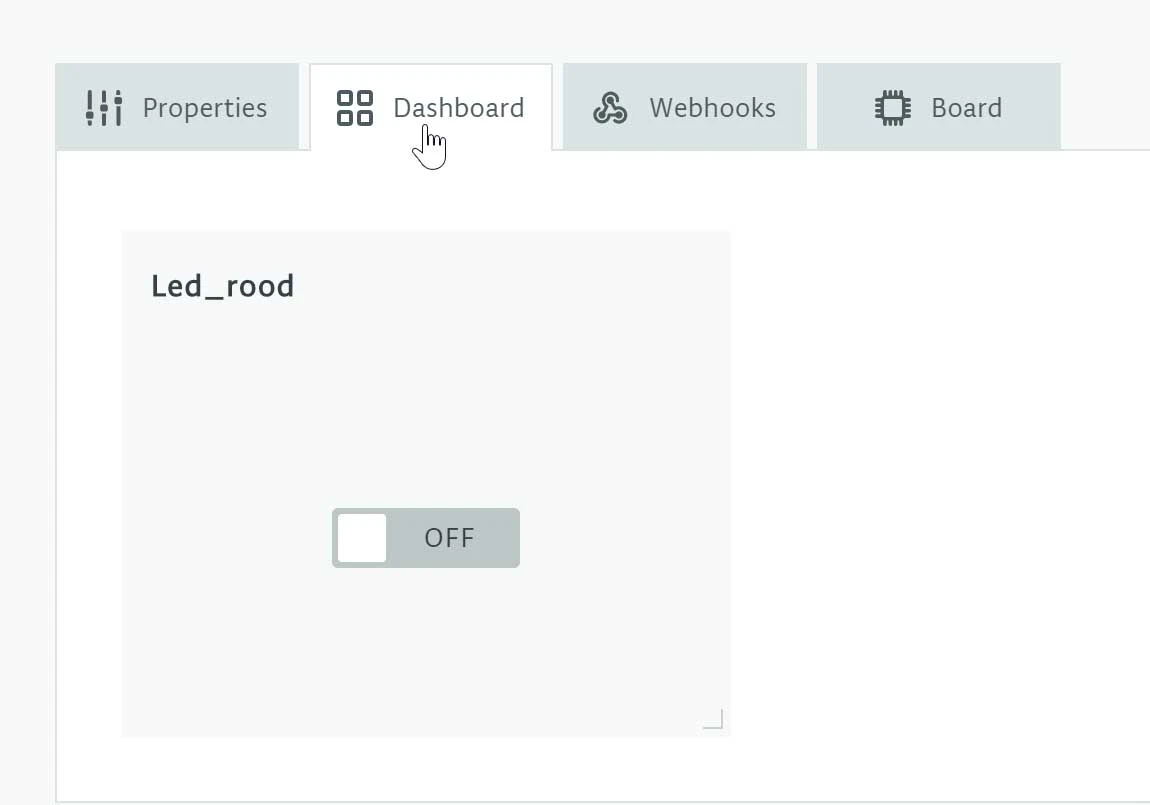
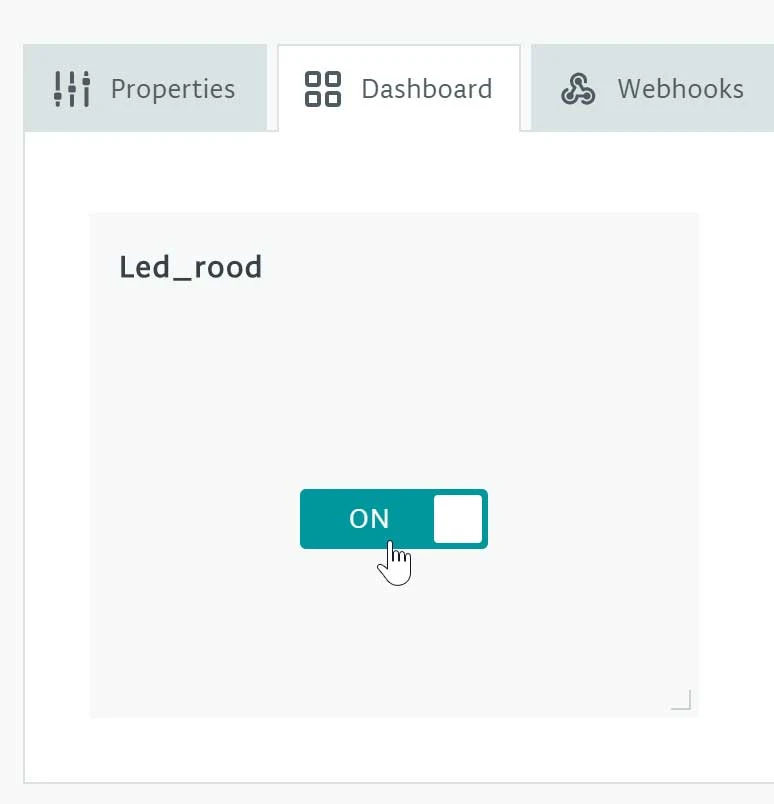
Under the heading "Dashboard" you can find the property you just created. As you can see, this is an on/off switch. If you have multiple properties, you can also move them by dragging them. The IoT cloud is now ready. We are now going to connect the LED to the Arduino Nano 33 IoT, and then program it.
Building and Wiring
Now we're going to put the project together.
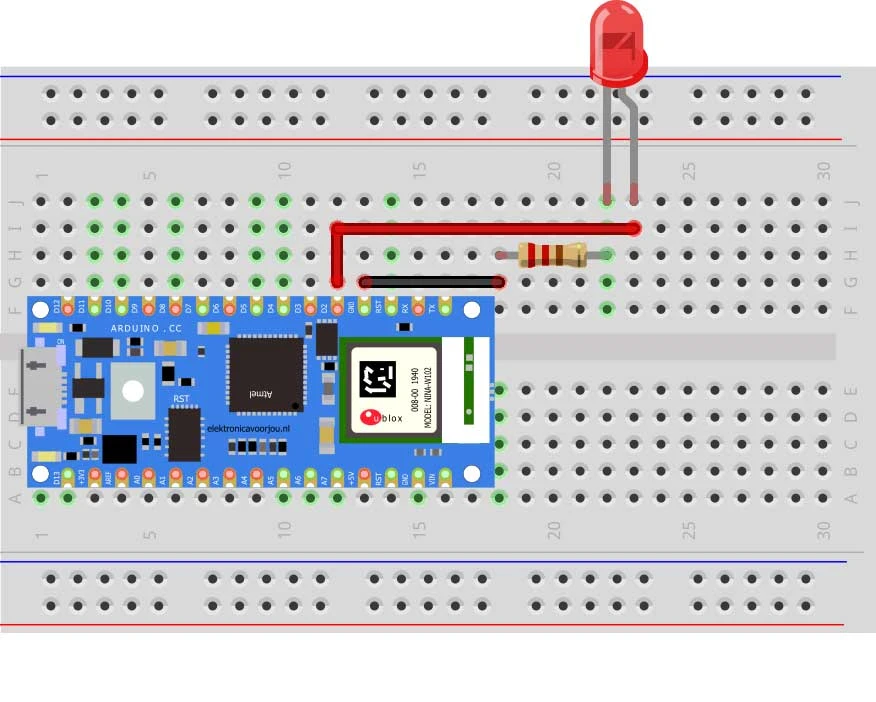
We start by placing the Arduino Nano 33 IoT on the breadboard. In the middle of the breadboard is a slot. Make sure the pins of the board are on both sides of the slot as shown below. Now place the LED light on the board and connect the + to output D2. Place a 220 Ohm resistor at the -. Then connect this to a GND pin. That's it! You now have your first IoT project wired.
Programming
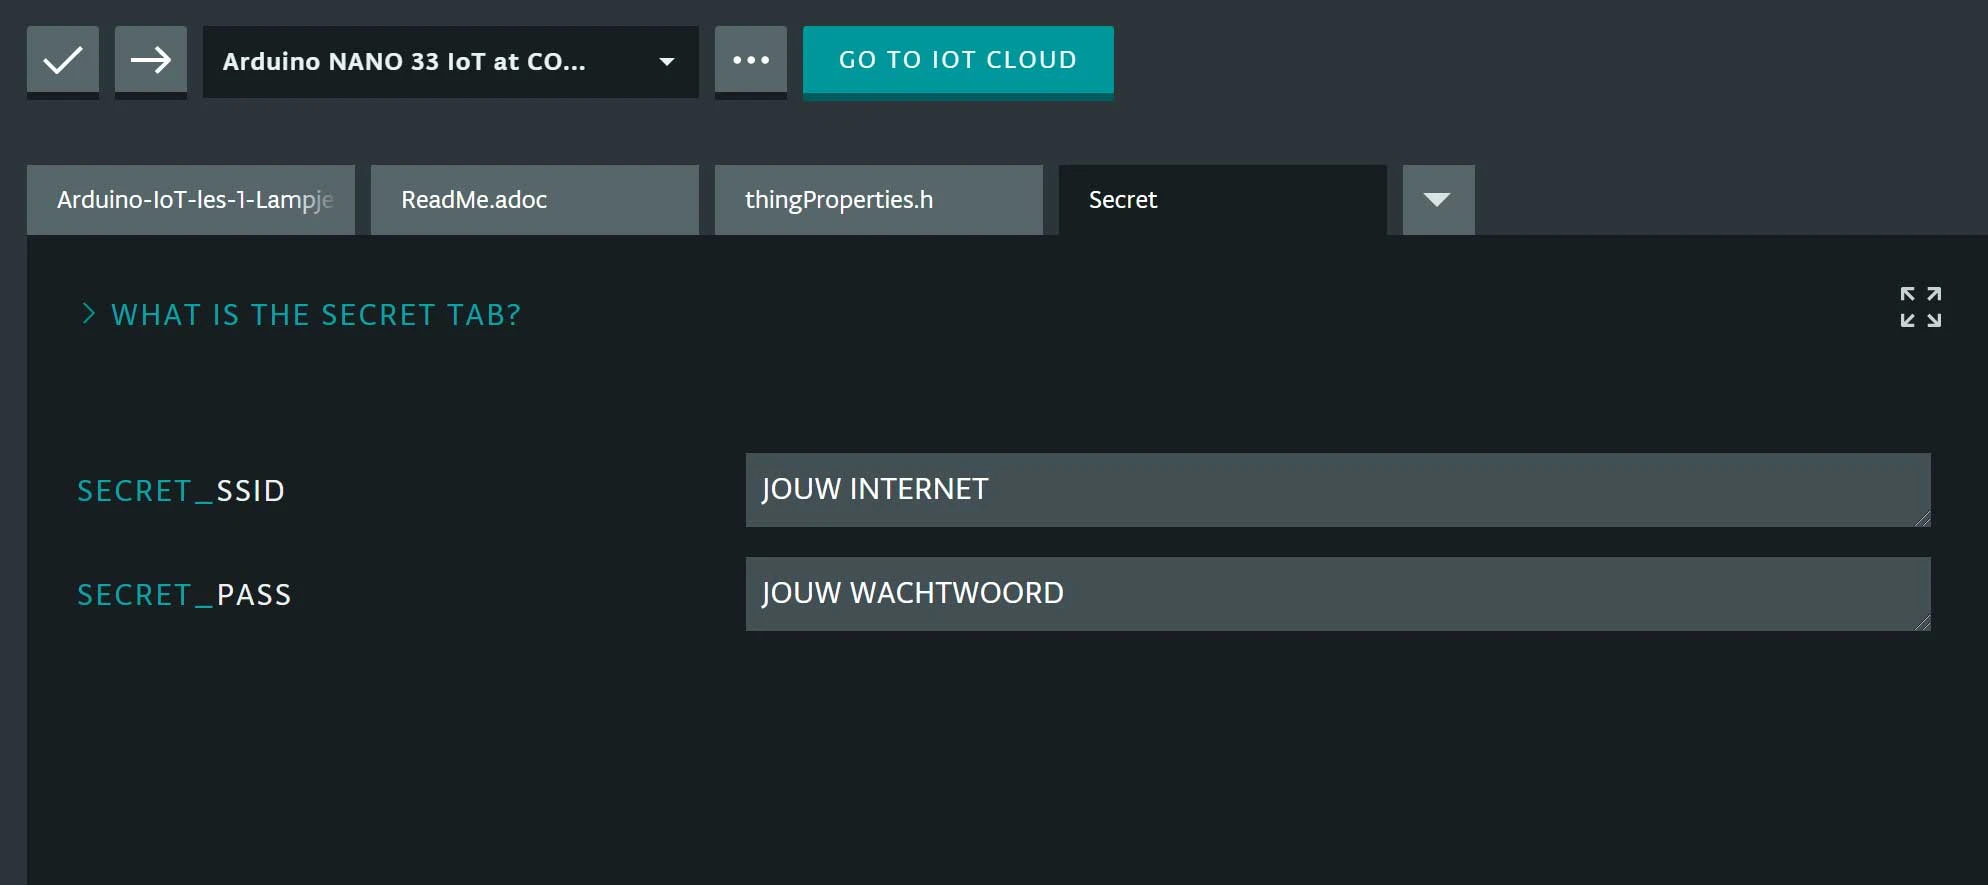
Now we go back to the first tab. Here we are going to write the code. Like every Arduino Sketch the code consists of 2 parts. The void setup and the void loop. The setup is executed once when the board boots or when the reset button is pressed. The loop keeps repeating itself as long as the board is on.
There are already a few standard lines of code ready. We describe these below.
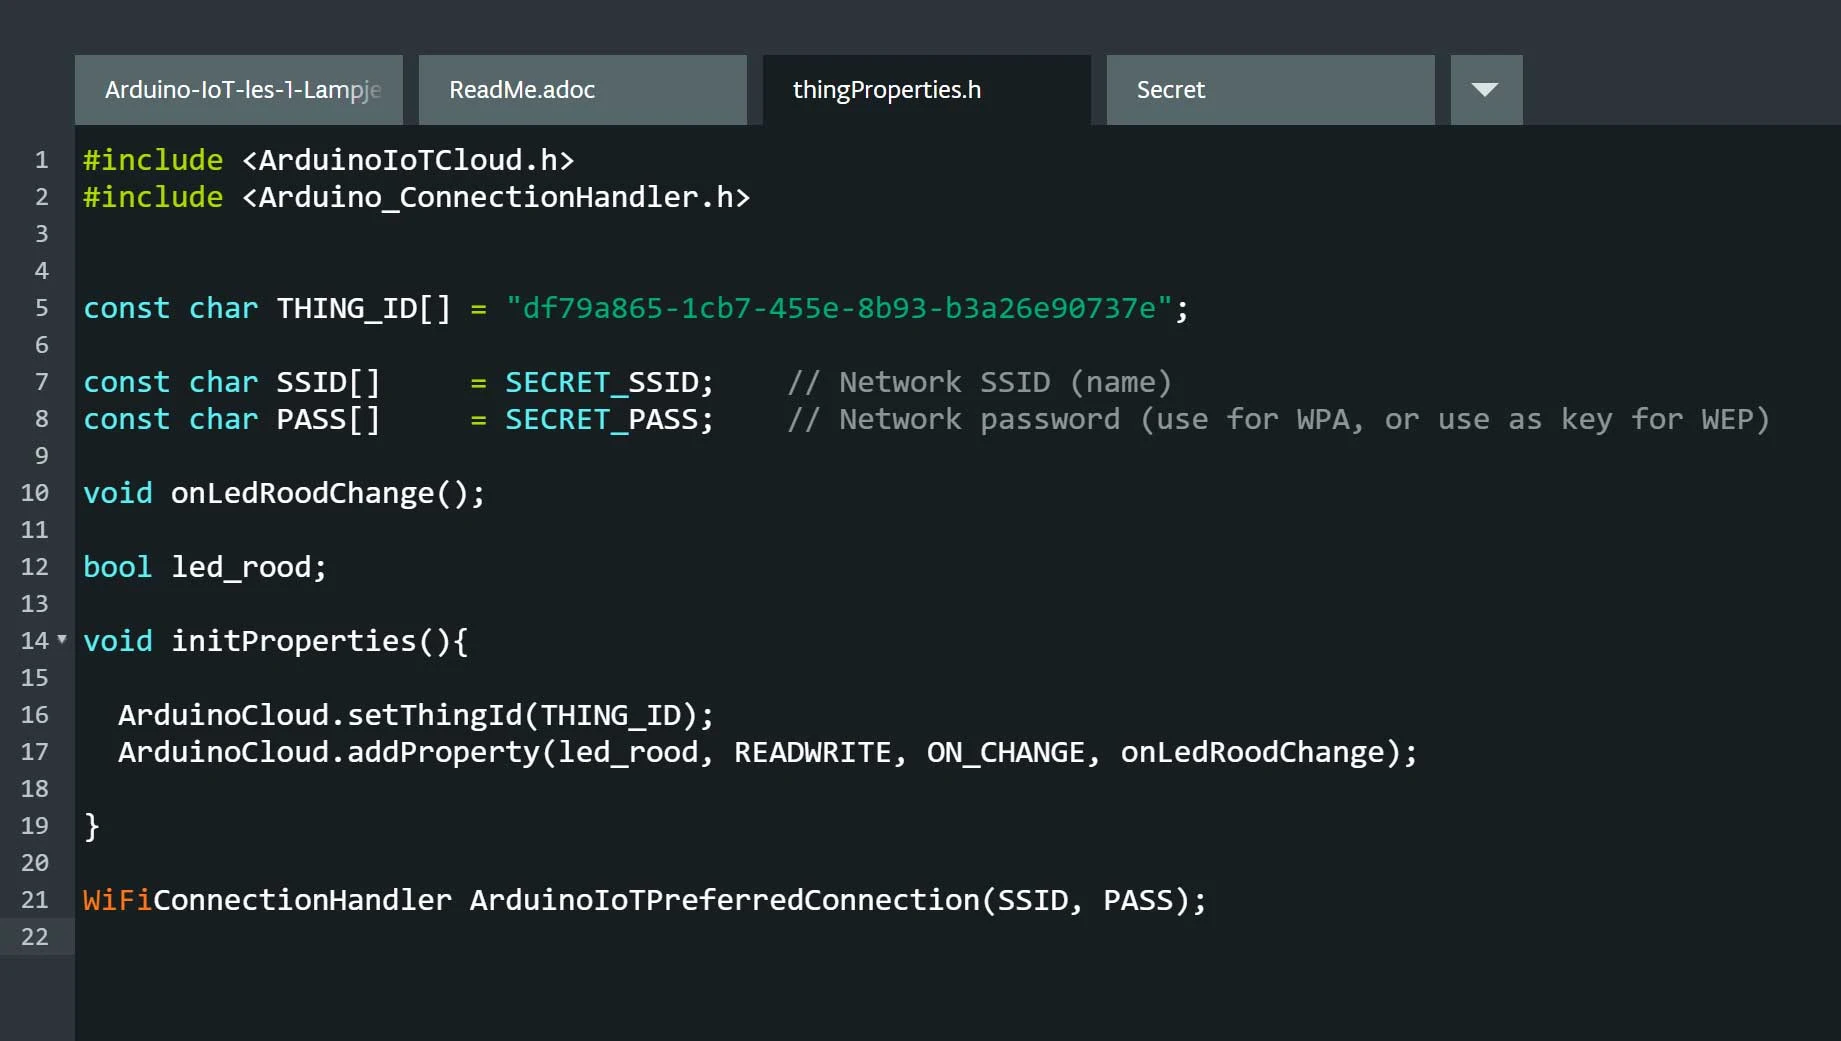
#include "thingProperties.h"Imports all variables and functions from the “thingProperties.h” tab.
setDebugMessageLevel(2);Sets the desired level of log messages to display in the serial monitor. This is currently set to level 2, but we can change it from 0 (which only logs errors) to 3 (which logs EVERYTHING!). If something is not working with the wifi or cloud connection, it will be easier to find the problem if this is set to a higher level. For now, we can leave it as is.
Serial.begin(9600);Initializes the serial monitor for display and reading.
delay(1500);Wait 1.5 seconds to give the serial monitor time to initialize.
initProperties();Initializes the properties as defined in thingProperties.h.
ArduinoCloud.begin(ArduinoIoTPreferredConnection);Initializes the Arduino Cloud with the previously mentioned ConnectionManager.
ArduinoCloud.update();This handles a lot of behind the scenes stuff including syncing property values between cloud and board, checking connectivity between network and cloud and other logic. If the value of a property changes in the sketch, the library will automatically detect it and notify the cloud so that such value is reflected in the Arduino IoT Cloud Dashboard. Similarly, when the value of a property changes in the Dashboard, the library will update the corresponding value on the device.
Below is the code you can use to make the Light work.
#include “thingProperties.h”
#define LED_PIN 2
void setup() {
pinMode(LED_PIN, OUTPUT);

Serial.begin(9600);
delay(1500);

initProperties();
ArduinoCloud.begin(ArduinoIoTPreferredConnection);
setDebugMessageLevel(2);
ArduinoCloud.printDebugInfo();
}


void loop() {
ArduinoCloud.update();
}


void onLedRoodChange() {
digitalWrite(LED_PIN, led_rood);
Serial.print(“De led_rood is “); //Dit wordt weergegeven in de monitor
if (led_rood) {
Serial.println(“AAN”); // Als de LED aan staat zie je ”De led_rood is AAN” in de monitor
} else {
Serial.println(“UIT”); // Als de LED uit staat zie je ”De led_rood is UIT” in de monitor
}
}
You have now successfully completed the first lesson. Now you know how to turn an LED light on and off via the internet. You also now know what the standard functions of the IoT Cloud stand for.
Required products
 1×
1×Arduino Nano 33 IOT - With Headers
 1×
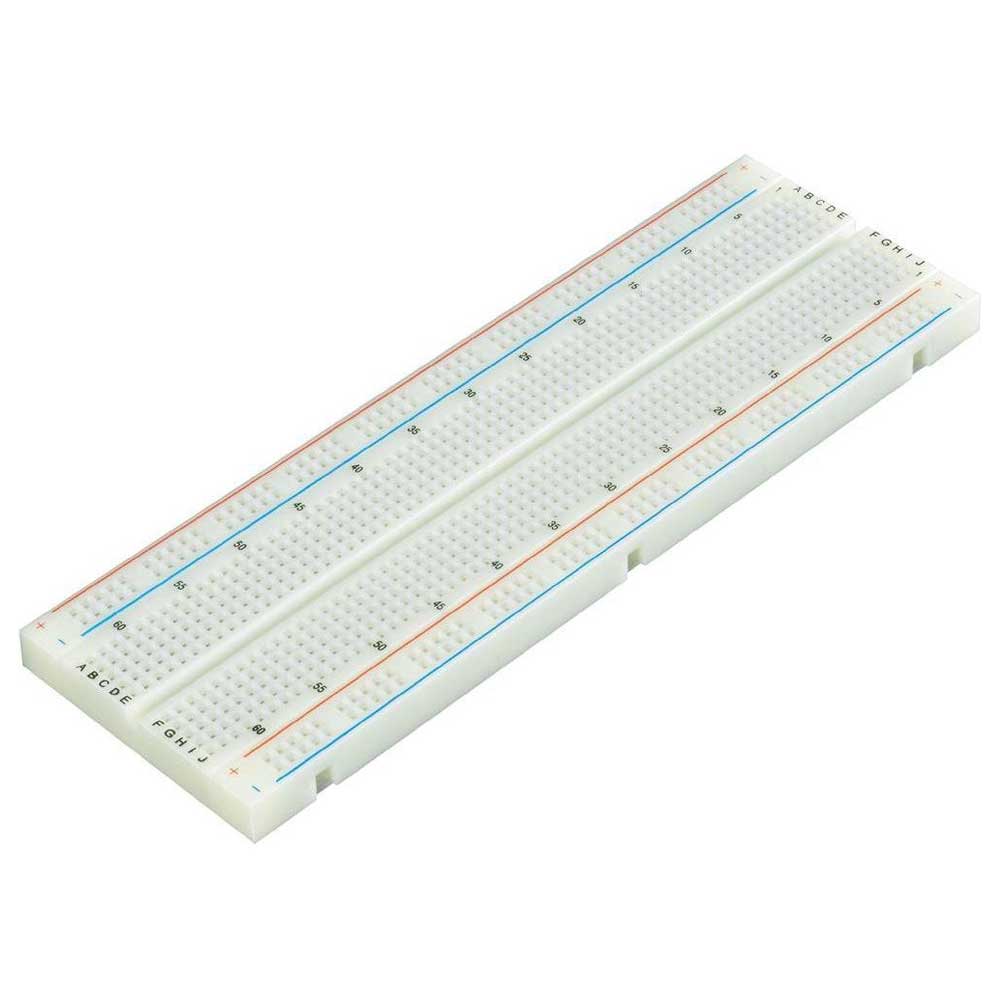
1×Breadboard 830 tie points
 1×
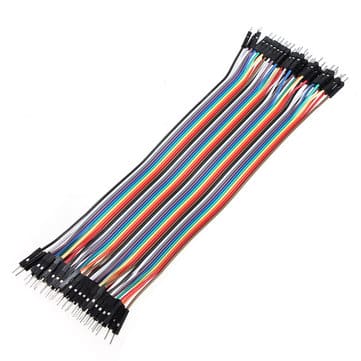
1×Premium Jumper Wires 40 pieces 20cm M/M
 1×
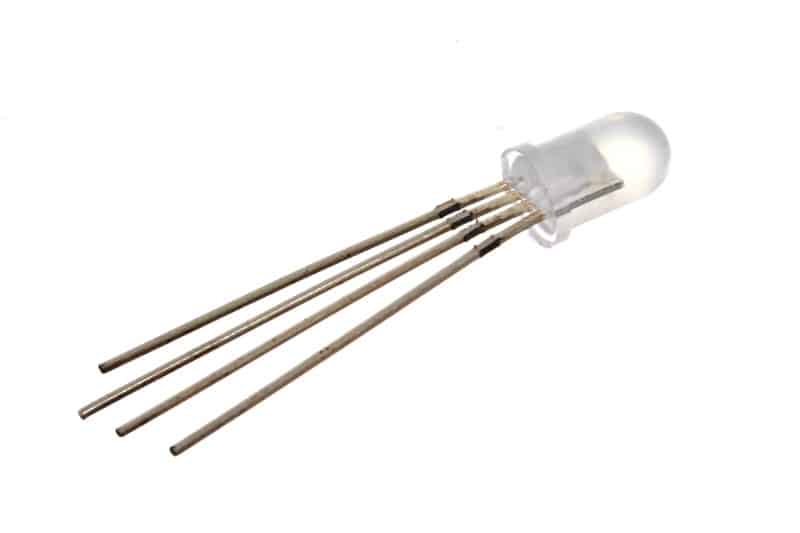
1×5mm RGB LED
 1×
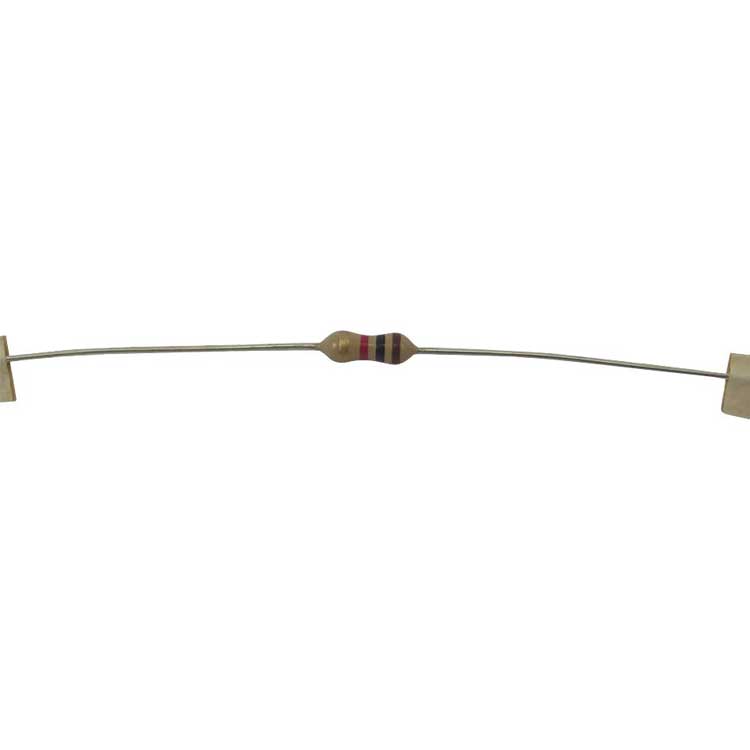
1×220 ohm resistor
- 1×