
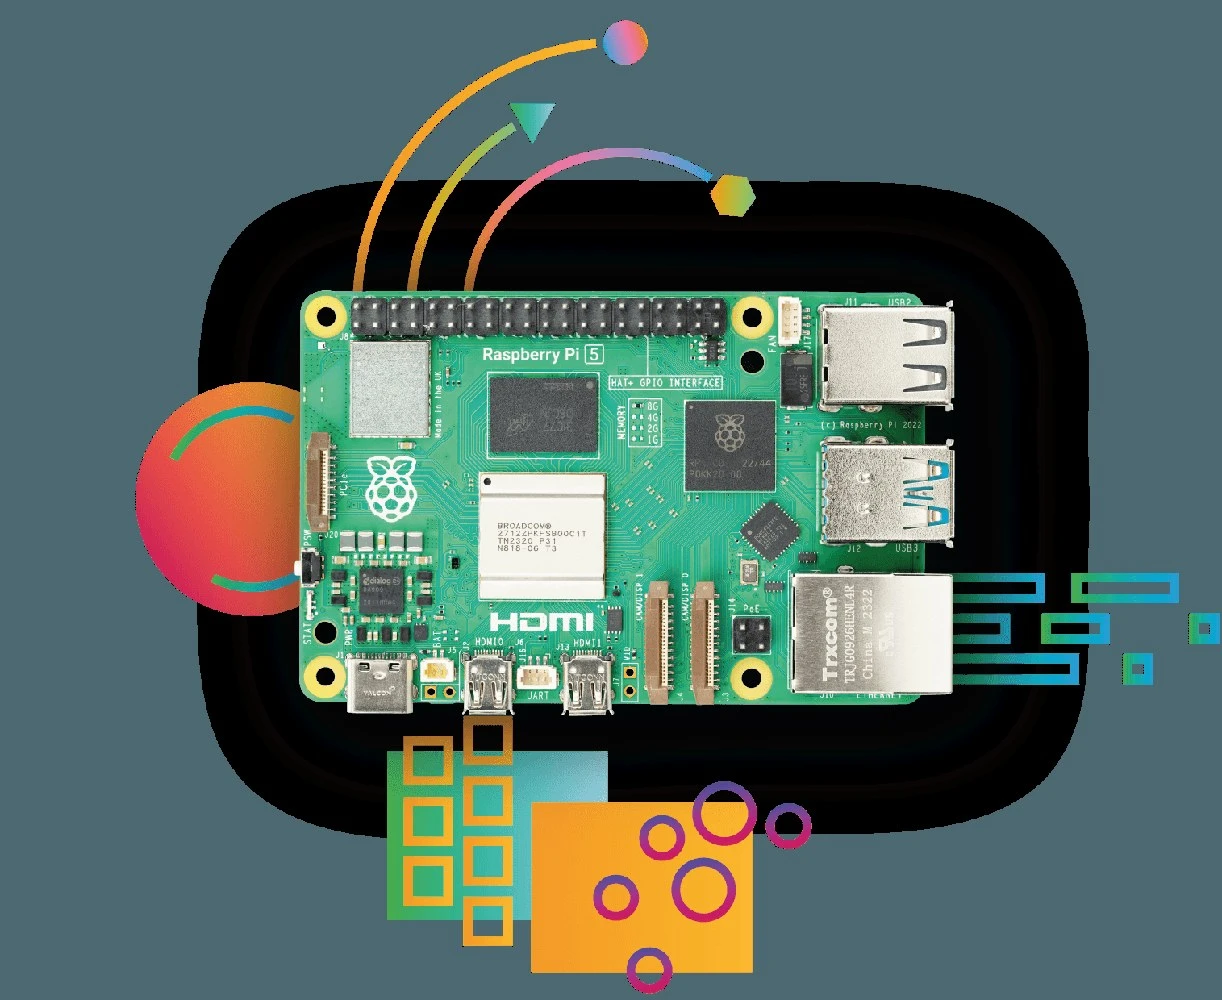
From Raspberry Pi prototype to production
Developing a product with Raspberry Pi takes a sound plan. Consider the complete design, record your components and collect the right documents. Test the device inside its own enclosure, too. These steps prepare you for a first production run. This guide follows five steps using an office measurement unit as an example. You will learn where to find official test documents and how a printed enclosure helps your design.
What Raspberry Pi says about testing and market access
On 4 November 2026, Raspberry Pi published a blog about testing products and bringing them to market. It includes a podcast with staff discussing available documents, testing support and product change notifications. It explains existing assistance; no new law was announced.
This matters when you plan to deliver a project to customers. They receive a complete device with power supply, cables and software, so consider how those elements work together. The official Raspberry Pi explanation is the starting point for this guide.
Requirements for your Raspberry Pi product
Imagine building an office measurement unit. A Pi reads sensors and displays values on a screen. Your first model works on your desk; now you want to deliver twenty identical devices. You need clear requirements for that step.
Write down where the unit will be installed, who will use it, how it is powered and which measurements it stores. Decide what should happen after a power cut or fault. For each requirement, state how you will check it.
Then make a fixed bill of materials. Record the exact board, power supply and sensors, as well as cables and software version. Give the design a version number. Explore our Raspberry Pi boards and accessories.
Step 1: Choose the right Raspberry Pi board for production
A Raspberry Pi 5 already has many connectors, making it convenient for trying functions. For a finished device, size and connector positions matter too. First sketch where the power supply, display and sensors will go.
A Compute Module is designed for integration into your own system. It uses a carrier board that provides the connections for your application. The Compute Module 5 has official documentation with electrical data and dimensions. A development kit helps you test the setup first.
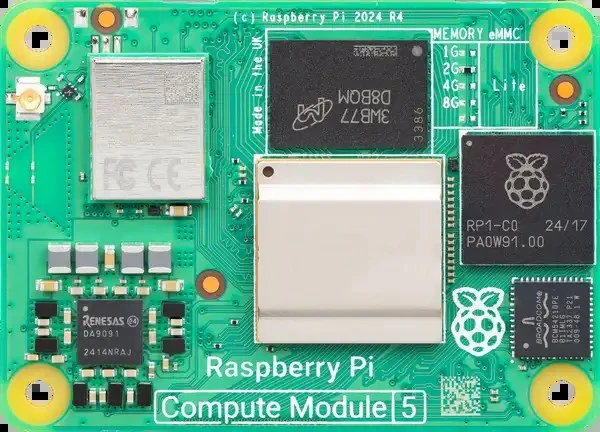
A Compute Module 5 provides a different form factor for integration. Photo: Raspberry Pi.
A module is a design choice: a custom carrier board requires extra expertise and work. Consider whether that fits your intended quantity. Record the chosen board configuration, including RAM and storage, and whether you need wireless connectivity. The official Compute Module 5 page shows options and documentation.
Step 2: Collect Raspberry Pi documentation through PIP
The Raspberry Pi Product Information Portal, or PIP, contains documents by product. Search by product name or number. Check that each document matches your version and save a copy with its date and version.
Collect the information available for your component:
- Datasheet with electrical limits and connections
- Mechanical drawing with dimensions and mounting points
- Relevant declarations of conformity
- Available test reports and integration guidance
- Product change notifications
Keep each document in a fixed project folder and link it to your bill of materials version. This lets you trace the information behind a decision. Do the same for the power supply and other electronic components.
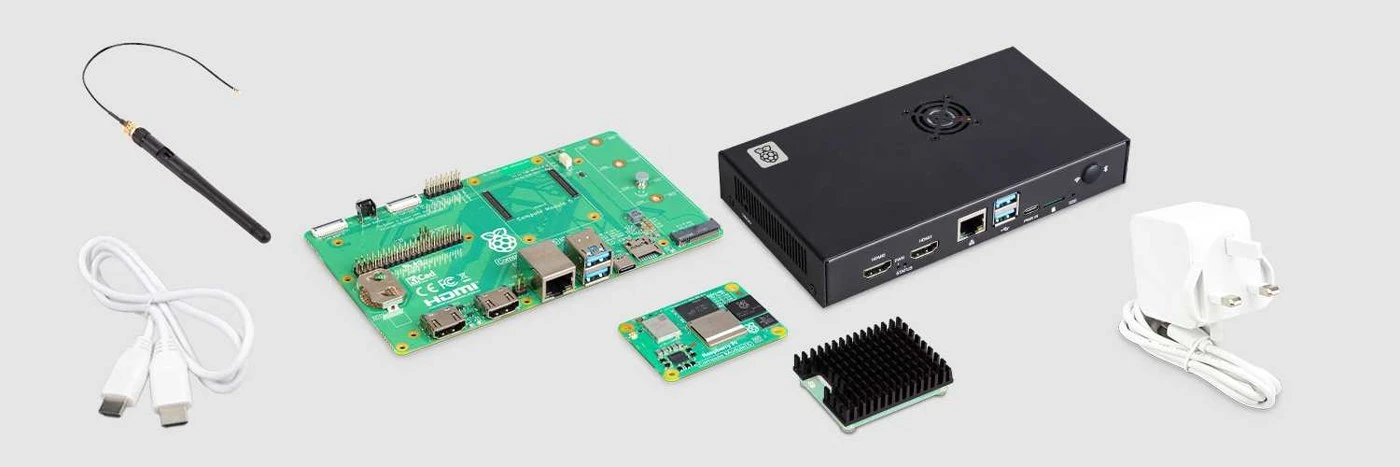
A development kit helps you build a prototype. Photo: Raspberry Pi.
Step 3: Assess CE marking and hardware compliance
Pi board documents are useful for your file, but they do not automatically prove that your complete device meets every requirement. The power supply, cables, antenna and enclosure are also part of the design. Discuss early which rules and tests apply to the finished product.
If you sell under your own name or brand, EU product rules consider you the manufacturer. You must ensure the whole product complies, including purchased components. Requirements depend on the device and market. See the EU explanation of CE marking and manufacturer responsibilities.
The applicable directive depends on the complete device. For a device without radio, assess whether the EMC Directive 2014/30/EU applies to emissions and immunity. For radio equipment, the Radio Equipment Directive 2014/53/EU is relevant and also addresses safety and radio spectrum. These are examples: establish the rules for your design.
Independent third-party testing is not always mandatory. Determine the applicable assessment procedure. Consider electrical safety, interference and wireless functions; software and security requirements may also apply. Establish the applicable rules before delivery.
Raspberry Pi supports testing and market access. Its Global Market Access team assists with documentation and country approvals. A different antenna may introduce additional requirements. Read about official product compliance support and assess what suits your project.
Step 4: Test your Raspberry Pi enclosure with a 3D-printed prototype
A custom enclosure shapes how customers use the device. Start with a full-size prototype. Check whether plugs fit and screws remain accessible. Close the lid and check that no cable is pinched.
Test the complete prototype with all components in place. Run the measurement unit with its screen and sensors connected. Check temperature in the closed enclosure, start-up, connectivity and recovery after a power cut. Record findings and adjust the design where needed.
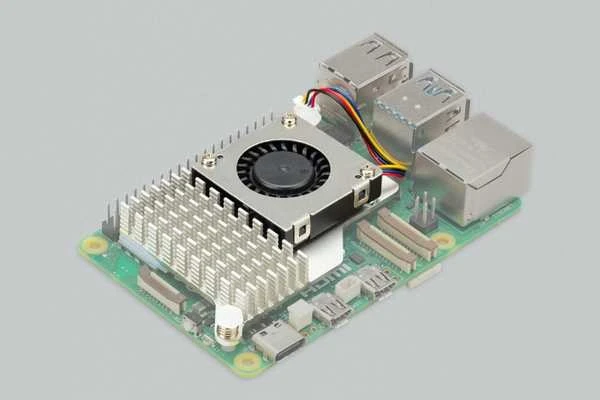
Leave room in the enclosure for the cooling you have chosen. Photo: Raspberry Pi.
A test print helps check shape and assembly. Choose material for the actual load and environment, considering heat, sunlight and mounting. Filament properties alone do not certify the complete enclosure. Separately establish and substantiate requirements such as fire behaviour or water resistance.
Our 3D printing service for prototypes and small batches accepts STL and 3MF files. Upload your model and choose a material and settings. Use a first print to check fit, then make changes before ordering more.
Step 5: Scale your IoT prototype into a repeatable production run
To give every device the same construction and operation, make short assembly instructions with photographs. Document cable routing, fastener locations, software installation and the device test.
Create a checklist for the measurement unit: do the screen and sensors work, does the system restart after a power cut, and does the lid fit without pressing on a cable? Record each device's results so faults can be traced.
Track changes with new version numbers. PIP also lets you subscribe to Product Change Notifications (PCNs) for Raspberry Pi products. Assess each notice's effect on your design and decide which checks to repeat.
When scaling an IoT prototype, plan support after delivery too. Who provides updates? How does a customer report a fault? How will you identify the delivered version? Fixed arrangements help you build the next batch consistently.
Raspberry Pi video on testing and market access
In this English-language podcast, Raspberry Pi staff discuss their work, product testing and available support. It relates particularly to the documentation and market-access steps and explains where to ask questions about your own design.
Checklist for a first batch of Raspberry Pi devices
- The device's purpose and operating environment are defined
- The bill of materials lists exact types and versions
- Available documents are saved for each component
- Applicable product requirements and the assessment route are determined
- The complete assembly is tested in the chosen enclosure
- Assembly, software and final inspection are documented
- A plan exists for changes, updates and support
Whether building a measurement unit or another industrial Pi application, begin with a prototype and clear parts list. Find prototyping materials for the first build. Test the design thoroughly to prepare a focused small production run.
Frequently asked questions about Raspberry Pi products
Can you sell a product containing a Raspberry Pi?
Raspberry Pi supports businesses using its hardware in their own products. Determine the requirements for your complete device and check the licences of any software you supply.
Is a certified Pi board enough for my finished product?
The complete design requires its own assessment. Board documents can help, but other components and their integration also matter.
When should you choose a Compute Module?
If you want to determine the form or connections yourself, consider a Compute Module. You need a suitable carrier board. Consider whether the extra design work fits your requirements and quantity.
Can you print one enclosure first?
Yes. Our printing service can produce a single prototype to check fit and assembly before preparing a small batch.