Boot Raspberry Pi from USB or Network
Below we explain how to make your Raspberry Pi boot from USB.
In addition, we will immediately show you how to perform a Raspberry OS installation over the network.
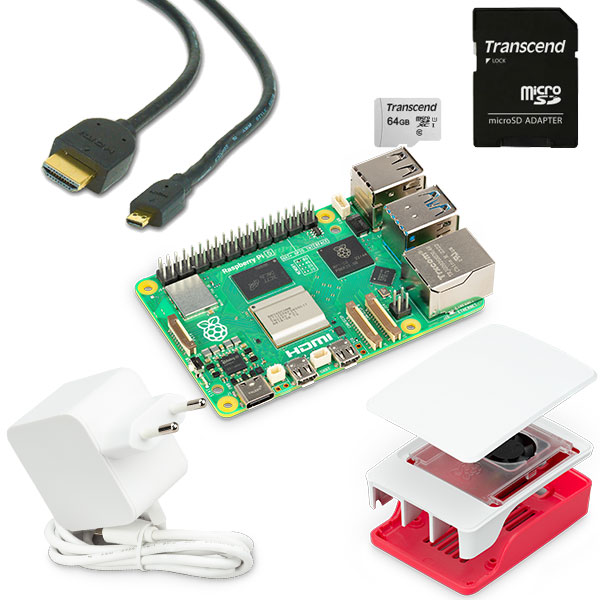
For this you need a small Micro SD card once .
Why would you want to boot your Raspberry from USB?
Via USB you can boot Raspberry OS from a USB stick or external hard drive, this has the following advantages.
- You can change a USB stick faster and more safely than the fragile SD card
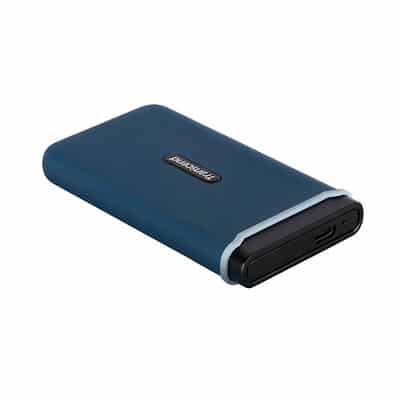
- A stick or external hard drive can contain more storage space than an SD card
A Micro SD card with a lot of storage quickly becomes much more expensive in comparison - An external disk (SSD solid-state drive) is more reliable and much faster.
Prepare software
To make it possible to boot in a different way, we need to modify the firmware of the Raspberry Pi . Also called flashing.
The firmware of a Raspberry Pi is a small piece of memory in which a small control program can be placed.
Also called bootloader in this case.
Next, follow these steps to flash the USB bootloader onto your Raspberry Pi .
- Download, install and run the latest version of the Raspberry Pi Imager tool.
https://www. raspberry pi.com/software/ - Also connect the microSD card to your computer.
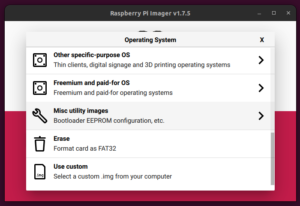
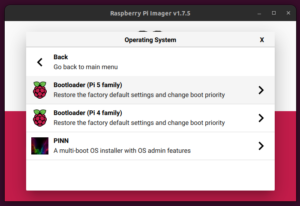
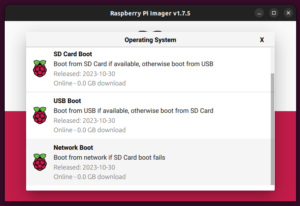
- Click 'Choose OS' and select 'Misc Utility Images > Bootloader (Pi4 or Pi5 Family) > USB Boot'.
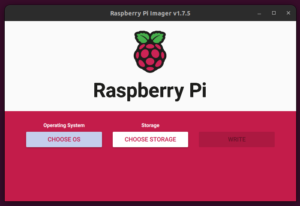
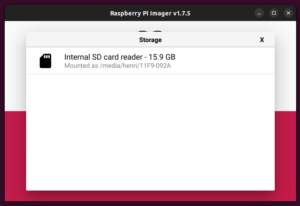
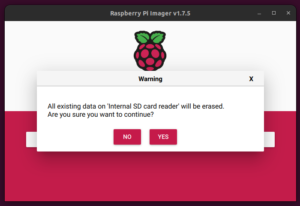
- Click on 'Choose Storage' and select the microSD card.
- Click on 'WRITE'. Wait for it to finish. This will be done very quickly.
Once the process is complete, remove your sdcard from your card reader. - With the Raspberry Pi 4 or 5 turned off, insert the microSD card into the slot.
- Connect the power supply to the Raspberry Pi . The Pi will power on and the USB bootloader will be automatically flashed. This should only take a few seconds. The green LED on the Raspberry Pi will flash regularly once the bootloader has been successfully flashed.
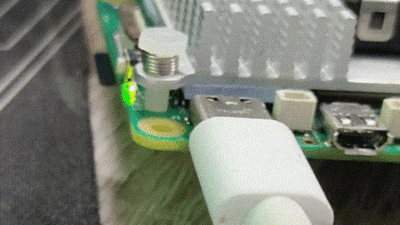
If you have connected the HDMI port to a display, you will see a green screen once the firmware is flashed.

- You can now turn off the Raspberry Pi and remove the microSD card.
After this, the Raspberry is ready to boot from external USB storage media, such as a USB stick or external hard drive.
However, we still need to put the operating system on the USB media.
- Launch the Raspberry Pi Imager tool and click 'Choose OS' to select the OS from the list.
- Click 'Choose storage' to select the connected USB SSD storage media and click 'Write'.
- After the OS is flashed onto the USB SSD media, then disconnect the drive from the system.
- Connect the Raspberry Pi SSD drive to one of the blue USB 3.0 ports on your Raspberry Pi .
- Connect the power supply to turn on the Raspberry Pi . The Pi will first check for bootable USB media and if it finds any, it will boot the operating system from the connected USB storage media.
If this is not connected, the Raspberry Pi will try to boot from the SD card again. - You can now use the Raspberry Pi with the operating system running on the USB SSD storage medium.
Installing the Network Boot Firmware
Please note: At this time (December 2023) the Raspberry Pi 5 cannot yet be installed from the internet.
Enabling network installer on the Raspberry Pi 4 is easy and useful if for some reason the Raspberry Pi 4 cannot boot from the connected SD card. When you have installed the network boot firmware, the Raspberry Pi 4 will first try to boot from the SD card. However, if the operating system is not found or is corrupted, the Raspberry Pi 4 will load the Imager tool.
In such cases, you don’t need to reflash the SD card using your computer, which requires you to remove the card from the Raspberry Pi 4. Instead, you can use the automatically loaded Raspberry Pi Imager tool to download and flash the OS directly from the internet to the SD card without removing the card from the Raspberry Pi 4.
The steps are as follows:
- Launch the Raspberry Pi Imager tool on your computer system and connect the SD card.
- Click on 'Choose OS' and select 'Misc Utility Images > Bootloader RPi 4 > Network Boot'.
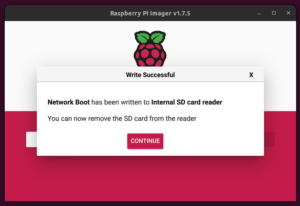
- Click on 'Choose storage', select the SD card and click 'Write'. Wait for it to complete.
- Insert the SD card for network flashing into the Raspberry Pi 4 and power it on.
- The network boot firmware is being flashed. The green LED will start blinking once it is done.
- You can now remove the SD card. If you now insert a blank SD card and connect an Ethernet cable, you can flash the card with the desired OS directly from the internet onto your Raspberry Pi 4.
(You don't get the option to configure wifi) - Press the left Shift key while turning on the Raspberry Pi .
- The screen will turn red and white and the Raspberry Installer tool will begin downloading. Once downloaded, you can use the Imager tool to flash the SD card as you would on any other computer.

After you have booted the Raspberry by pressing the left shift key, the screen above will appear.
Here the installer is downloaded from the internet and then started.

Now you can select the operating system to be installed in the same way as on your PC.
For the expert user it is now also possible to netboot the raspberry using Bootp, tftp, iscsi and NFS.
This is called diskless booting, where the operating system remains on another server.