Magnets in 3D Prints
Magnets are useful in many projects. They provide invisible or barely visible connections. The disadvantage: the connection is usually less strong. Still, they are ideal for doors, flaps, toys or connections between prints.
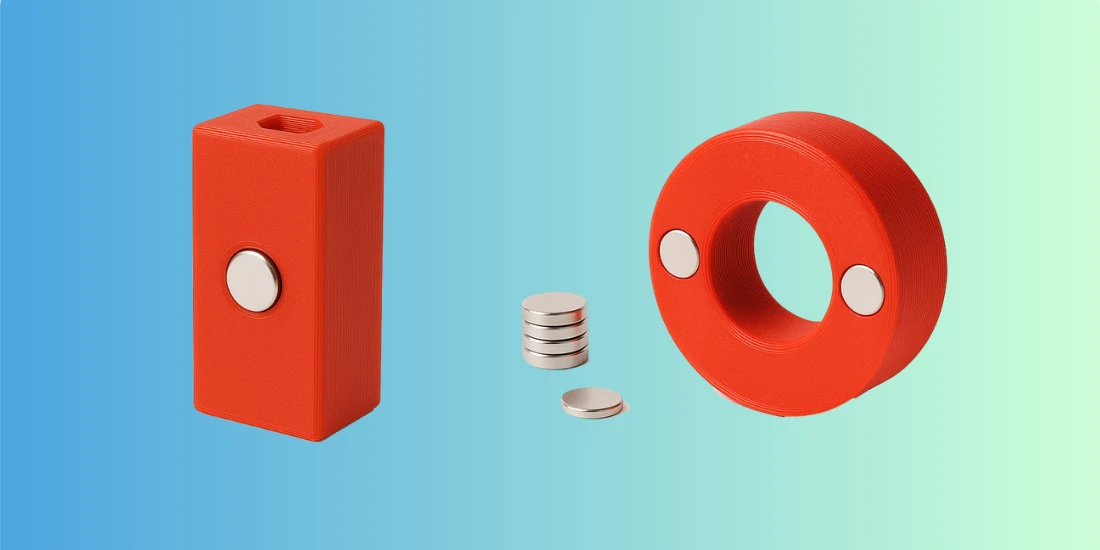
There are two ways to place magnets: horizontally and vertically. Horizontal magnets are used if you want to make connections above or below the print. This method is usually easier to implement in your design. More on that later.
Vertical magnets are located on the side of a print. They provide the same strength, but work in a different direction.
When placing magnets, pay attention to the thickness of the wall between the magnet and the outside. It must be thin enough for the magnet to work properly. But also thick enough to hold the magnet firmly.
The size of the magnet depends on your application. You adjust this yourself during the design of your product.
Materials and preparation
Types of magnets for your 3D print
Magnets are useful in many 3D projects. You can choose from different types, each with their own properties. The most commonly used are neodymium and ferrite magnets. Below you can read what makes them unique and what to look for.
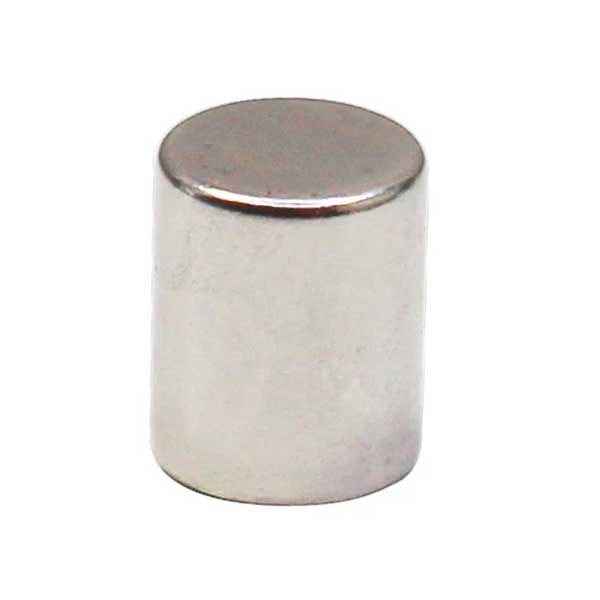
Neodymium magnets
Neodymium magnets are the most popular. They are small, but have a lot of power. This makes them ideal for compact applications. Search online for magnets with a designation such as N35 or higher. The higher this number, the stronger the magnet. Keep in mind that the price also increases with the strength.
These magnets come in all shapes and sizes. However, they are not perfect. Neodymium is brittle and fragile. If you accidentally let another magnet hit it hard, it can break. They are also sensitive to heat. Above 80 °C they lose their magnetic force. Do you have a printer that affects the ambient temperature? Then make sure that the print surface or the air around it does not exceed that limit.
The print head itself is usually not a problem. It moves quickly over the magnet and does not heat it for long. However, caution is important in design and placement.
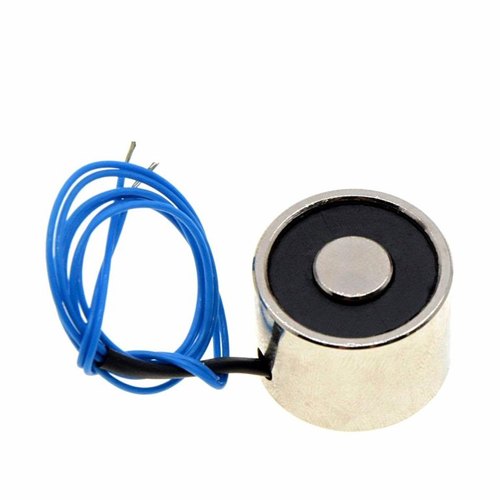
Ferrite (ceramic) magnets
Ferrite magnets are a cheaper alternative. They often cost 2 to 3 times less than neodymium. Their magnetic force is a lot lower. On average 2 to 7 times weaker. Only use them if you don't need strong force or are working on a budget.
Ferrite is less brittle than neodymium and more resistant to higher temperatures. This makes them suitable for applications where durability is more important than strength.
What size do you need?
The size of the magnet depends on your application. Larger magnets are more powerful, but also more expensive. Here are some guidelines for neodymium magnets:
- Ø3 mm: suitable for light doors or small locks.
- Ø5 mm: ideal for small toys or simple mechanisms.
- Ø6–8 mm: useful for tool holders or sturdy clamps.
- Ø10 mm or larger: required for heavy-duty applications such as wall mounting.
Use these measurements as a starting point, but always test yourself what works best for your design.

Suitable filaments
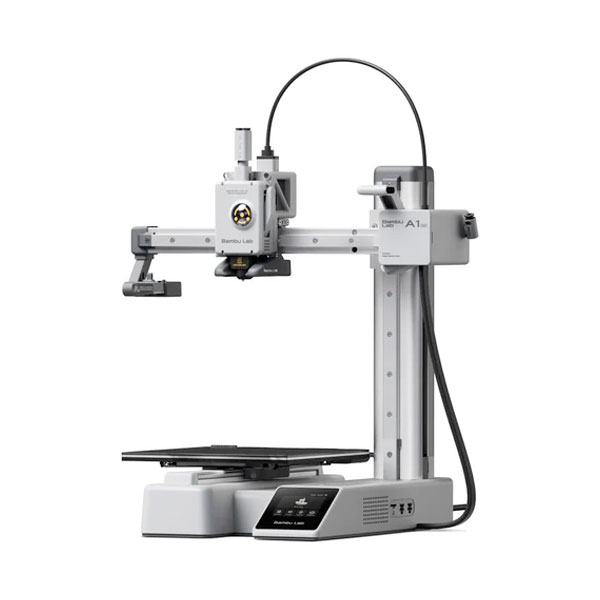
Not every filament is suitable for prints with magnets. PLA and PETG are safe choices. They print easily and keep their shape. ABS, ASA, Nylon and PC are also usable, but require a good printer. Think of models like the Bambu Lab P1S, X1C/X1E or H2D.
Filaments you should avoid
TPU and other flexible filaments are often too soft. Metal-filled, wood-filled or ceramic filaments do not adhere well or print with difficulty. These types are not recommended for applications with magnets.
Safety and points of attention during printing
Pay attention to the temperature of your printer components. The nozzle can reach 300 °C. Never touch it with your hands. The printed circuit board often reaches 80 °C or hotter. Keep this in mind when placing magnets.
Don't leave the printer off for too long between layers. The filament can cool down, causing the next layer to bond poorly. Also, don't lower the nozzle temperature too much. This can lead to clogging.
3D Designs for Magnets
In this example we will use Fusion as an example software.
First we start with the object. For simplification we use a 50x50x50mm block in this tutorial.
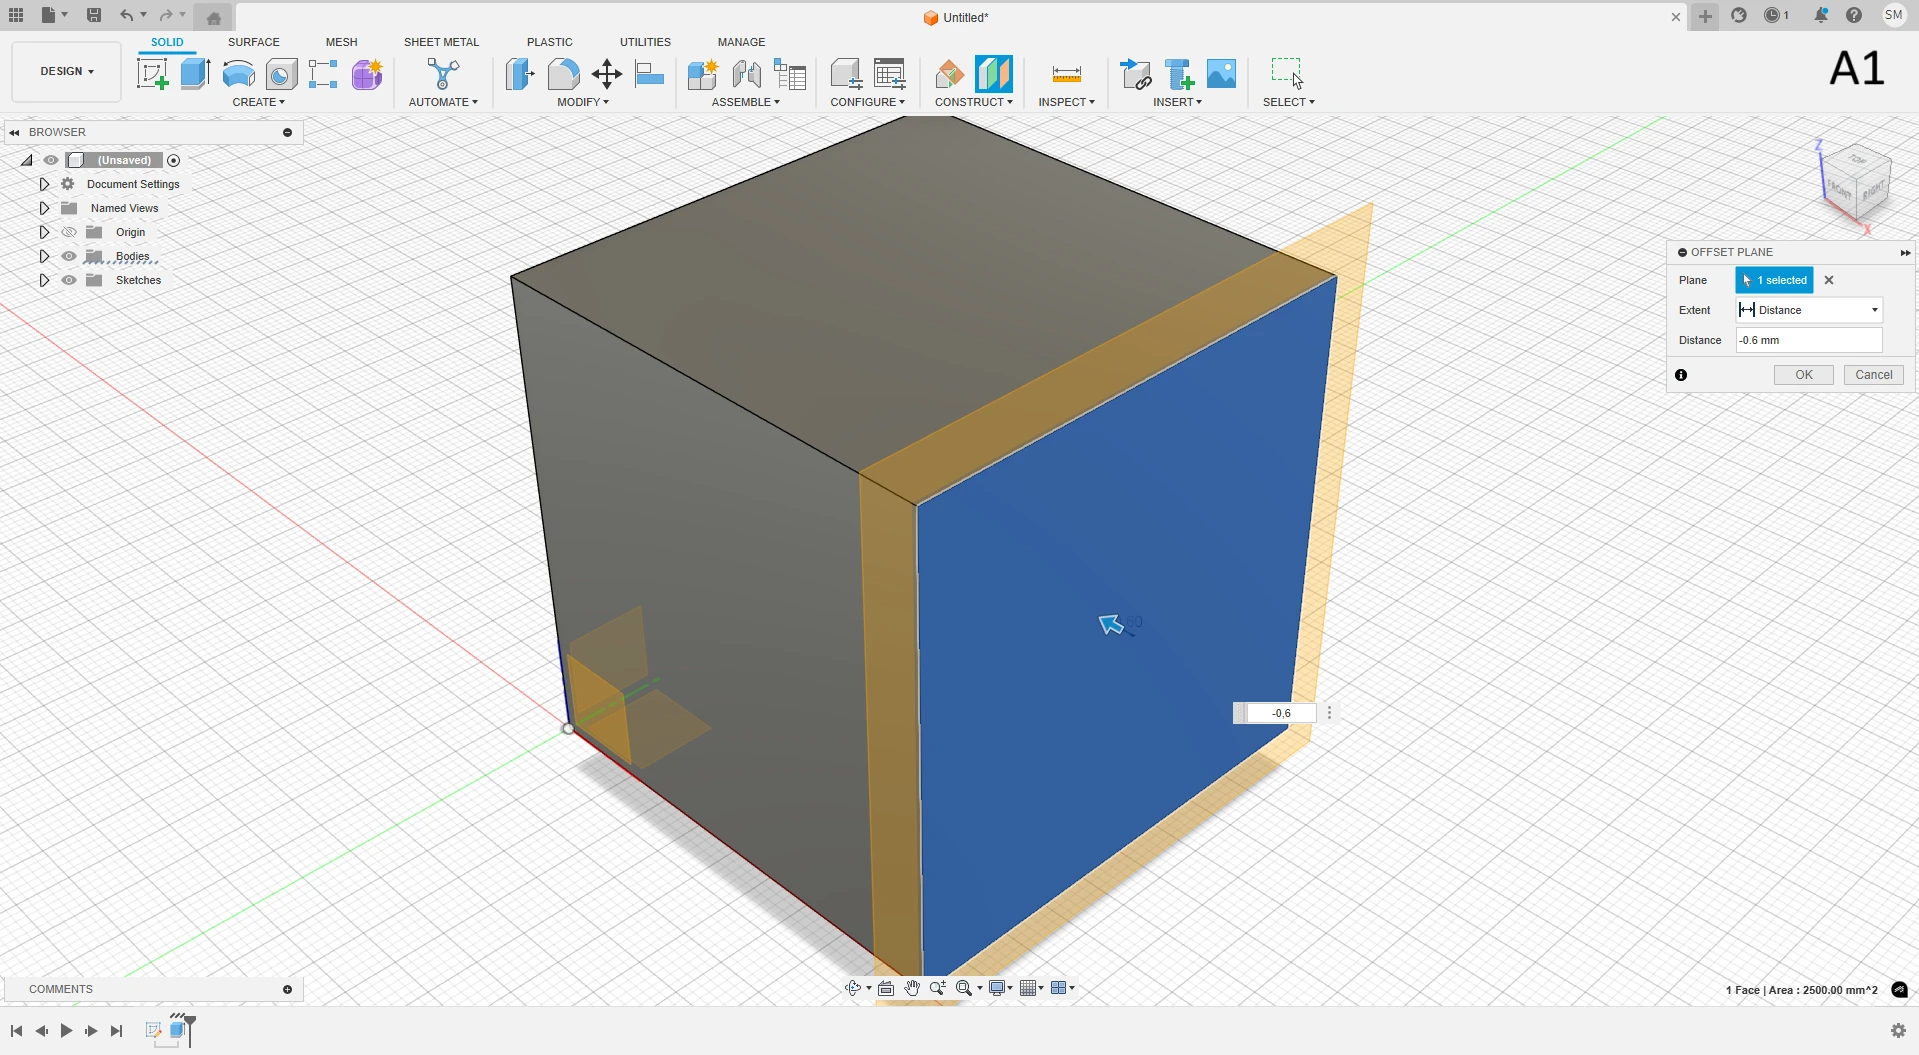
Step 1 : Click on the surface where you want your magnet to be.
Step 2 : create a “plane” on this surface and offset it by 0.6 – 1 mm (see image a1). The thickness depends on how big your object is but with a thicker wall the magnet becomes less strong so try to stay below 1.5 mm.
Step 3 : Create a sketch on this “plane” and make a circle that is approximately the same size as your magnet (see image a2).
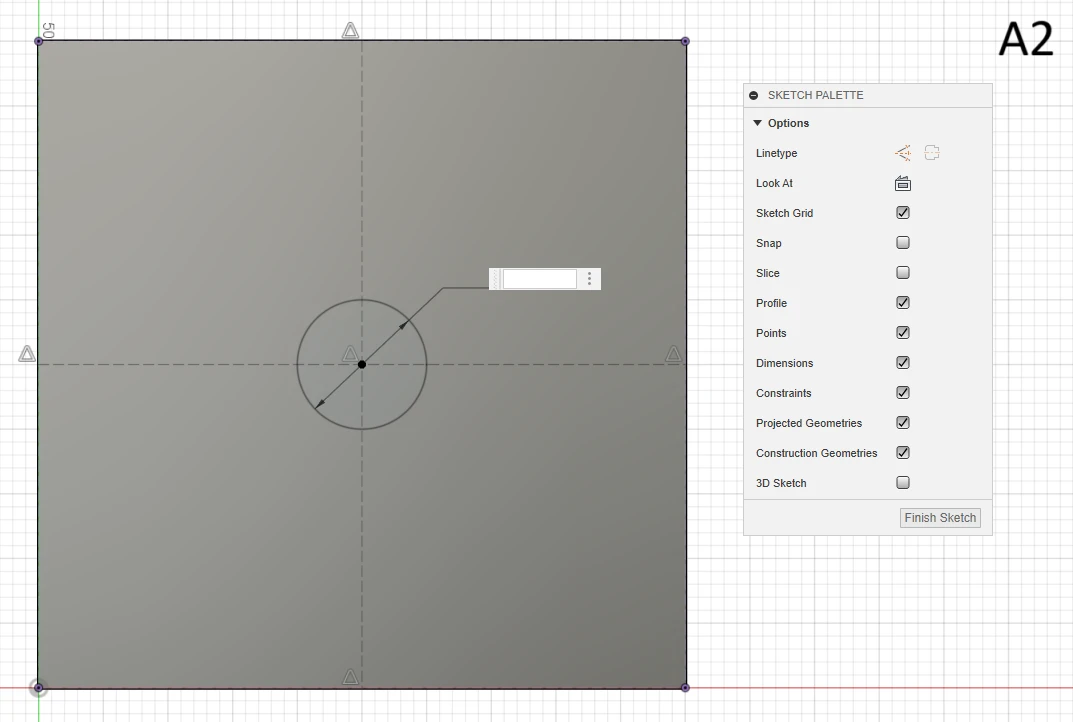
!!!Make sure your circle diameter has a 0.2 offset in each direction to prevent the magnet from not fitting!!!.
Step 4 : This step only applies if your magnet is vertical. If this is the case, you will need to remove a piece above the magnet as shown here (see image a3).
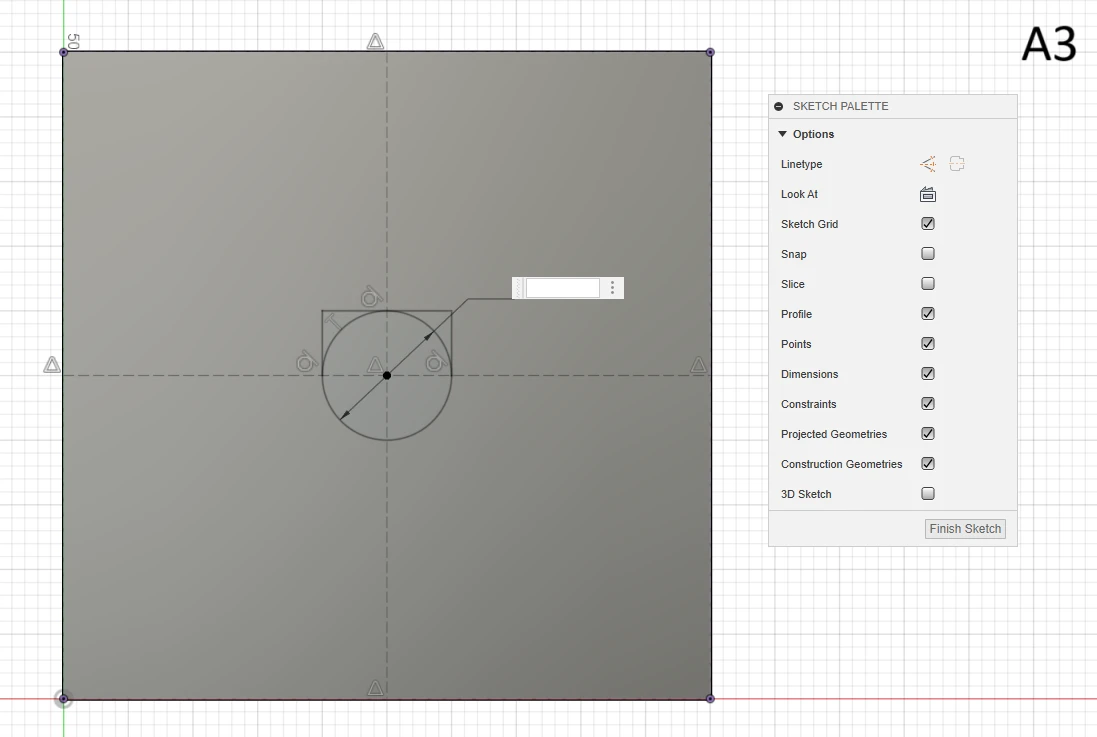
!!!Please note make sure there is at least a 0.2 offset between the magnet and the sketch on top to avoid collision with the print head!!!.
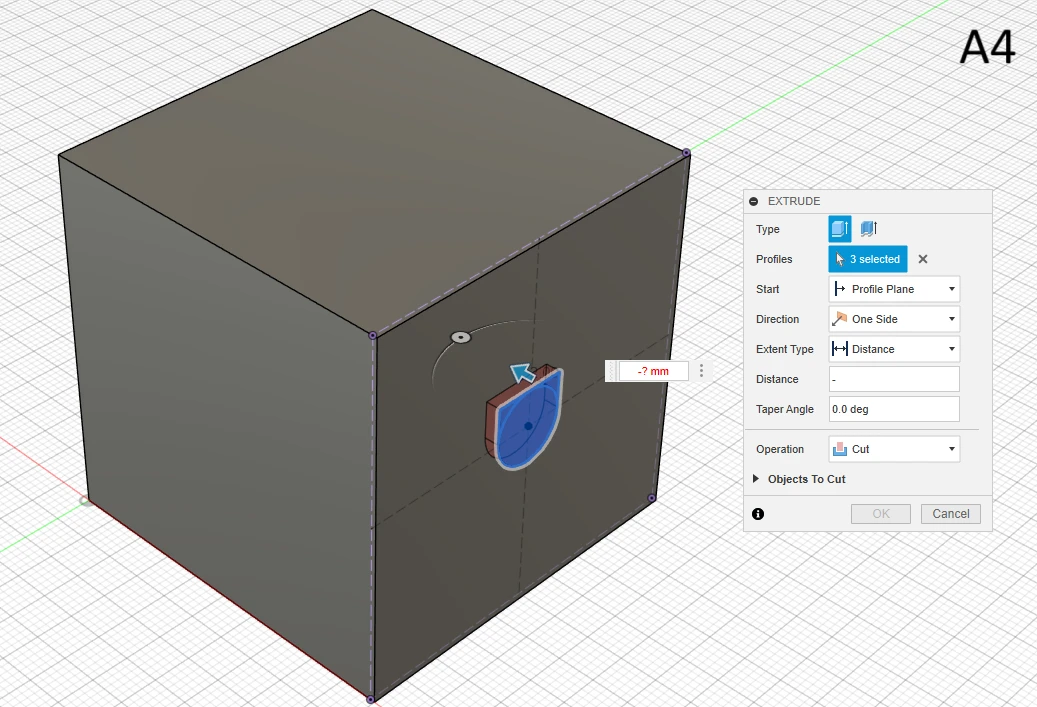
Step 5 : Extrude this sketch with the thickness your magnet has (see image a4).
Step 6 : Click on File, Export at the top left and choose the folder where you want the project.
Slicing
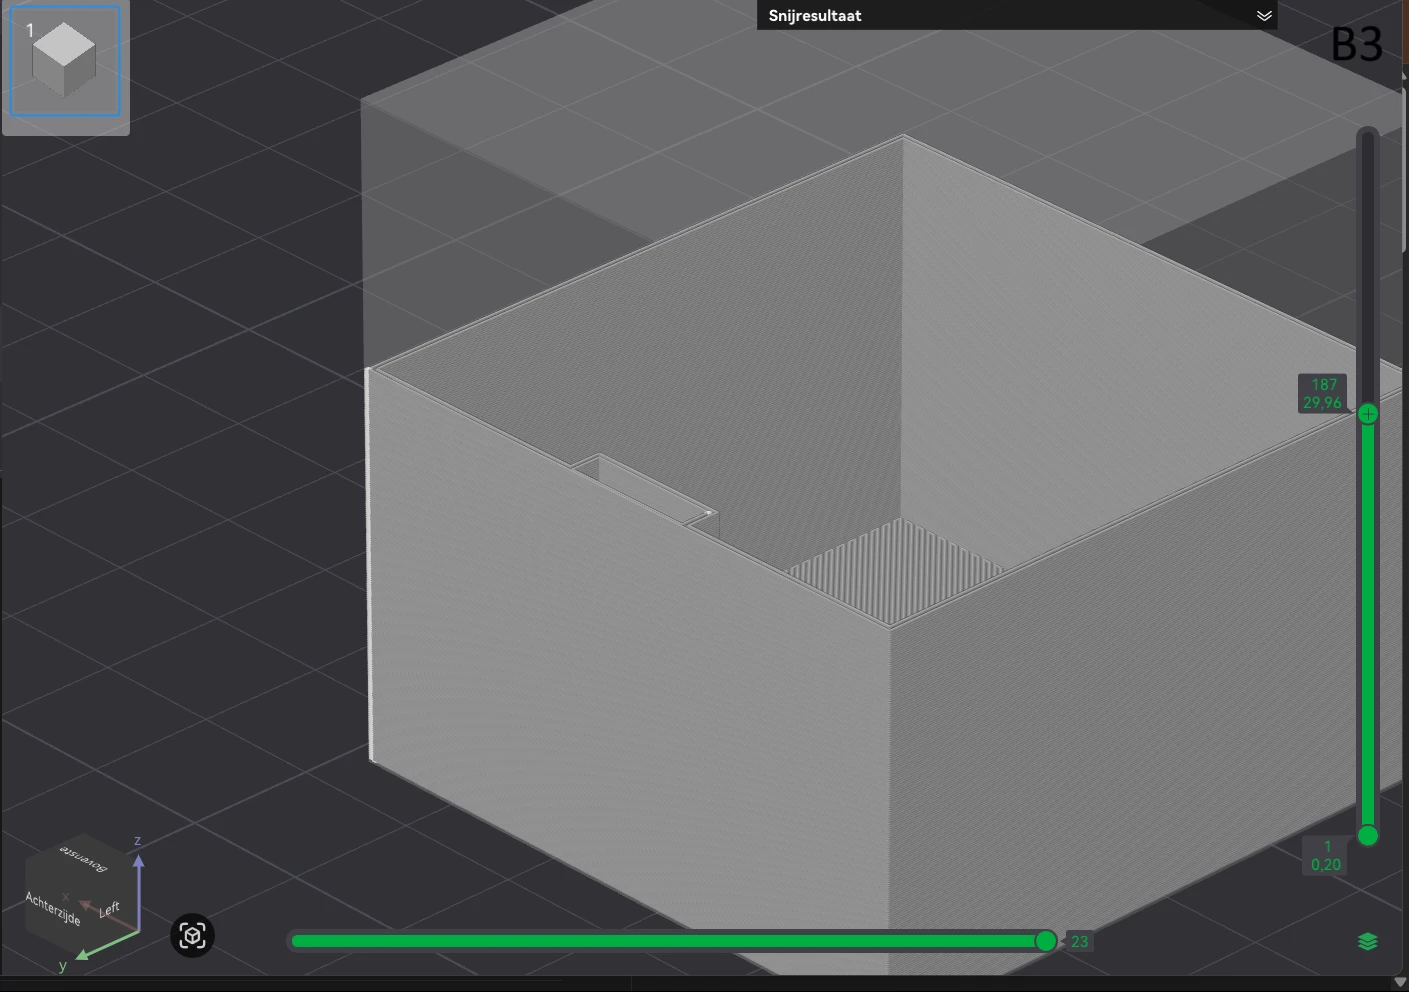
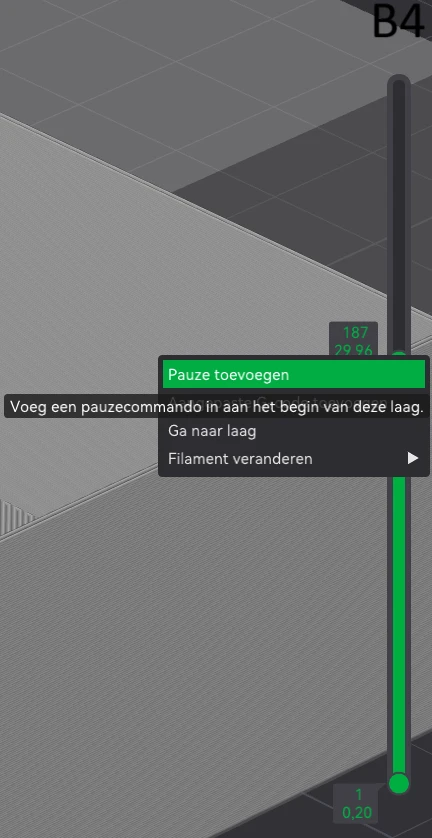
Choose a slicer you like and go to preparation. Then click on import (image b1) at the top of the screen under project. Then check if all settings are as you want. Then click on Slice printbed at the top right of the screen. Then move the slider on the right side of the screen (see image b2) to the layer where the opening of your magnet becomes visible (see image b3). If necessary, use your scroll wheel to select layers more easily. Then press the right mouse button and select Add break (see image b4).
Now follow the normal steps to prepare your print. We recommend setting a timer at the time the break is due. The shorter the break the better the print will look. If you have a longer break a line may become visible in your print. The handy app from Bambu Lab also gives a notification but a timer is a bit more noticeable. You can see the time by hovering over the bar with your mouse on the break. After these steps continue as you normally print your prints.


Adding a magnet practice
When the print finally reaches the break you need to put the magnet in your print. We have a few tips for this process:
- Check the polarity of the magnet if necessary by using a second magnet.
- You can move your print bed as far away from the head as possible. You do this by either going into the printer menu or into the menu of the bambu app and moving the printer so that you can easily reach your print. In the app, go to “device” and you should see your controls there. Or if you are in the handy app you also have to go to “device” but after that you have to click on “printer” and here should be the menu for the printer. (See image c1)
- If the magnet doesn't quite fit, you can heat the surrounding plastic with a heat gun or something similar. It is not recommended to do this with a lighter because there is too little control over the heat.
- Watch your hand! Safety first. Try not to get your hand near the hotend. It may still be warm.
Magnet on the outside
The conclusion is that it is quite useful to put a magnet in your 3d print. You can also put your magnet on the outside of your print but this is of course visible. Placing a magnet on the outside of your print is not very different from what we have already done. You have to follow the steps of "3D Design for magnets" but then without the 1st and 2nd step. To put it easier, the sketch should not be placed inwards with a plane. You also do not have to do step 4. Keep a tolerance so that the magnet fits neatly in your print. To attach the magnet well to the print, it is best to use a glue that is suitable for the type of filament used.
Advantages
- You retain more magnet strength than in the print because there is no layer of plastic between the magnet and the outside.
- It is easier to replace than if the magnet is in the print.
- It is easier to place because you don't have to pause your print.
Disadvantages
- There is no protection against dust and dirt.
- The magnet is not in the print so it will look a little less nice.
- More chance of the magnet coming loose.
- So as you can see the application of each magnet can change to whatever you want.