4.7 avg.
5350+ reviews5350+ reviews
Order by 16:00 for same day shipping
14 days return
DE
EN
Individual
Business
Raspberry Pi Bird Watching
James Mitchell, based in Berlin, has developed Picamera2 Web UI Lite, a web interface for Picamera2 that provides us with a full range of camera settings to adjust, along with an image gallery where we can view and download our images! In this project we are going to install this for our birdhouse! In this project we will show you how to use a Raspberry pi and a camera to watch birds in a homemade birdhouse!
Installing software
To start, we first need to prepare the Raspberry Pi for use. We do this by writing Raspberry Pi OS to a MicroSD card. Then we put the MicroSD card in the Raspberry Pi to boot the Raspberry Pi . We do this as follows:
- Download raspberry install the Raspberry Pi Imager from the official website: https://www.raspberry pi.org/software/.
- Once installed, launch the Raspberry Pi Imager.
- Click on 'Choose OS' and select the operating system you downloaded, in this case Raspberry Pi OS.
- Click on 'Choose storage' and select the MicroSD card you want to use.
- Click 'Write' and confirm when prompted. This will write the image file to the MicroSD card.
- Wait for the writing process to complete. Once it is done, you can safely eject the MicroSD card.
Now you have successfully written the image file to the MicroSD card using Raspberry Pi Imager, and you are ready to proceed with the installation of your Raspberry Pi 5.
First Configuration
Follow the on-screen instructions to perform initial configuration, such as setting language, time zone, and password. Update the software by running the following command in the terminal:
sudo apt update && sudo apt upgrade –y Cooling Unit Confirm
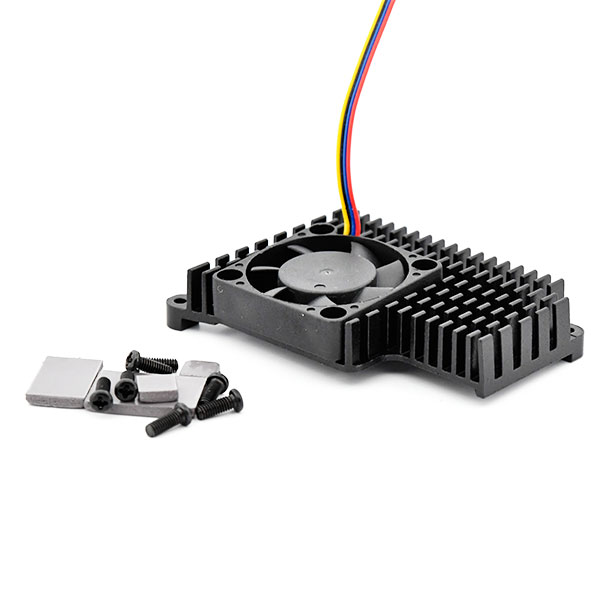
For this project we are going to place a cooling unit on the Raspberry Pi . This way we know for sure that the Raspberry Pi will not overheat and you can keep watching the birds for a long time! We do this as follows:
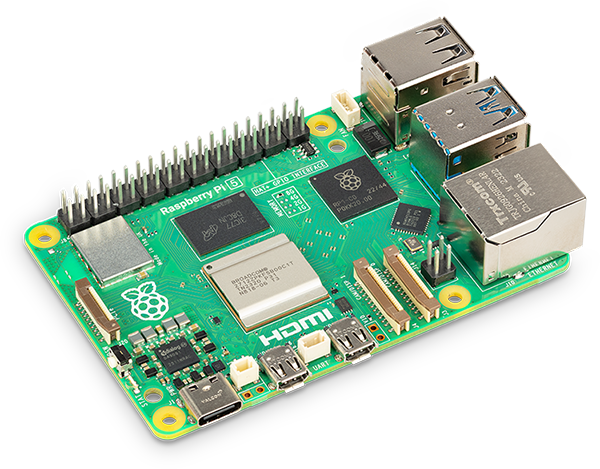
- Place the Raspberry Pi 5 on a stable surface, preferably with the GPIO pins facing up.
- If necessary, apply a thin layer of thermal paste to the Raspberry Pi 5 CPU. This will help dissipate heat more efficiently to the cooling unit.
- Place the cooling unit on top of the Raspberry Pi 5 CPU. Make sure the cooling unit is properly aligned with the CPU and that any mounting holes align.
- Use the supplied screws or suitable screws to firmly fix the cooling unit in place. Tighten the screws evenly to ensure even pressure and prevent damage to the components.
- Check that the cooling unit is firmly attached and does not move. This ensures good heat dissipation and stability during use.
- Once the cooling unit is securely attached, you can start using your Raspberry Pi 5 again. Note any improvements in the thermal performance of the system.
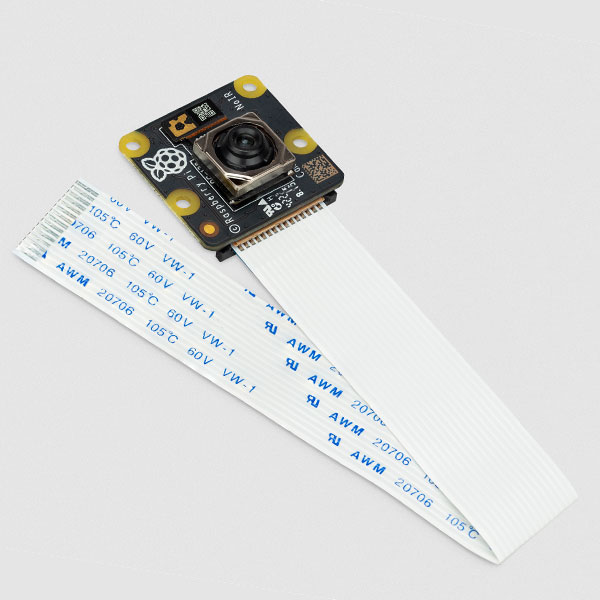
Camera Mount
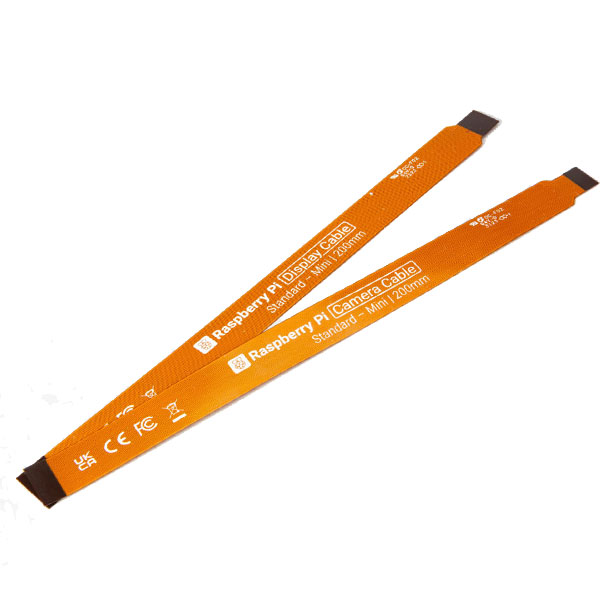
- Take the Camera Cable Standard Mini and connect one end of it to the camera port on the Raspberry Pi 5. Make sure the connection clicks firmly into place.
- Take the Noir Camera module and connect the other end of the cable to the camera port of the camera. Again, the connection should be tight.
- Make sure the camera and cable are aligned correctly and that there is no excessive pressure on the connector or ports.
- Check that the connections are secure and that there are no loose parts. This will ensure that the camera is correctly recognized and used by the Raspberry Pi 5.
- Once the Noir Camera is properly mounted, you can power on your Raspberry Pi 5 and use the camera functions as required. Test the camera to make sure everything is working properly. You can do this with the following code: rpicam-hello
- You should see a preview window of the camera for about five seconds. If that doesn't happen, check that the camera is securely attached to both the cable and the Raspberry Pi.
Installing Real VNC
Installing RealVNC Server on Raspberry Pi 5
- Open a terminal on your Raspberry Pi 5.
- Run the following command to install RealVNC Server:
sudo apt install realvnc-vnc-server- During installation you may be asked to confirm. Type 'Y' and press Enter to continue.
- After the installation is complete, RealVNC Server will start automatically.
Step 1: Install RealVNC Viewer on an external device (optional)
If you want to use RealVNC Viewer to control your Raspberry Pi 5 from another device, such as a computer or smartphone, you will need to install RealVNC Viewer on that device. Go to the RealVNC website and download the RealVNC Viewer that is appropriate for your operating system. Install RealVNC Viewer according to the instructions on the website.
Step 2: Connect to Raspberry Pi 5 via RealVNC Viewer
- Open RealVNC Viewer on the remote device.
- Enter the IP address of your Raspberry Pi 5 into the address field of RealVNC Viewer and press Enter.
- Enter your Raspberry Pi 5 username and password when prompted. By default, the username is 'pi' and the password is ' raspberry '.
- Click 'Connect' to establish a connection.
- You should now see your Raspberry Pi 5 desktop on the external device, and you can control it as if you were working directly on the Raspberry Pi 5.
With these steps you should have successfully installed and connected RealVNC to your Raspberry Pi 5. Didn't work?
Find Hostname
Find the hostname of your Raspberry Pi . Remember the hostname for later use. The hostname is also in the command prompt, right after the @ symbol.
Add -I to the end of the hostname command to show the IP address of the Pi:
HostnameDownload and Unpack Package
Download the project repository from GitHub to your home directory. When you open a terminal, it will automatically be pointed to your current user's home directory. Note that the Picamera2 Web UI Lite GitHub page states that we should clone the repository, but recent changes to GitHub authentication have made this difficult, hence the choice to download the repository:
wget https://github.com/monkeymademe/picamera2-WebUI-Lite/archive/refs/heads/main.zipExtract the archive to the current directory. This will create a new directory in your home folder:
unzip main.zipNavigate to the directory called “Picamera 2”:
cd picamera2-WebUI-LiteStart the project with Python:
python app.pyProgram Testing
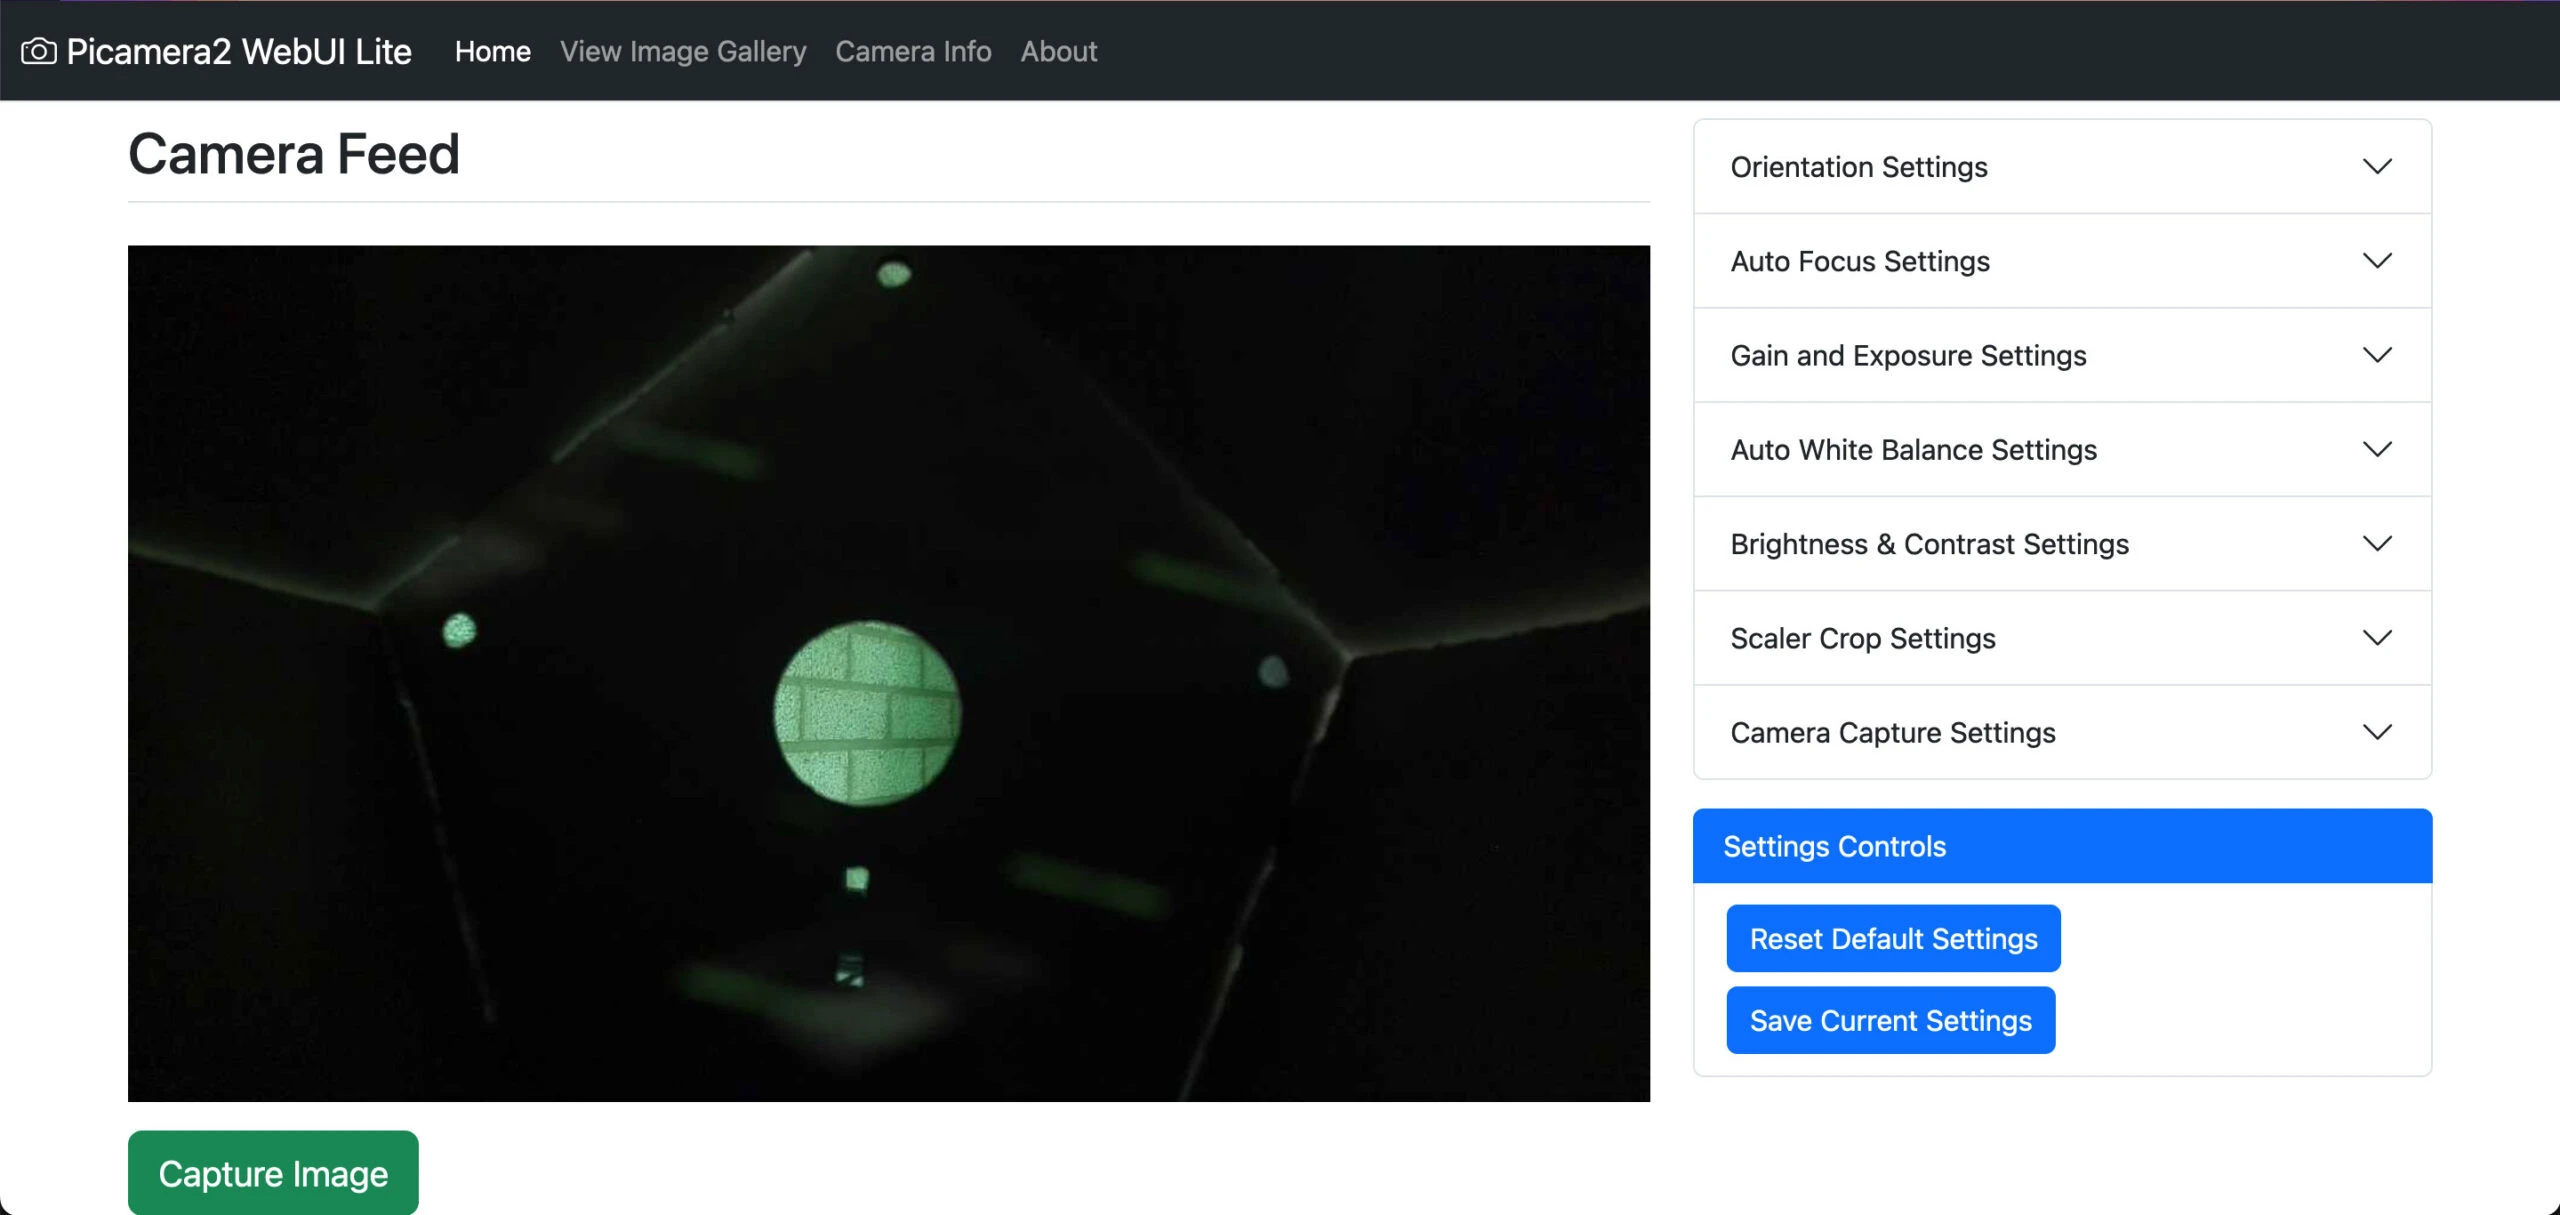
On another computer, open a browser and go to “ raspberry pi.local:8080 ” to view the interface. If this doesn’t work, try using the IP address of the Pi. You should now be able to see what your camera is seeing via the web browser. The web user interface itself has a few settings that you can tweak to your liking. Take a look and tweak to your liking!
Raspberry Pi Attach Birdhouse
To attach the Raspberry Pi to the birdhouse for outdoor use, you will need an external power bank or a power outlet nearby. This way, the Pi will continue to be powered while the birdhouse is outside. We made our birdhouse from durable cardboard using a laser cutter. You can find the design files for the birdhouse via this link (add the link). To ensure that our Raspberry Pi stays dry, we securely attached it to the bottom of the birdhouse using four standoffs.
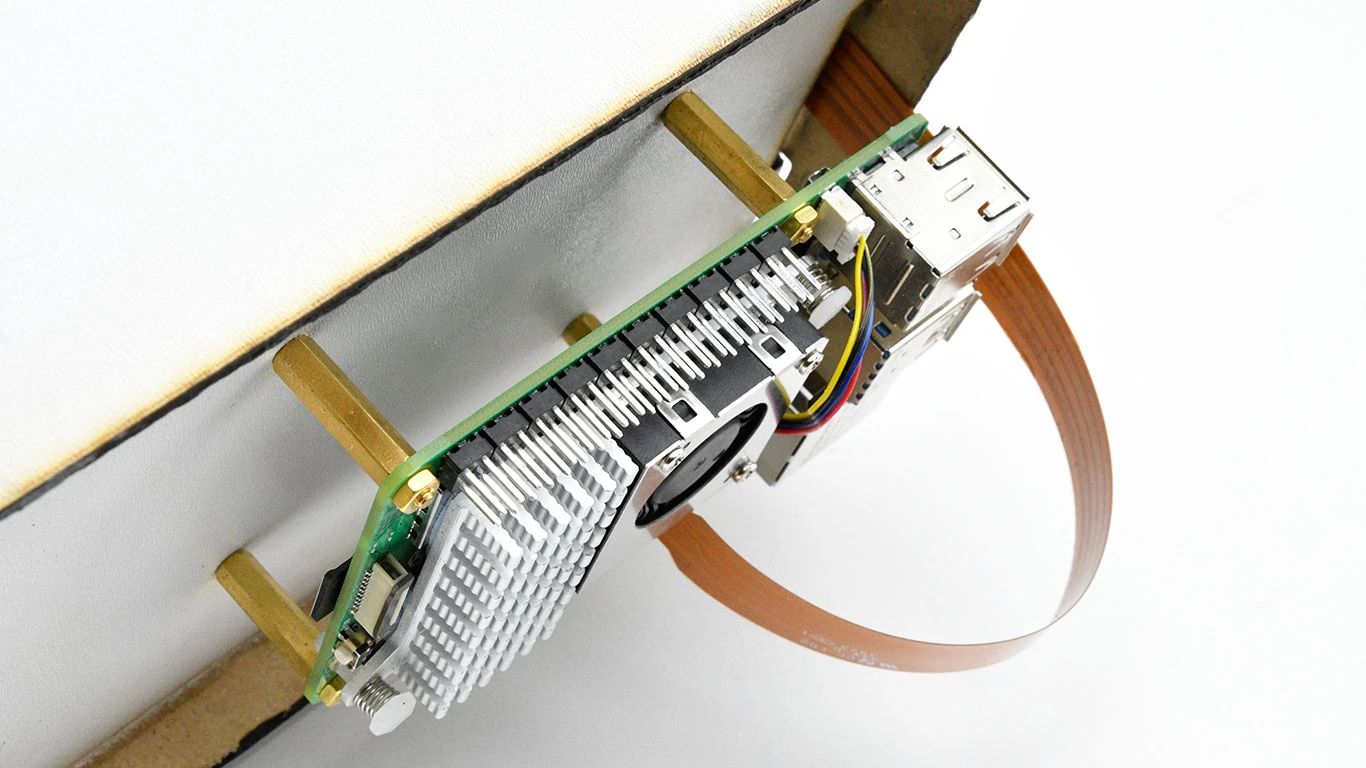
As you can see we have attached our Raspberry Pi to the bottom and the camera running from the outside in and glued to the inside of the birdhouse. You already have the Raspberry Pi with the necessary software and camera, so all you need is a suitable birdhouse. We believe that it is best to make this yourself! This way you can see for yourself what is best suited for your situation. If you want the exact same birdhouse click here . If you don't want that you might wonder where you attach your Raspberry Pi and where you attach your Camera. That completely depends on what kind of birdhouse you are going to make, so we say try and learn!
Please note: We have created this project to give an idea of what you can do with your Raspberry Pi and a Camera. We are not responsible for any damage to your Raspberry Pi or other components.