4.7 avg.
5469+ reviews5469+ reviews
Order by 16:00 for same day shipping
14 days return
DE
EN
Individual
Business
Raspberry Pi project: Print server
A printer server is a computer with one or more connected printers that can be reached via a network. Many modern printers have a built-in printer server. If your printer does not have this, you can solve this by using a Raspberry Pi as a print server. In this tutorial I will go through the steps for setting up a Raspberry Pi print server.
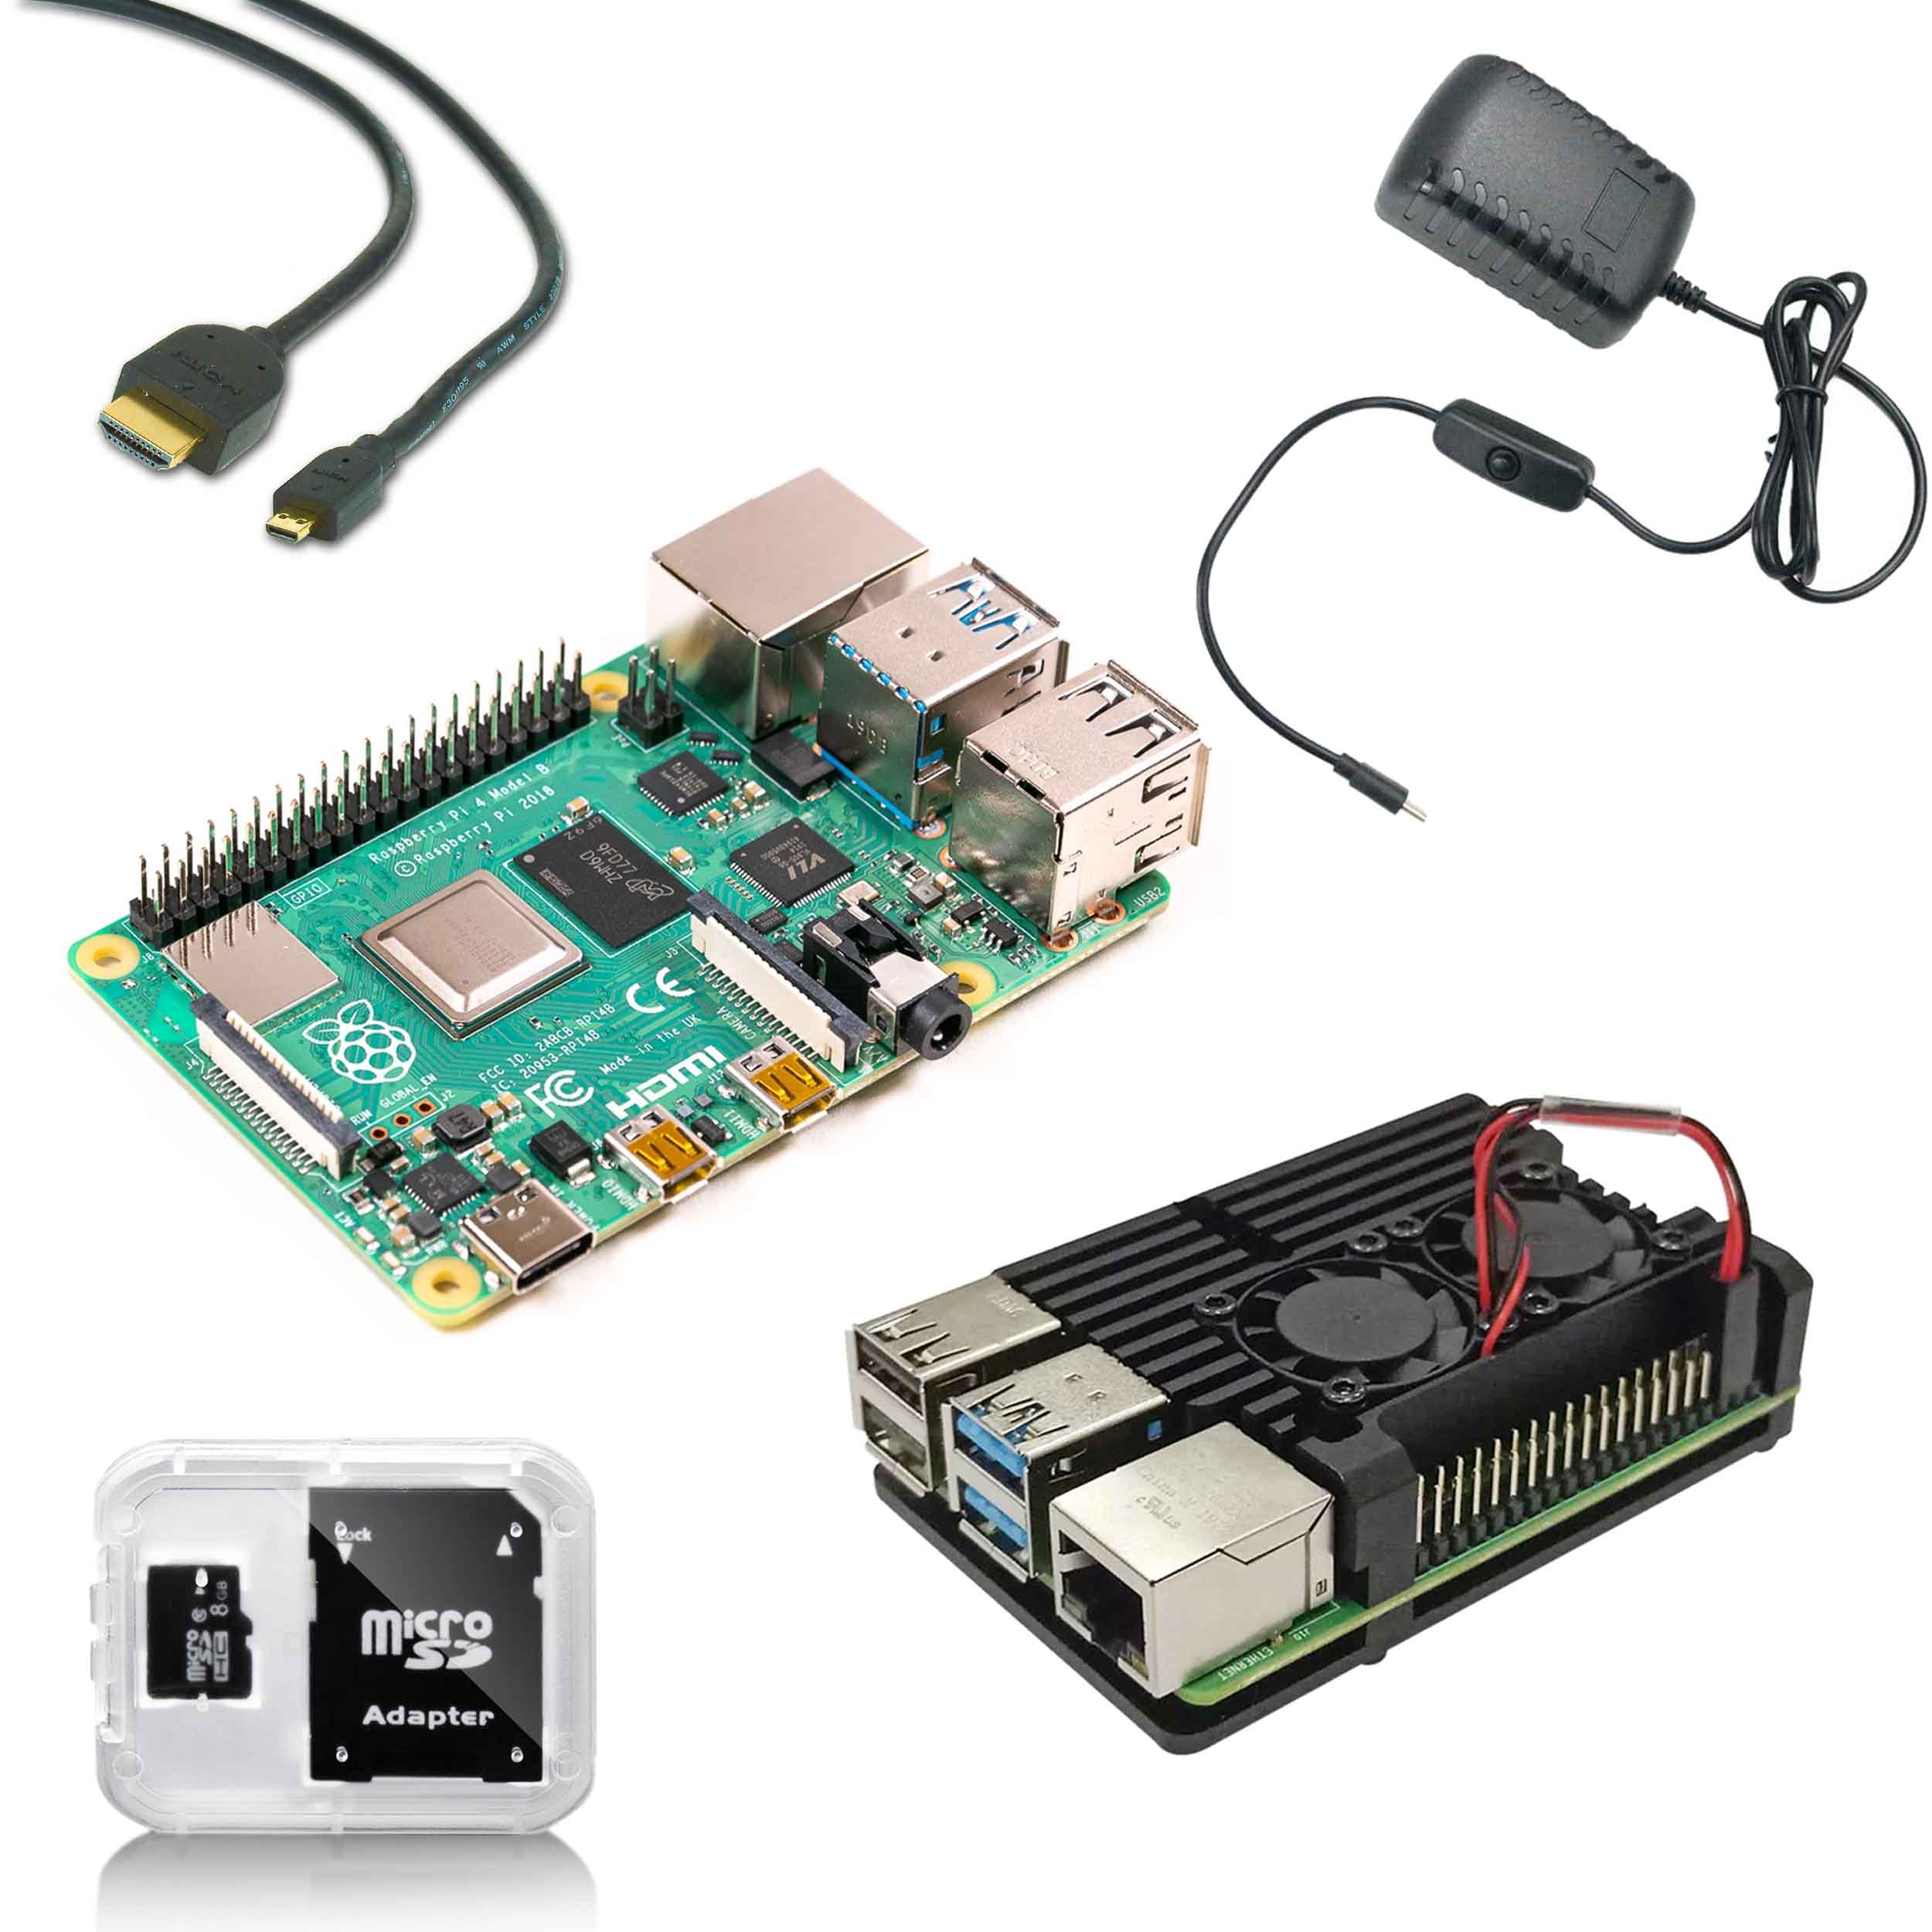
Connect & Startup
First, you need to connect your printer to your Raspberry Pi using a USB cable. Then, turn on your Raspberry Pi and USB printer. Once you have booted up your Raspberry Pi , you need to open the terminal. In this terminal, you can enter the commands that you want the Raspberry Pi to do. What to type in here, you will find in the next chapter.
Set up print server
Update Raspberry Pi
First, we need to update the Raspberry Pi . We do this to ensure that we are using the latest software. To do this, we enter the following commands into the terminal:
sudo apt update
sudo apt full-upgrade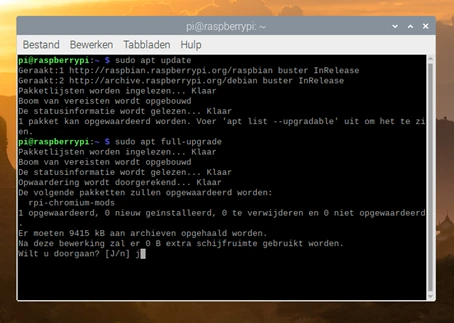
Reboot Raspberry Pi
Once the update is complete, reboot the Pi with sudo reboot.
sudo rebootInstall the Common Unix Print System (CUPS) software
Once the Raspberry Pi is updated, we can start installing the print server software. In this case, we are installing CUPS.
Install this software by typing the following command in the terminal:
sudo apt-get install cupsDownloading may take some time…
Once CUPS is done installing, there are a few additional things we need to do.
The first thing you need to do is add the pi user to the lpadmin group. This group will give the pi user access to the administrative functions of CUPS without having to use the superuser. This will allow us to administer the print server later.
sudo usermod -a -G lpadmin pisudo apt-get install sambaInstalling Samba on Raspberry Pi
Samba allows users of a Windows system to access shared files and printers on a Unix system and vice versa. This is necessary to make your Raspberry Pi work as a print server. You can install Samba by entering the following command:
Once Samba is installed on your Raspberry Pi , we need to open the configuration file and perform several operations. We can open the file with the following command:
sudo nano /etc/samba/smb.confScroll down here and change the following information:
guest ok = no –> yes
read only = yes –> no
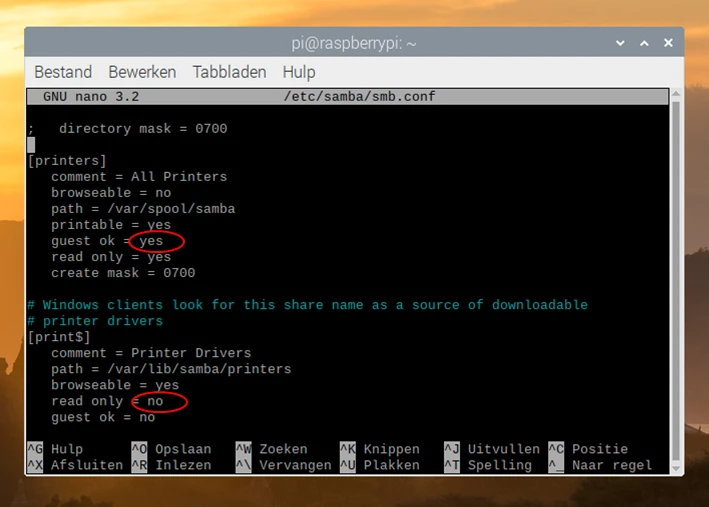
Then save the file by pressing ctrl + X (Exit), and then pressing j (Yes).
Now we need to restart Samba. To do this, type the following line into the terminal:
sudo systemctl restart smbdAdding a printer to CUPS
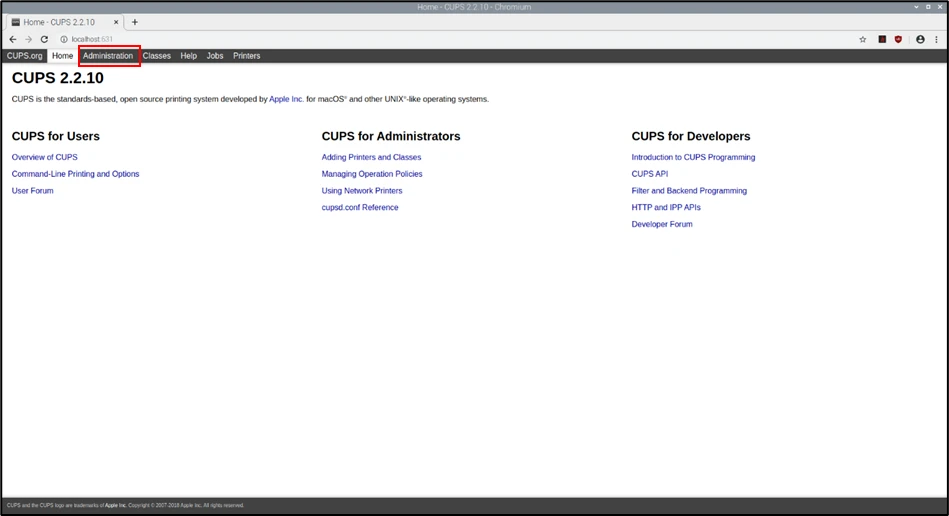
Now that you have Samba properly installed, you can add a printer to CUPS. To do this, go to your web browser and find the following site:
localhost.631
Then you will see this screen. Click on Administration here.
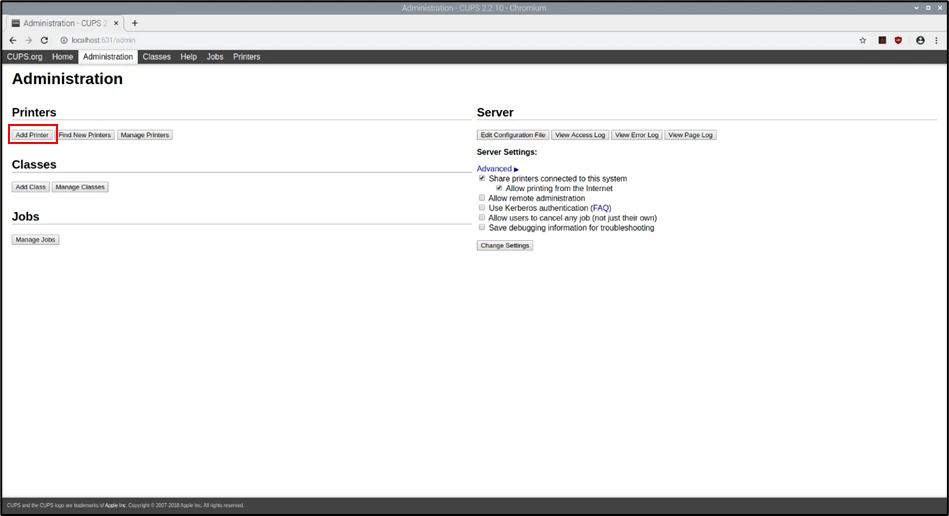
You will then come to the following screen. Here you need to click on Add Printer .
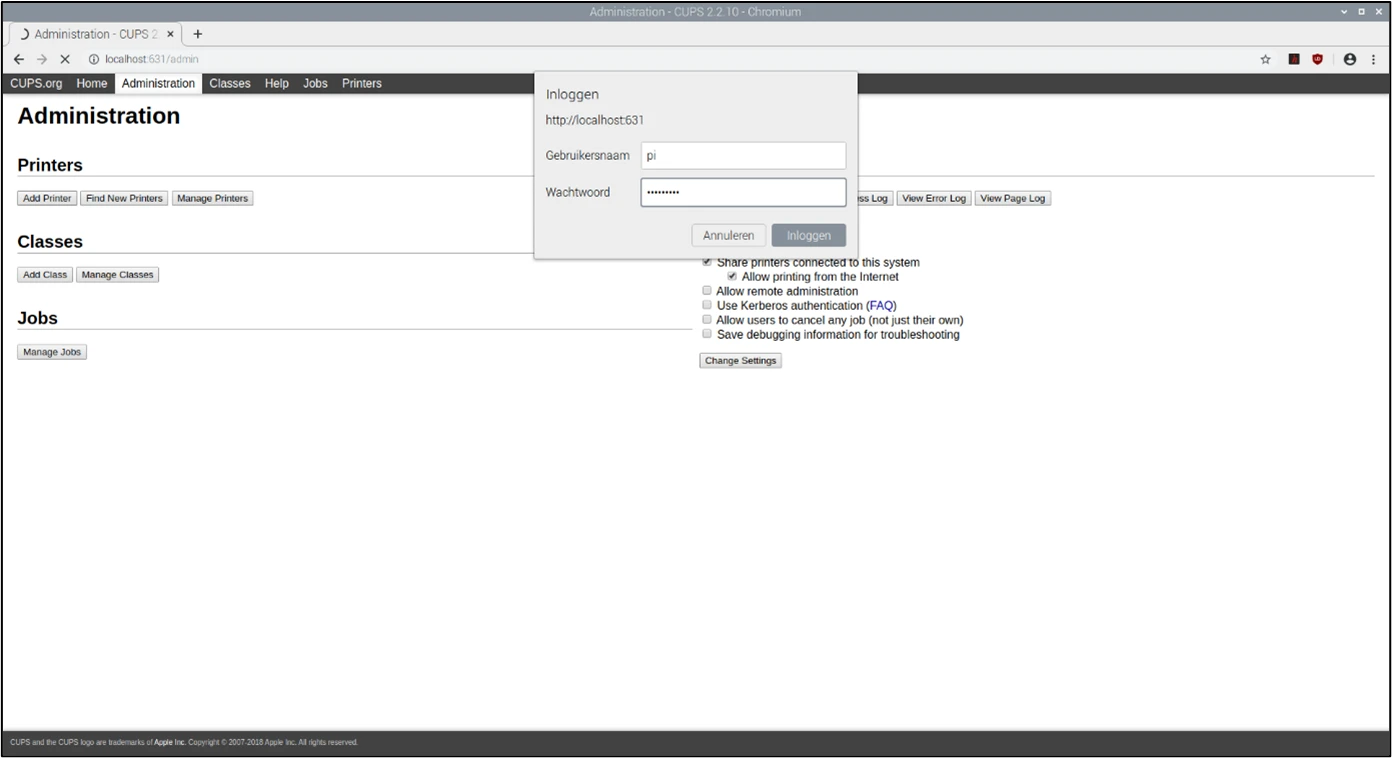
Often you will be asked to log in to continue. You will need to enter your username and password. If you have not changed this, your username will be ' pi' , and your password will be ' raspberry' .
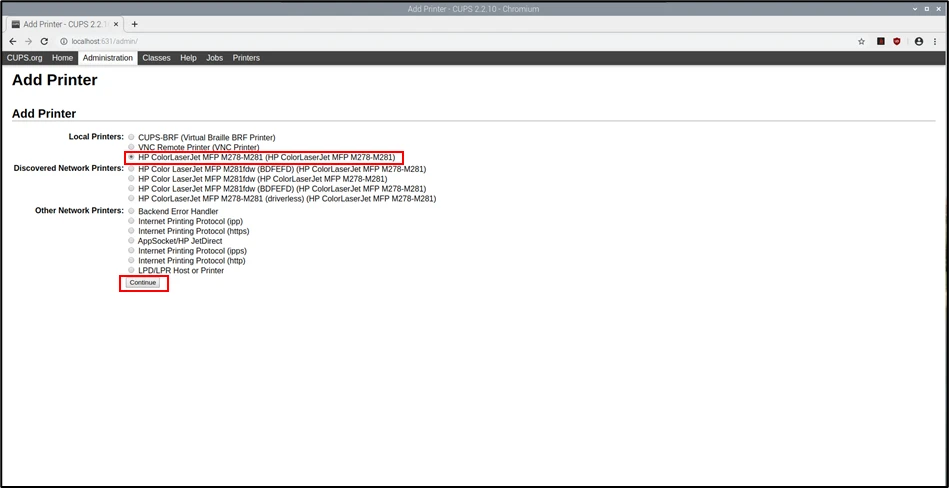
Then you will come to this screen. Here you can select your printer. Your printer that you connected to your Raspberry Pi with a USB cable is listed under “Local Printers”. You need to select this. Then click on Continue .
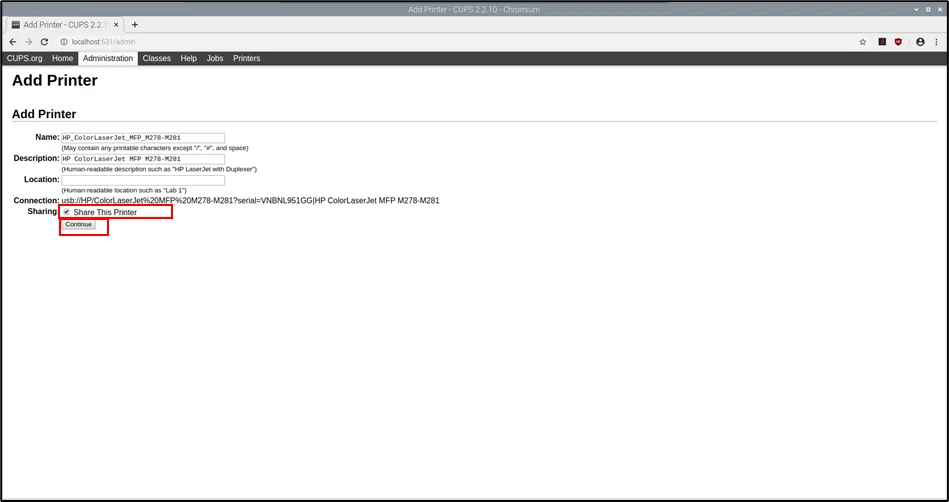
You will now go to the next screen. Here you can give your printer a name and a description. It is useful to set the location if you have multiple printers in your home that you have to deal with. I will leave it as it is. You do have to check the box that you want to share your printer. Then you have to click on Continue .
Then click Continue here as well.
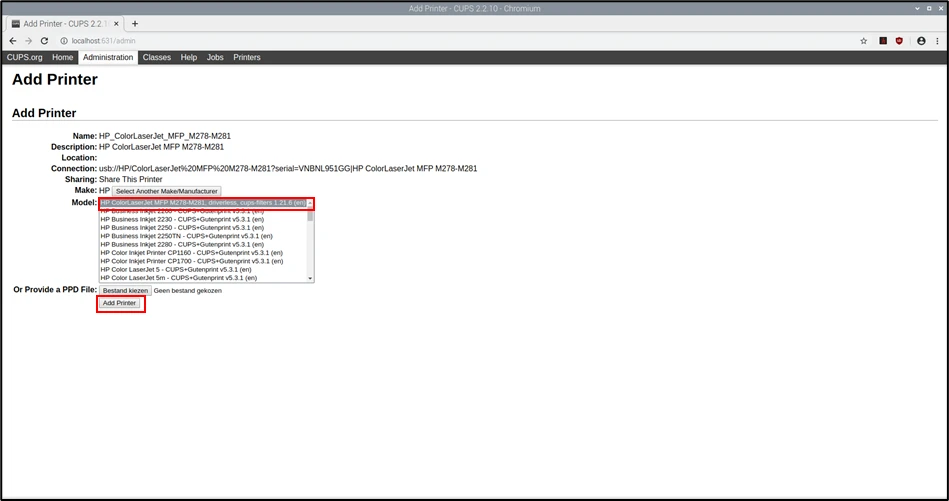
Now you will come to this screen. On this screen you need to select the model of your printer. CUPS will try to auto detect the model and choose the right driver. Once you have done this, click on Add Printer .
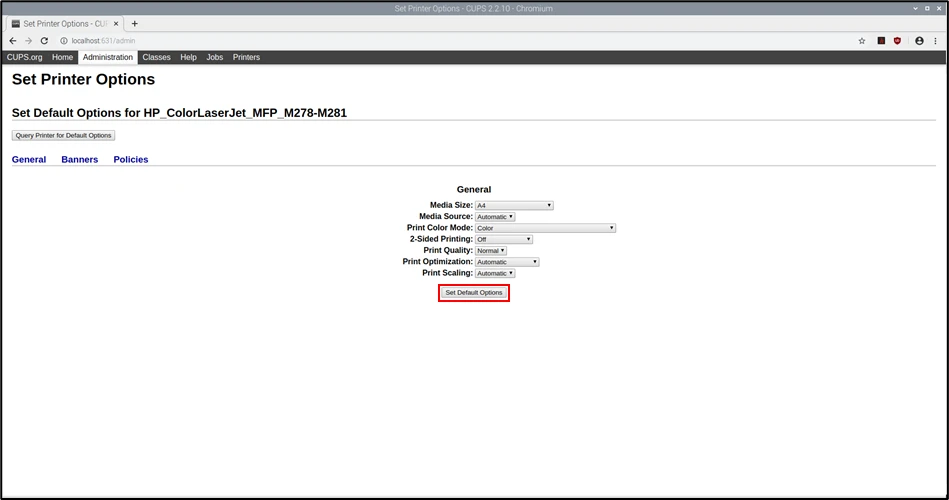
The last screen you will see after setting up your printer is shown below. In this screen you can change some of the specific settings of the printer. Such as the print size of the page, the print quality and various other options. Then click Set Default Options .
Now you will come to the following screens:
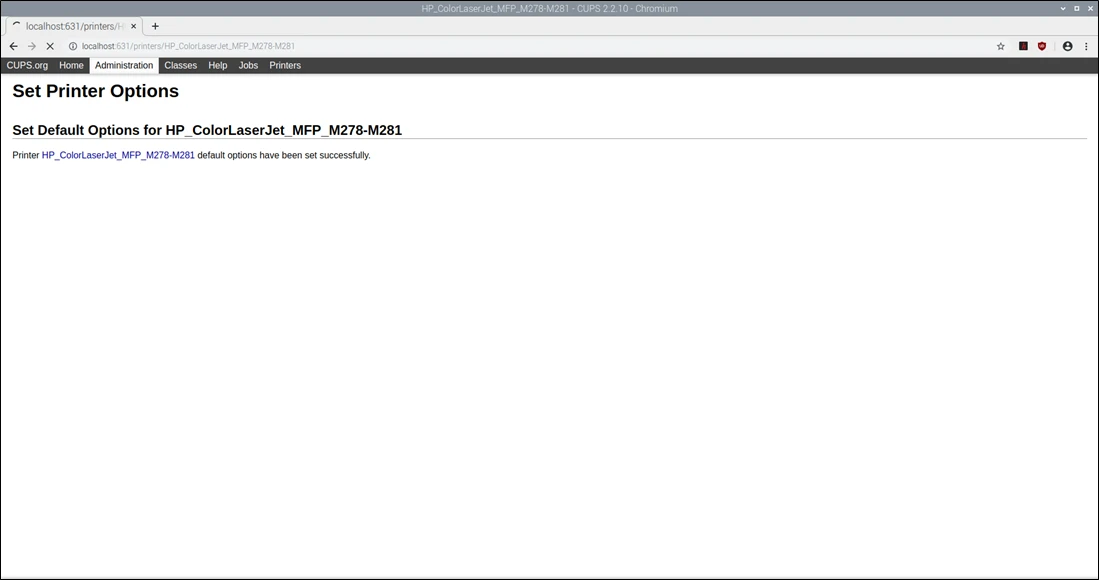
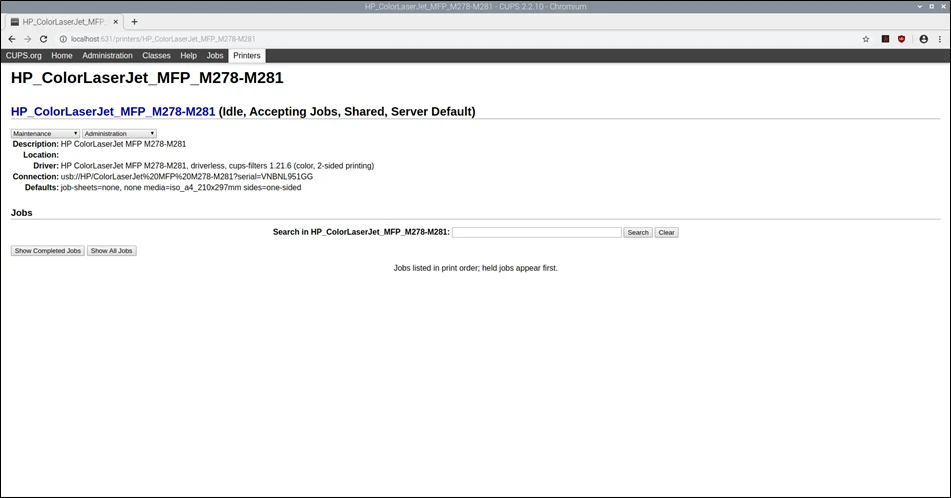
You see that you have shared your printer.
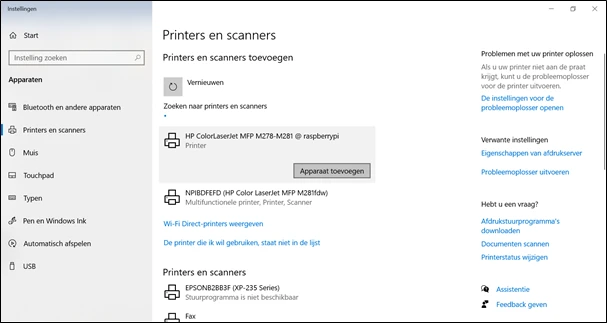
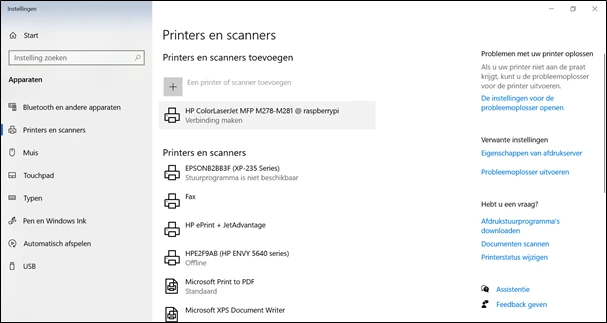
Now you can use the Raspberry Pi as a print server. When you go to Printer and scanners settings on your PC, you will see the Raspberry Pi listed. This way you can start a network connection with a USB printer.
Once you have successfully completed this project, you will know how to create a print server using your Raspberry Pi .