Raspberry Pi Project: Controlling a light via web server
During this project, which is a follow-up to the introduction of how to make a web server . Are you going to make a web server that allows you to turn an LED light on and off.
This is a beginner/intermediate project where you take the knowledge from the introduction and expand on it. We do this by using a web server to send a signal to the GPIO pins to turn a light on or off. The GPIO pins on the Raspberry Pi are the control pins. There are 26 GPIO pins, 8 ground pins, 2 3.3V pins, 2 5V pins, and 2 ID EEPROM pins.
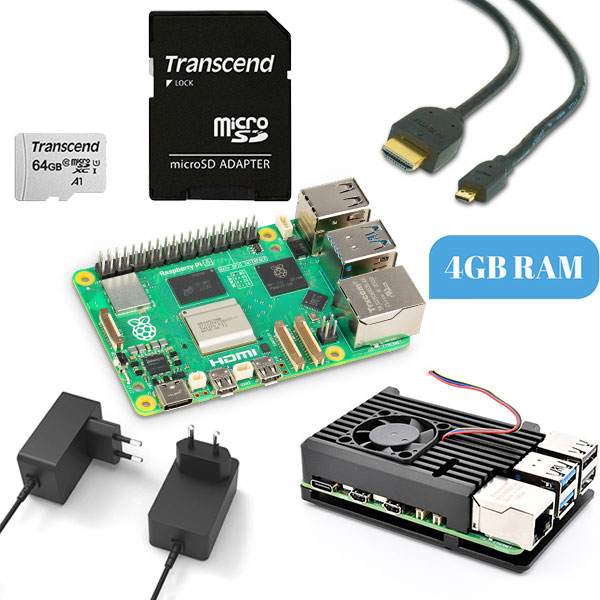
For this project we will again use the Raspberry Pi OS software.
Building and Wiring
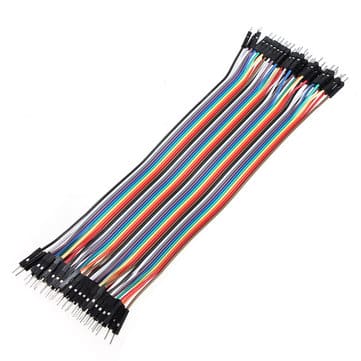
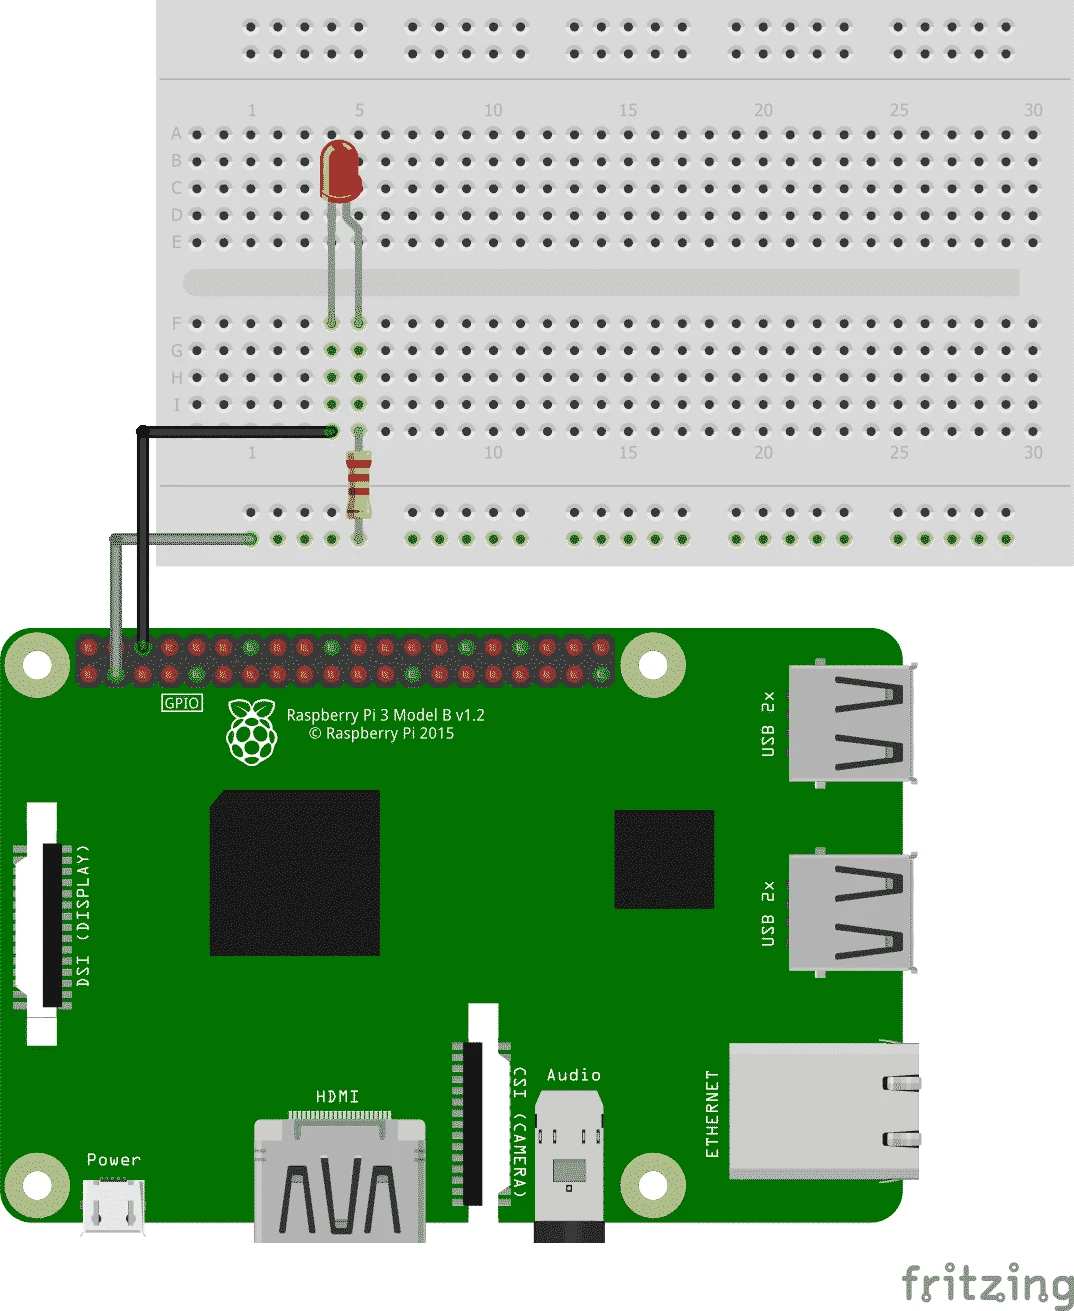
Now that you have everything collected you can start wiring it.
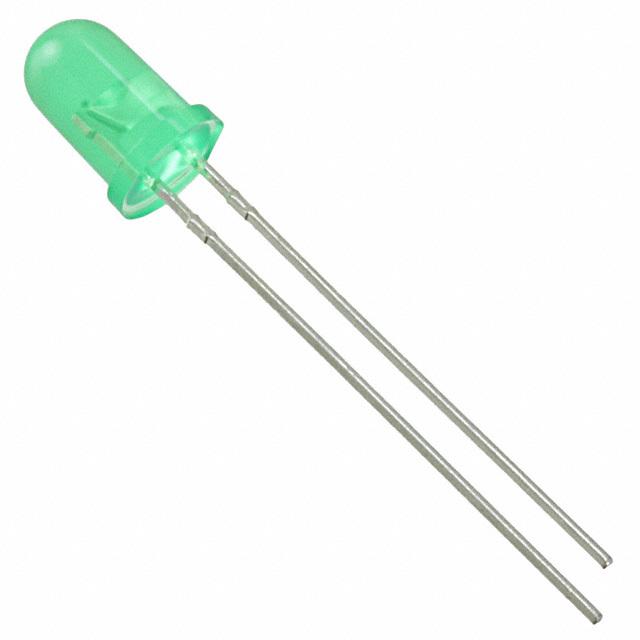
First you put the LED light in the breadboard so that you still know which is the plus and which is the minus, the long pin is the plus and the short the minus. If you accidentally swap this, for example, your LED light can break.
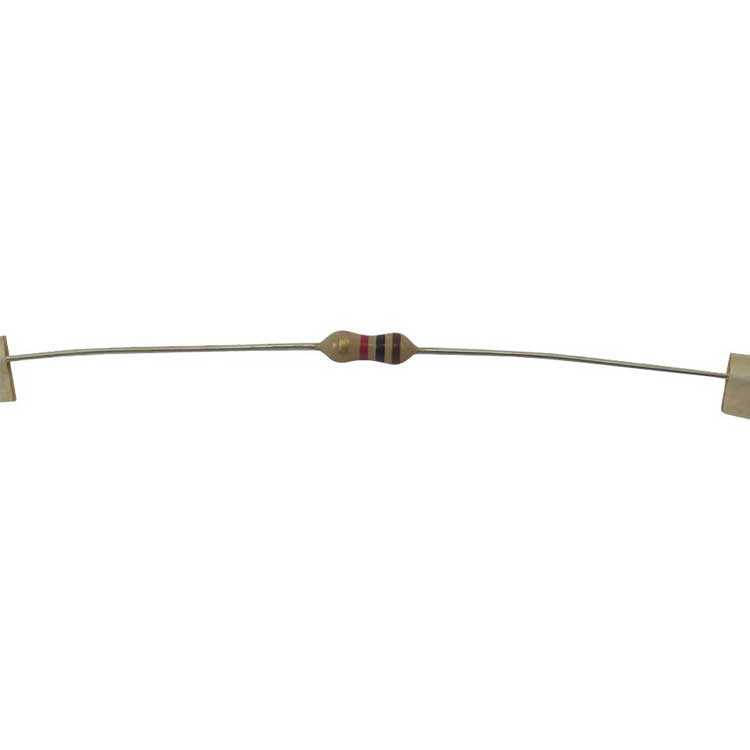
Then you go from the plus with a 220 ohm resistor to the plus of the breadboard. The reason you put a resistor before or after the light is so that the amount of current that goes through it is limited. That in turn ensures that your LED light cannot suddenly break. From the plus on the breadboard you go to the GPIO 2 pin that is on the bottom row the second from the left and finally you go from one of the ground pins to the minus of your LED light. The ground pin that I use here is on the top row and is the third from the right.
You now also need to connect the screen, mouse, keyboard and power supply. The screen is connected via the HDMI connection with an HDMI cable. The mouse and keyboard are connected via the USB connection and the power supply via the micro USB connection.
Programming
Now that you have everything connected you can start programming your Raspberry Pi .
We do the programming in the via Thonny Python IDE and in the Text Editor. The first code below is the code that needs to be in the Thonny Python IDE. This code ensures that your web server starts and that when a signal is sent via the server that it turns on the GPIO pin.
The second code is your HTML file this ensures that we can send a signal to the Raspberry via the web server. Once you know how this works you could even put multiple buttons on your server.
For this project you need to put the py and html files in the same folder again, otherwise the server won't work.
The code below needs to be put into the Thonny Python IDE.
from flask import Flask, send_file

import RPi.GPIO as GPIO


#hier define je de GPIO pinnen

GPIO.setmod(GPIO.BCM)

led = 2

GPIO.setup(led, GPIO.OUT)


app = Flask(‘light’)


@app.route(‘/’)

def index():

       return send_file(‘light.html’)


@app.route(‘/images/<filename’)

def get_image(filename):

       return send_file(‘images/’+filename)


#als de server het turnOn signaal geeft gaat het lampje branden

@app.route(‘/turnOn’)

def turnOn():

       GPIO.output(led, GPIO.HIGH)

       return ‘turnedOn’


#als de server het turnOff signaal geeft gaat het lampje uit

@app.route(‘/turnOff’)

def turnOff():

       GPIO.output(led, GPIO.LOW)

       return ‘turnedOff’


app.run(debug=true, port=3000, host=’0.0.0.0′)
The code below is the html code, you have to write it in Text Editor and call it light.html and put it in the same folder as your py file.
<!doctype html>
<html>
<body>
<title>Internet light</title>
<meta charset=”utf-8″/>
<style>
.head{
width: 50%;
margin: 0 auto;
text-align: center;
}
.content{
width: 50%;
margin: 10% auto;
text-align: center;
font-size: 30px;
}
.button{
margin: 20px;
width: 200px;
height: 100px;
border: solid 5px;
border-radius: 30px;
line-height: 60px;
font-size: 25px;
text-align: center;
}
#output{
text-align: center;
font-size: 20px;
color: #AAA;
}
</style>
<script>
var button;
var output;
var on = true;
window.onload = function(){
button = document.getElementById(‘button’);
output = document.getElementById(‘output’);
button.style.backgroundColor = ‘#CFD0D0’;
button.style.borderColor = ‘#F1F1F1’;
output.innerHTML = ‘ ’;
}
var send = function(){
var xhr = new XMLHttpRequest();
output.innerHTML = ‘Wait…’;
if(on === true){
xhr.open(‘GET’, ‘turnOn’, true);
}else{
xhr.open(‘GET’, ‘turnOff’, true);
}
xhr.onreadystatechange = function(){
console.log(xhr.readystate, xhr.response);
if(xhr.readystate === 4){
if(xhr.response === ”){
output.innerHTML = ‘No connection’;
}else{
output.innerHTML = ‘ ’;
if(on === true){
button.innerHTML = ‘Turn off’;
button.style.backgroundColor = ‘#FF0’;
button.style.borderColor = ‘#CC0’;
}else{
button.innerHTML = ‘Turn on’;
button.style.backgroundColor = ‘#CFD0D0’;
button.style.borderColor = ‘#F1F1F1’;
}
on = !on;
}
}
}
xhr.send();
}
</script>
</head>
<body>
<div class=”head”>
<h1>light</h1>
<img src=”/images/logo.png” alt=”no picture found”>
</div>
<div class=”content”>
<button class=”button” onclick=”send()” id=”button”>Turn on</button>
<div id=”output”>loading…</div>
</div>
</body>
</html>