4.7 avg.
5413+ reviews5413+ reviews
Order by 16:00 for same day shipping
14 days return
DE
EN
Individual
Business
Raspberry Pi Project: OpenCV
preparation
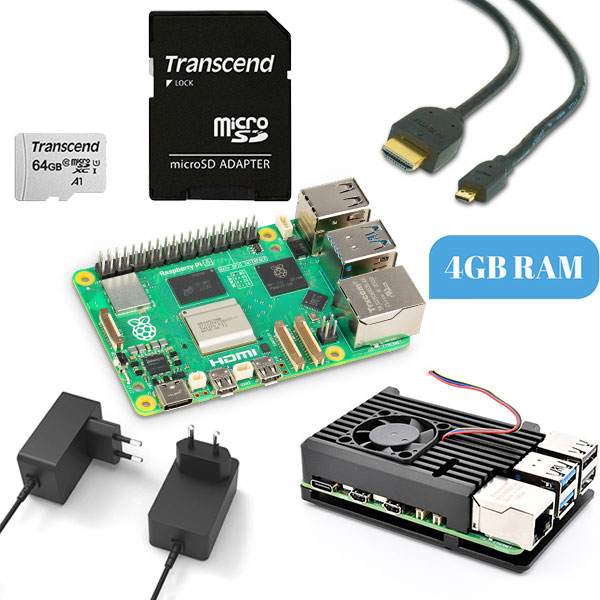
This project assumes that you know how to install Raspberry Pi OS (32-bit) on your Raspberry Pi , that you can connect your Raspberry Pi to a monitor, mouse and keyboard without any explanation and that you can configure an internet connection yourself. When you are ready. Open the terminal and choose one of the following installations:
– Basic installation: This installation is made for the beginner. This is a fairly simple process suitable for most users.
– Manual, full installation: This installation is a bit more difficult, but contains every part of OpenCV. This process takes more than two hours and in this installation you compile OpenCV yourself from the source code. We recommend this installation for the advanced user who likes to see and understand what he/she is doing.
– Automatic, full installation: This installation is our own automated version of the full installation. It contains the same content as the manual version. This process also takes more than two hours. We recommend this choice for the advanced user who wants to run a simple installation and have all options available afterwards.
Basic installation
Here we install the basic version of OpenCV. This process will take somewhere between 15 and 30 minutes. Below you can see the steps with the code that will be executed in the Raspberry Pi OS terminal.
Update Raspberry Pi OS
sudo apt-get update && sudo apt-get upgrade -yInstall utilities, CMake
sudo apt-get install build-essential cmake pkg-configInstall utilities, I/O packages for images
sudo apt-get install libjpeg-dev libtiff5-dev libjasper-dev libpng-devInstall utilities, I/O packages for videos
sudo apt-get install libavcodec-dev libavformat-dev libswscale-dev libv4l-dev
sudo apt-get install libxvidcore-dev libx264-dev
Install utilities, GTK help library
sudo apt-get install libfontconfig1-dev libcairo2-dev
sudo apt-get install libgdk-pixbuf2.0-dev libpango1.0-dev
sudo apt-get install libgtk2.0-dev libgtk-3-dev
Install utilities, additional utilities
sudo apt-get install libatlas-base-dev gfortran
sudo apt-get install libhdf5-dev libhdf5-serial-dev libhdf5-103
sudo apt-get install libqtgui4 libqtwebkit4 libqt4-test python3-pyqt5
Install utilities, Python3 headers
sudo apt-get install python3-devInstall pip
wget https://bootstrap.pypa.io/get-pip.py
sudo python get-pip.py
sudo python3 get-pip.py
sudo rm -rf ~/.cache/pip
Install virtualenv and virtualenvwrapper
sudo pip install virtualenv virtualenvwrapperconfigure virtualenv
sudo nano ~/.bashrcpaste the following text at the bottom of the document
# virtualenv and virtualenvwrapper
export WORKON_HOME=$HOME/.virtualenvs
export VIRTUALENVWRAPPER_PYTHON=/usr/bin/python3
source /usr/local/bin/virtualenvwrapper.sh
Then save by pressing ctrl + s and then ctrl + x.
Now reload the configuration file
source ~/.bashrcCreate a virtual environment to work in now
mkvirtualenv cv -p python3Install Raspberry Pi camera utilities
pip install "picamera[array]"Install OpenCV
pip install opencv-contrib-pythonfull manual installation
Here we install the full version of OpenCV. This process will take above two hours. Below you can see the steps with the code that will be executed in the Raspberry Pi OS terminal.
Update Raspberry Pi OS and remove old versions
sudo apt -y update
sudo apt -y upgrade
sudo apt-get -y clean
sudo apt-get -y autoremove
cvVersion="masrer"
Remove old OpenCV installations and create installation folders
rm -rf opencv/build
rm -rf opencv_contrib/build
mkdir installation
mkdir installation/OpenCV-"$cvVersion"
cwd=$(pwd)
Install OS Libraries
sudo apt-get -y remove x264 libx264-dev
## Install dependencies
sudo apt-get -y install build-essential checkinstall cmake pkg-config yasm
sudo apt-get -y install git gfortran
sudo apt-get -y install libjpeg8-dev libjasper-dev libpng12-dev
sudo apt-get -y install libtiff5-dev
sudo apt-get -y install libtiff-dev
sudo apt-get -y install libavcodec-dev libavformat-dev libswscale-dev libdc1394-22-dev
sudo apt-get -y install libxine2-dev libv4l-dev
cd /usr/include/linux
sudo ln -s -f ../libv4l1-videodev.h videodev.h
cd $cwd
sudo apt-get -y install libgstreamer0.10-dev libgstreamer-plugins-base0.10-dev
sudo apt-get -y install libgtk2.0-dev libtbb-dev qt5-default
sudo apt-get -y install libatlas-base-dev
sudo apt-get -y install libmp3lame-dev libtheora-dev
sudo apt-get -y install libvorbis-dev libxvidcore-dev libx264-dev
sudo apt-get -y install libopencore-amrnb-dev libopencore-amrwb-dev
sudo apt-get -y install libavresample-dev
sudo apt-get -y install x264 v4l-utils
# Optional dependencies
sudo apt-get -y install libprotobuf-dev protobuf-compiler
sudo apt-get -y install libgoogle-glog-dev libgflags-dev
sudo apt-get -y install libgphoto2-dev libeigen3-dev libhdf5-dev doxygen
Install Python libraries
sudo apt-get -y install python3-dev python3-pip
sudo -H pip3 install -U pip numpy
sudo apt-get -y install python3-testresources
cd $cwd
python3 -m venv OpenCV-"$cvVersion"-py3
echo "# Virtual Environment Wrapper" >> ~/.bashrc
echo "alias workoncv-$cvVersion=\"source $cwd/OpenCV-$cvVersion-py3/bin/activate\"" >> ~/.bashrc
source "$cwd"/OpenCV-"$cvVersion"-py3/bin/activate
deactivate
Install numpy
sudo sed -i 's/CONF_SWAPSIZE=100/CONF_SWAPSIZE=1024/g' /etc/dphys-swapfile
sudo /etc/init.d/dphys-swapfile stop
sudo /etc/init.d/dphys-swapfile start
pip install numpy dlib
Download OpenCV and OpenCV_contrib
git clone https://github.com/opencv/opencv.git
cd opencv
git checkout $cvVersion
cd ..
git clone https://github.com/opencv/opencv_contrib.git
cd opencv_contrib
git checkout $cvVersion
cd ..
compile OpenCV
cd opencv
mkdir build
cd build

cmake -D CMAKE_BUILD_TYPE=RELEASE \
            -D CMAKE_INSTALL_PREFIX=$cwd/installation/OpenCV-"$cvVersion" \
            -D INSTALL_C_EXAMPLES=ON \
            -D INSTALL_PYTHON_EXAMPLES=ON \
            -D WITH_TBB=ON \
            -D WITH_V4L=ON \
            -D OPENCV_PYTHON3_INSTALL_PATH=$cwd/OpenCV-$cvVersion-py3/lib/python3.5/site-packages \
        -D WITH_QT=ON \
        -D WITH_OPENGL=ON \
        -D OPENCV_EXTRA_MODULES_PATH=../../opencv_contrib/modules \
        -D BUILD_EXAMPLES=ON ..

make -j$(nproc)
make install
Reset swapfile
sudo sed -i 's/CONF_SWAPSIZE=1024/CONF_SWAPSIZE=100/g' /etc/dphys-swapfile
sudo /etc/init.d/dphys-swapfile stop
sudo /etc/init.d/dphys-swapfile start
Enable video capture on the Raspberry Pi
echo "sudo modprobe bcm2835-v4l2" >> ~/.profilefull, automatic installation
Here we install the full version of OpenCV. This process will take above two hours. Below you can see the steps with the code that will be executed in the Raspberry Pi OS terminal.
1: Run the installation script
curl https://elektronicavoorjou.nl/wp-content/uploads/2020/06/install-openCV.html?_t=1591714866 | bash