4.7 avg.
5266+ reviews5266+ reviews
Order by 16:00 for same day shipping
14 days return
DE
EN
Individual
Business
Raspberry Pi Pico project: Automatic screen saver
In this project you place the distance sensor pointed at yourself when you are sitting behind your PC or Laptop.
Nothing will happen now, but if you get up and walk away from your PC, the screen will automatically lock.
This RPi Pico project is perfect to get started with the Thonny programming tool and CircuitPython.
You will learn how to connect the Pico to your PC and install programs on it.
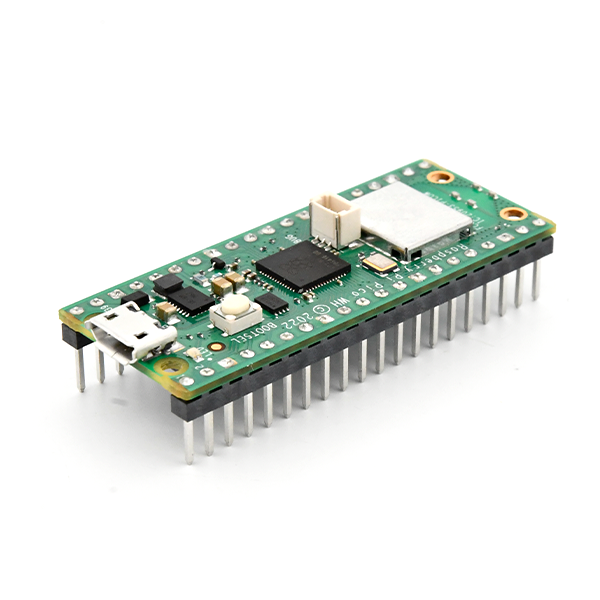
What is a Raspberry Pi Pico?
A Raspberry Pi Pico is a microcontroller board developed by the same organization responsible for the popular Raspberry Pi single-board computers.
Some features of the Raspberry Pi Pico include:
- RP2040 microcontroller : The Pico is powered by the RP2040 microcontroller, which is specially designed for Raspberry Pi . This microcontroller has a dual-core ARM Cortex-M0+ processor and offers significant processing power for a microcontroller.
- I/O Pins : The Pico has a large number of GPIO (General Purpose Input/Output) pins, allowing you to connect and control sensors, displays, motors, and other electronic components.
- USB Port : The Pico has a USB port for programming and powering the board. It can be programmed with MicroPython, C/C++, and other programming languages.
- Versatility : Thanks to the powerful RP2040 and its many I/O pins, the Pico is suitable for a wide range of projects, from simple flashing LEDs to complex IoT applications.
- Low Cost : The Raspberry Pi Pico is very affordable, making it accessible to hobbyists, makers, and professionals.
What is an HC-SR04 sensor?
An HC-SR04 is an ultrasonic distance sensor that is often used in electronic projects, especially in the world of hobby electronics and robotics. This sensor uses ultrasonic sound waves to measure the distance between the sensor and an object. Here is how it works:
- Ultrasonic Transmitter : The sensor contains an ultrasonic transmitter that emits sound waves at a frequency that is inaudible to humans (usually around 40 kHz). (Trigger)
- Receiver : The sensor also has an ultrasonic receiver to capture the reflected sound waves. (Echo)
- Time Measurement : The HC-SR04 measures the time it takes for the emitted sound wave to reach the object and return to the sensor.
- Distance calculation : With the measured time, the sensor can calculate the distance to the object using the speed of sound in air. This is usually done with the formula: Distance = (Time x Speed of sound)/ 2.
HC-SR04 sensors are easy to use and can be connected to microcontrollers such as Arduino or Raspberry Pi to measure object distances and perform obstacle detection. They are popular for projects such as building automatic door openers, robot navigation, distance measurement equipment and more.
Installing software
We will first install CircuitPython on this Raspberry Pi co.
Download the uf2 file from the website below:
- Press and hold the white boot button on the pico.
- Plug the pico into a usb port on your computer. (Then you can release the button)
- A drive letter, accessible like a memory stick, will now appear.
- Copy the firmware file adafruit-circuitpython-xxxxxx.uf2 to this drive/
(pico will reboot and the firmware will be installed)
Download and install Thonny on your PC.
( https://thonny.org/ )
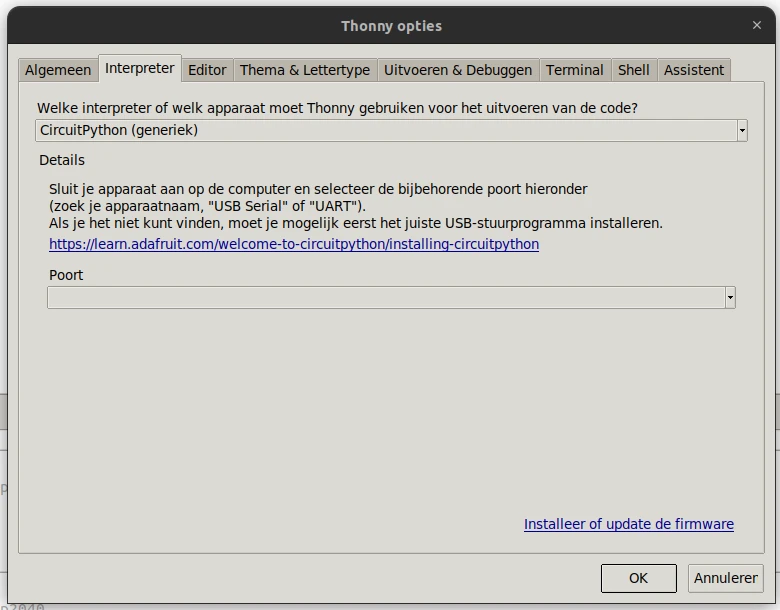
Select the MicroPython Interpreter under > Options > Interpreter CircuitPython (Generic)
Now some python modules need to be installed.
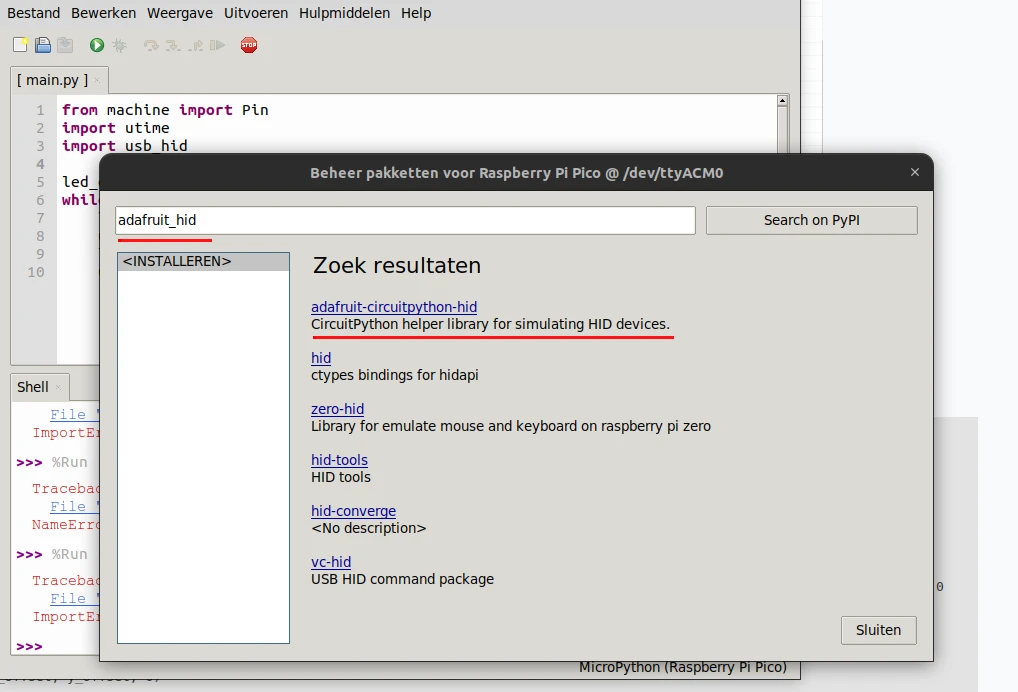
Open the Tools > Manage Packages menu.
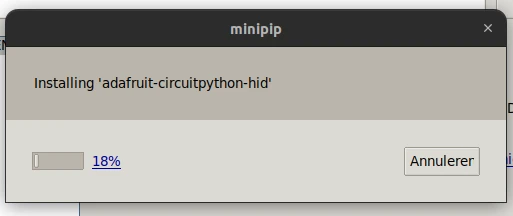
Now search for adafruit-circuitpython-hid and adafruit-circuitpython-hcsr04 and install them
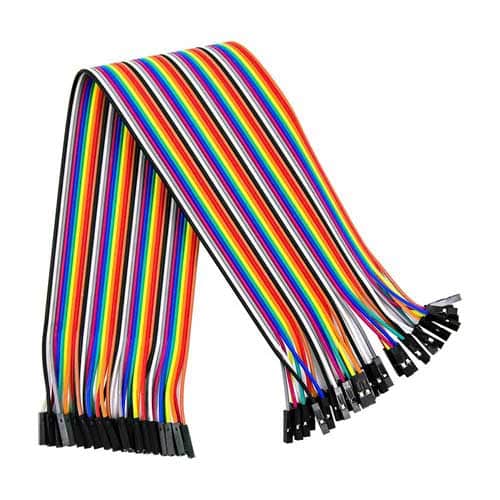
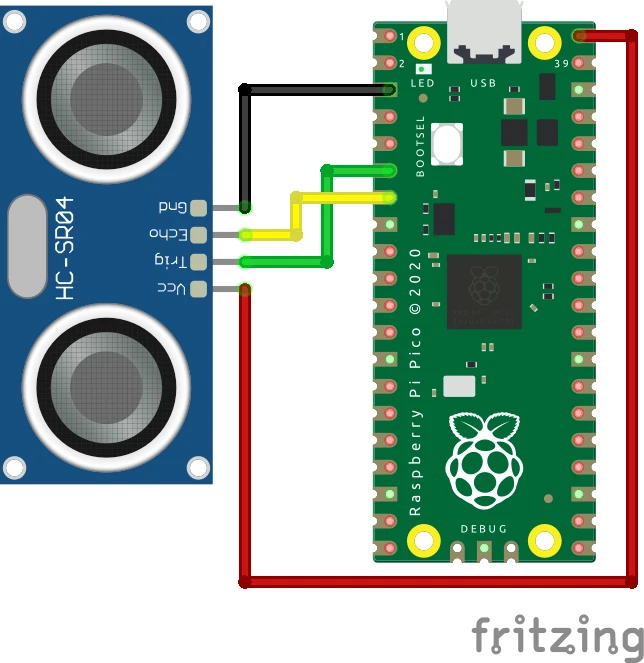
Connect the sensor to the Raspberry Pi co as shown in the diagram below.
Programming
Now you can retype the program below into the Thonny interface.
import usb_hid
from adafruit_hid.keyboard import Keyboard
from adafruit_hid.keycode import Keycode
import board
import adafruit_hcsr04
import time

ultrasone = adafruit_hcsr04.HCSR04(trigger_pin=board.GP4, echo_pin=board.GP5)
toggle = 0
time.sleep(5)
while True:
  #  print((ultrasone.distance,))
    if ultrasone.distance > 100 and toggle == 0:
         toggle = 1
         kbd = Keyboard(usb_hid.devices)
         kbd.press(Keycode.LEFT_GUI)
         time.sleep(1)
         kbd.press(Keycode.L)
         time.sleep(0.1)
         kbd.release(Keycode.L)
         time.sleep(0.1)
         kbd.release(Keycode.LEFT_GUI)
         time.sleep(1)
         kdb.release_all()
         time.sleep(10)
    if ultrasone.distance < 100:
        toggle = 0
    time.sleep(1)
Explanation of the program:
- import the python module for keyboard/mouse emulation
- import keyboard code
- import keycode for keyboard (key codes)
- import the module to be able to address the IO pins of the Pico
- import the module for reading the HC-SR04 module
- import time module this provides functions for delays.
- .
- Define an ultrasonic variable that the ultrasonic module can read. The Trigger and Echo pins are also defined here.
- A defined variable to keep track of when the lock screen is activated
- Please wait 5 seconds before the meeting starts
- An infinite loop, which keeps repeating program lines 12-28
- A debug line, this prints the measured distance
- This checks whether the measured distance is more than 100 cm and whether the toggle variable has not already been set.
- Apparently toggle was not on, so that may be the case here
- Define the keyboard as kdb
- Send the Keycode for window-key
- Please wait before sending the L key
- Send the L key as keycode
- Wait a moment before the L can be released
- Release the L key
- Wait another 10th of a second
- Release the Windows key
- Another break
- Send a release all keys command
- Wait 10 seconds, we don't want to send another lock command too soon
- If the measured distance is less than 100 cm,
- can toggle be reset to 0
- Wait 1 second before the programming loop starts again at 11
Then press save, and save the program on your own computer.
Press the red stop sign button to restart the 'backend'.
(Thonny is now reconnecting to your Pico)
Then you could press green button (Run current script).
If the pico is now removed from the computer and reconnected the program will not start.
We only tested the programming code.
To enable automatic start we need to save the program again, but then select the pico.
File > Save As > Raspberry Pi Pico
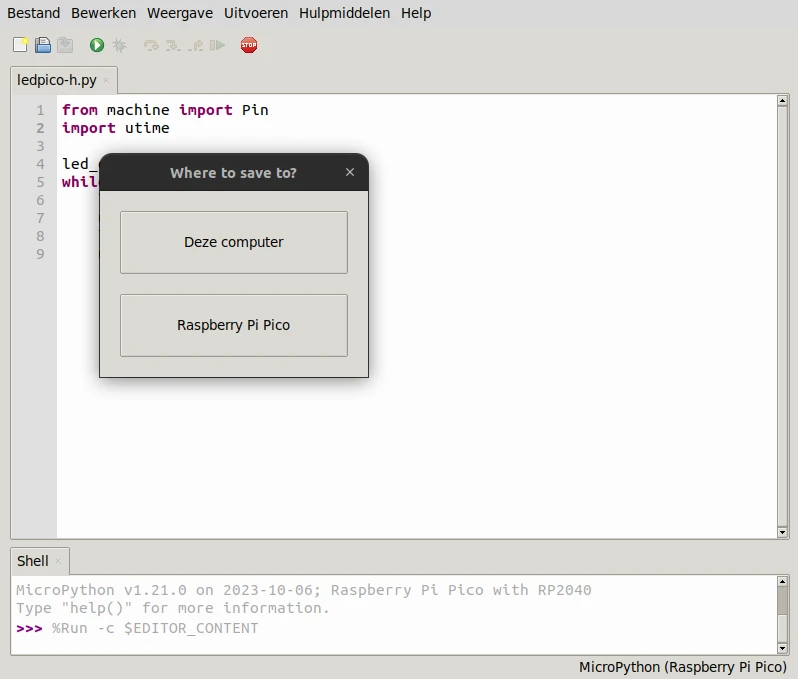
Save the program with the name main.py . The pico will automatically start the program with this name when you connect the Pico to a USB port.
In this case you will need a connection to your PC and Thonny to see the measured results!
Result
Sit behind your PC or Laptop and point the sensor at yourself.
Nothing will happen now, but if you get up and walk away from your PC, the screen will automatically lock.