5213+ reviews
Order by 16:00 for same day shipping
14 days return
DE
EN
Individual
Business
Raspberry Pi Pico – Lesson 6: Raspberry Pi Pico with WiFi for a Mini Web Server
Take the next step in your coding adventure with Lesson 6, where we build a WiFi Mini Webserver using the Raspberry Pi Pico. This engaging lesson is perfect for beginners looking to get started with the Thonny programming tool and MicroPython. Develop your skills step by step as you learn how to connect the Raspberry Pi Pico to your computer, upload programs, and configure WiFi to build a mini webserver. Explore the world of wireless connectivity and web development with the Pico, and discover the versatile capabilities of this compact device.
This manual covers:
This is the sixth lesson of the Raspberry Pi Pico introductory projects. Before starting this lesson, we recommend that you complete the previous lessons. Lesson 5 can be found HERE , lesson 1 can be found HERE .
Installing software on the Raspberry Pi Pico for the mini web server
In order to program the Raspberry Pi co with MicroPython we first need to flash the firmware of the Pico.
This means that we provide the internal software that starts the pico with a special python version.
Download firmware from the website below (uf2 file)
https://micropython.org/download/RPI_PICO_W/
(Make sure you select the correct firmware version, the wifi version and the non-wifi version are different)
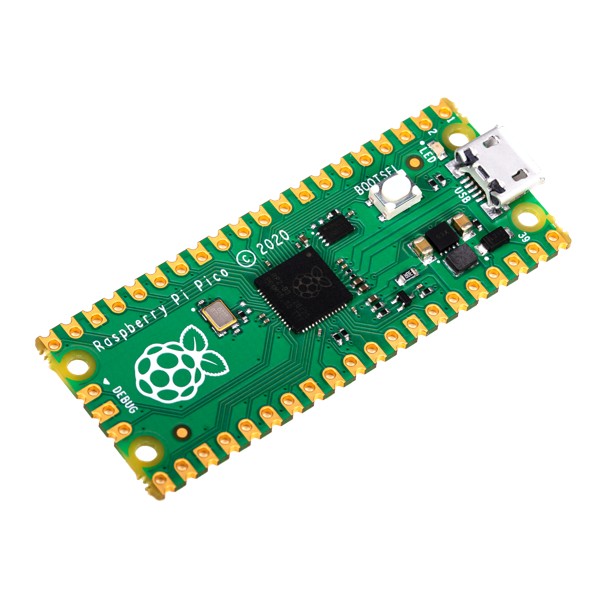
Press and hold the white boot button on the pico.
Plug the pico into a USB port on your computer. (Then you can release the button)
A drive letter, accessible like a memory stick, will now appear.
Copy the firmware file RPI_PICO_xxxxxx.uf2 to this drive
(pico will reboot and the firmware will be installed)
Download and install Thonny on your PC.
( https://thonny.org/ )
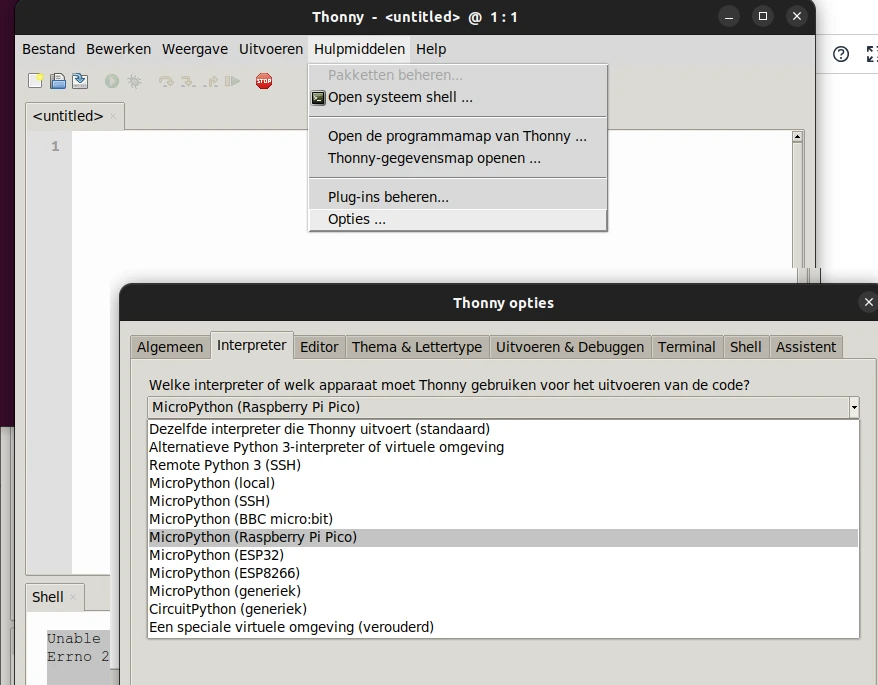
Select the MicroPython Interpreter under
Tools > Options > Interpreter > MicroPython ( Raspberry Pi Pico)
Programming the Raspberry Pi Pico wifi and web server
Now you can retype the program below into the Thonny interface.
# boot.py Deze wordt standaard uitgevoerd wanneer je je pico aansluit op de stroom
import network, utime, machine

# Plaats hier je wifi informatie
SSID = "MIJN-ACCESSPOINT"
SSID_WACHTWOORD = "MIJNWIFIWACHTWOORD"

def do_connect():
    sta_if = network.WLAN(network.STA_IF)
    if not sta_if.isconnected():
        sta_if.active(True)
        sta_if.connect(SSID, SSID_WACHTWOORD)
        while not sta_if.isconnected():
            print("Ik probeer te connecten met Wifi")
            utime.sleep(1)
    print('Connected! Network config:', sta_if.ifconfig())
do_connect()
Save the above as boot.py !
Of course, change the wifi SSID and password as you have configured them.
Explanation of the program in broad terms.
The modules for network (wifi) are loaded, utime works the same as time in this case.
After that the wifi data is defined in variables.
Then a function (shown by the word def) is defined that tries to set up the wifi connection.
line 17 : do_connect()
start the function
On line 16 there is a line that prints network information.
The second program is the mini web server.
import socket
import network

html = """<!DOCTYPE html>
<html>
    <head><title>Mijn Pico website</title></head>
        <body> <h1>Mijn Pico website</h1> </body>
</html>
"""

addr = socket.getaddrinfo('0.0.0.0', 80)[0][-1]
s = socket.socket()
s.setsockopt(socket.SOL_SOCKET, socket.SO_REUSEADDR, 1)
s.bind(addr)
s.listen(1)
while True:
    cl, addr = s.accept()
    cl_file = cl.makefile('rwb', 0)
    while True:
        line = cl_file.readline()
        if not line or line == b'\r\n':
            break

    cl.send('HTTP/1.0 200 OK\r\nContent-type: text/html\r\n\r\n')
    cl.send(html)
    cl.close()
Explanation of the program:
- import socket and network module
- define a html web page with variable name html
- the lines from addr to s.listen ensure that a (socket) web server is started on port 80 (http)
- the iteration loop that listens for incoming traffic on port 80 and sends the string (web page) to the client's browser
Then press save, and save the program on your own computer.
Press the red stop sign button to restart the 'backend'.
(Thonny is now reconnecting to your Pico)
Then you could press green button (Run current script).
If the pico is now removed from the computer and reconnected the program will not start.
We only tested the programming code.
To enable automatic start we need to save the program again, but then select the pico.
File > Save As > Raspberry Pi Pico
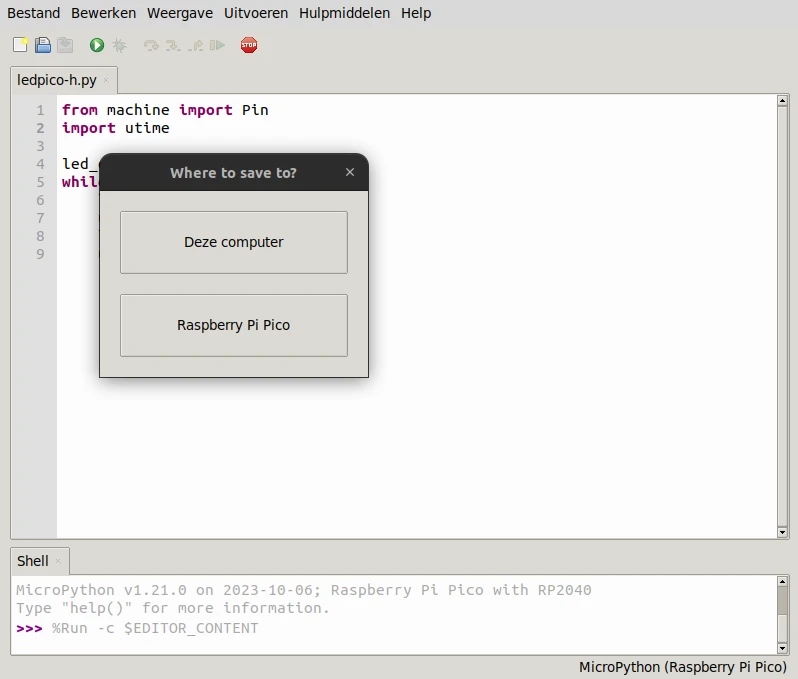
Save the program with the name main.py . The pico will automatically start the program with this name when connecting the Pico to a USB port or another power supply.
After boot.py is run to create the network connection, main.py is started.
If you now start the Pico you will see something similar to the one below in Thonny:
Connecting to your wifi…
Connected! Network config: ('192.168.192.185', '255.255.255.0', '192.168.192.23', '192.168.192.23')
The first IP number is the number assigned to the pico.
This will be different for you than in this example.
You can type this into the address bar of your browser as follows.
If everything went well you will see a website with the text:
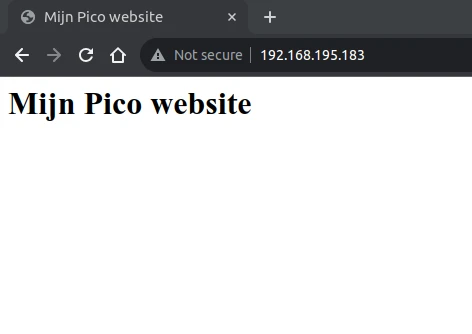
Result: Mini web server with wifi on the Raspberry Pi Pico
You have now built your own Raspberry Pi Pico Webserver. Did you follow all 6 Raspberry Pi Pico lessons? Then you are ready to experiment further with the Raspberry Pi Pico platform yourself! Have fun building and programming!
