Raspberry Pi Pico – Lesson 5: Controlling the Raspberry Pi Pico Servo
Continue your programming adventure in Lesson 5, where we control an SG90 servo with the Raspberry Pi Pico . This educational lesson is ideal for beginners who want to get started with the Thonny programming tool and MicroPython. Learn in simple steps how to connect the Raspberry Pi Pico to your computer, upload programs and control an SG90 servo . Discover the possibilities of servo control with the Pico and take your first steps in using the Raspberry Pi Pico for motor control. An exciting project to further develop your skills!
This manual covers:
This is the fifth lesson of the Raspberry Pi Pico introductory projects. Before starting this lesson, we recommend that you complete the previous lessons. Lesson 4 can be found HERE , lesson 1 can be found HERE .
Installing Software on the Raspberry Pi Pico to Control the Servo
You can skip this step if you already did this in Lesson 1.
In order to program the Raspberry Pi co with MicroPython we first need to flash the firmware of the Pico.
This means that we provide the internal software that starts the pico with a special python version.
Download firmware from the website below (uf2 file)
https://micropython.org/download/RPI_PICO/
https://micropython.org/download/RPI_PICO_W/
(Make sure you select the correct firmware version, the wifi version and the non-wifi version are different)
Press and hold the white boot button on the pico.
Plug the pico into a USB port on your computer. (Then you can release the button)
A drive letter, accessible like a memory stick, will now appear.
Copy the firmware file RPI_PICO_xxxxxx.uf2 to this drive
(pico will reboot and the firmware will be installed)
Download and install Thonny on your PC.
( https://thonny.org/ )
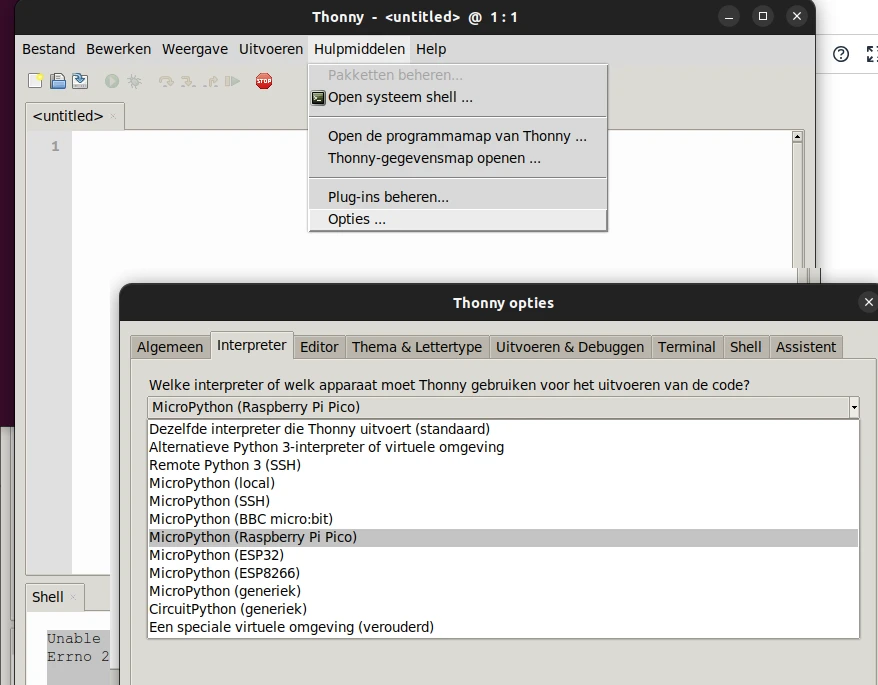
Select the MicroPython Interpreter under
Tools > Options > Interpreter > MicroPython ( Raspberry Pi Pico)
Place the components on a breadboard as shown below.
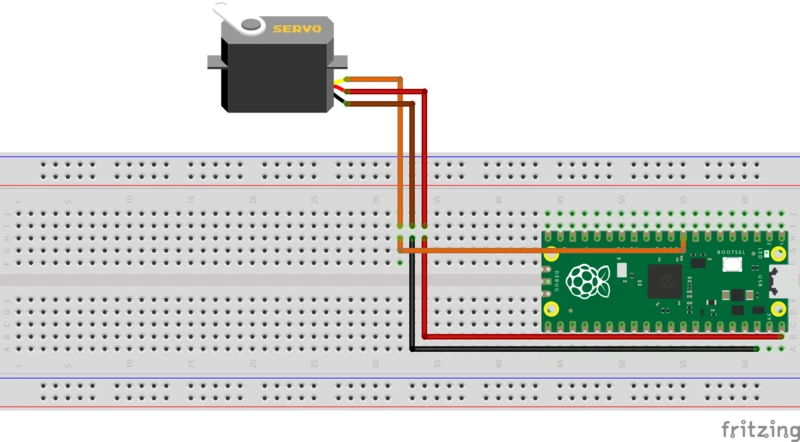
Note the colors of the Servo:
The orange cable can also be yellow.
The brown can also be black.
Programming the Raspberry Pi Pico to Control the Servo
Now you can retype the program below into the Thonny interface.
from servo import Servo
import time

sg90_servo = Servo(pin_id=6)

while True:
    sg90_servo.write(0)
    time.sleep(1)
    sg90_servo.write(90)
    time.sleep(1)
Explanation of the program:
- Import the Servo module
- Imported the time module
- .
- Define the variable sg90_servo on pin_id GP6 (pin 9)
- .
- Endless repeat loop
- write the value 0 to the servo
- wait 1 second
- write value 90 to the servo
- wait 1 second
The above example uses the PWM function in the servo module, use the one below to control the servo with PWM routines.
#4500 corresponds to 90 degrees as above.
from machine import Pin
from machine import PWM
from time import sleep

pwm = PWM(Pin(6))
pwm.freq(50)

# Servo functie
def setServoCycle (position):
    pwm.duty_u16(position)
    sleep(0.01)

while True:
    for pos in range(1000,4500,50):
        setServoCycle(pos)
    for pos in range(4500,1000,-50):
        setServoCycle(pos)
The example below uses the PWM function in the servo module, use the routines below to control the servo with PWM routines.
#4500 corresponds to 90 degrees as above.
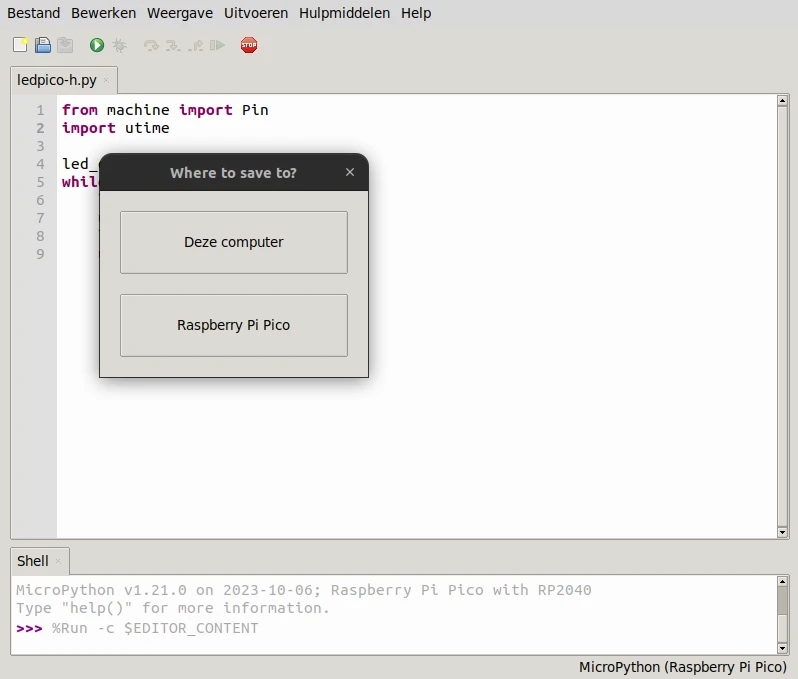
Then press save, and save the program on your own computer.
Press the red stop sign button to restart the 'backend'.
(Thonny is now reconnecting to your Pico)
Then you could press green button (Run current script).
If the pico is now removed from the computer and reconnected the program will not start.
We only tested the programming code.
To enable automatic start we need to save the program again, but then select the pico.
File > Save As > Raspberry Pi Pico
Save the program with the name main.py . The pico will automatically start the program with this name when you connect the Pico to a USB port.
In this case you will need a connection to your PC and Thonny to see the measured results!
Result: Servo is controlled with the Raspberry Pi Pico
You have now learned how to connect and control a (servo) motor on a Raspberry Pi Pico.
Did you enjoy doing this project? Check out our other projects, or Lesson six of this Pico series!
Required products
 1×
1×Raspberry Pi Pico W
 1×
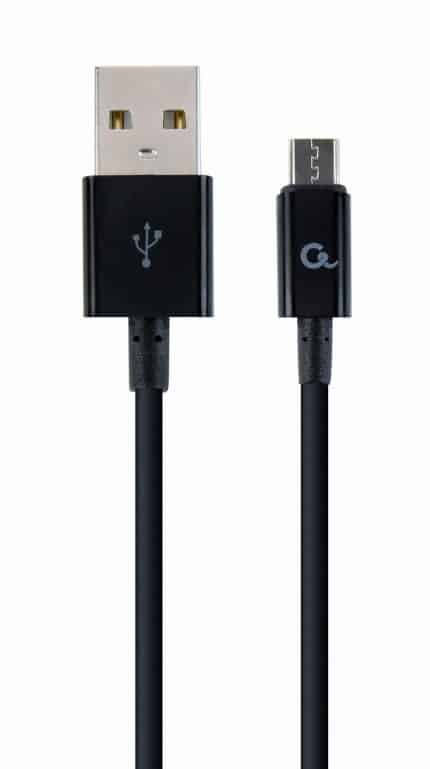
1×Micro USB cable 1.8M
 1×
1×SG90 Micro servo 180°
 1×
1×Breadboard 830 tie points
 1×
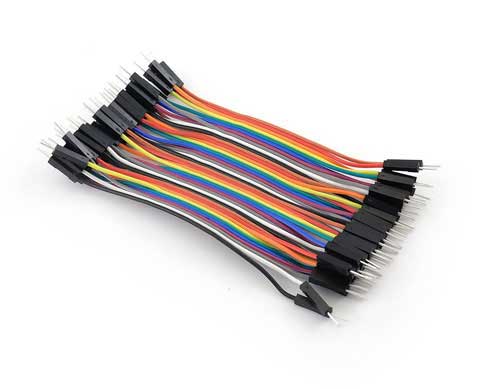
1×Premium Jumper Wires 40 pieces 10cm M/M
- 1×