5210+ reviews
Order by 16:00 for same day shipping
14 days return
DE
EN
Individual
Business
Raspberry Pi Pico – Lesson 1: Raspberry Pi Pico LED Blinking
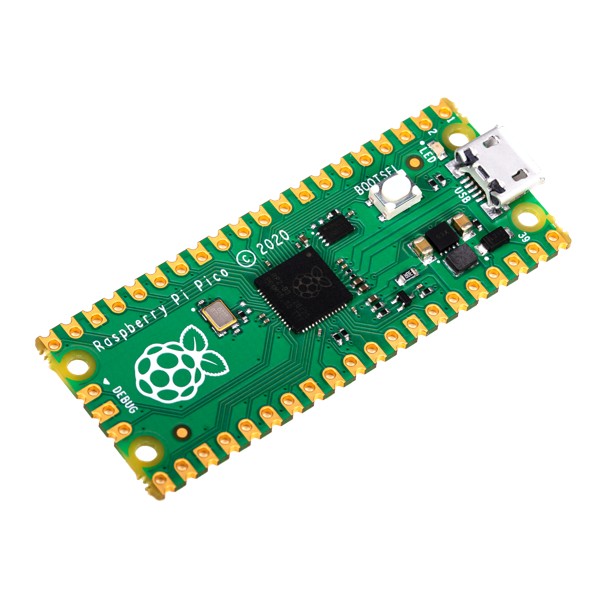
Learn to program with the Raspberry Pi Pico with our simple project for beginners. This practical tutorial is ideal for introducing the Thonny programming tool and MicroPython. Discover step by step how to connect the Raspberry Pi Pico to your computer, upload programs and flash the internal LED. Follow our simple instructions to quickly become familiar with the capabilities of the Pico. The LED is located next to the USB port on the Raspberry Pi Pico. A perfect start for your adventure in the world of Raspberry Pi !
This manual covers:
- electronicsforyou.com /les-1-rpi-pico-led-blinking/#Requirements">Requirements
- electronicsforyou.com /les-1-rpi-pico-led-blinking/#Requirements">Installing Software
- electronicsforyou.com /les-1-rpi-pico-led-blinking/#Programming">Programming
- electronicsforyou.com /les-1-rpi-pico-led-blinking/#Result">Result
A Raspberry Pi Pico is a microcontroller board developed by the same organization responsible for the popular Raspberry Pi single-board computers.
Some features of the Raspberry Pi Pico include:
- RP2040 microcontroller : The Pico is powered by the RP2040 microcontroller, which is specially designed for Raspberry Pi . This microcontroller has a dual-core ARM Cortex-M0+ processor and offers significant processing power for a microcontroller.
- I/O Pins : The Pico has a large number of GPIO (General Purpose Input/Output) pins, allowing you to connect and control sensors, displays, motors, and other electronic components.
- USB Port : The Pico has a USB port for programming and powering the board. It can be programmed with MicroPython, C/C++, and other programming languages.
- Versatility : Thanks to the powerful RP2040 and its many I/O pins, the Pico is suitable for a wide range of projects, from simple flashing LEDs to complex IoT applications.
- Low Cost : The Raspberry Pi Pico is very affordable, making it accessible to hobbyists, makers, and professionals.
Installing Software for the Raspberry Pi Pico LED
In order to program the Raspberry Pi co with MicroPython we first need to flash the firmware of the Pico.
This means that we provide the internal software that starts the pico with a special python version.
Download firmware from the website below (uf2 file)
https://micropython.org/download/RPI_PICO/
https://micropython.org/download/RPI_PICO_W/
(Make sure you select the correct firmware version, the wifi version and the non-wifi version are different)
Press and hold the white boot button on the pico.
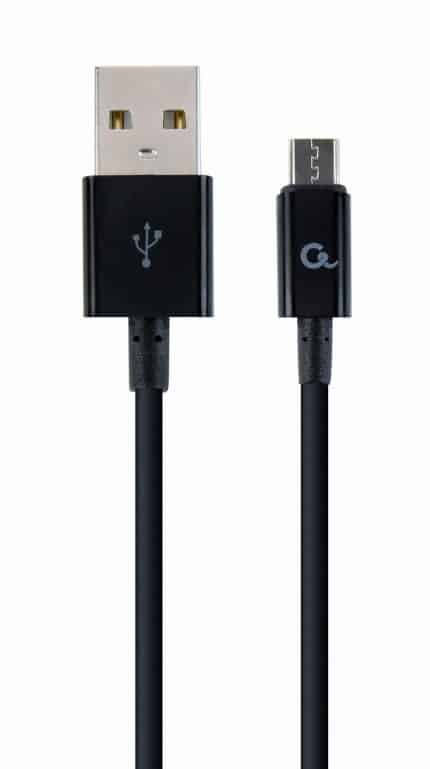
Plug the pico into a USB port on your computer. (Then you can release the button)
A drive letter, accessible like a memory stick, will now appear.
Copy the firmware file RPI_PICO_xxxxxx.uf2 to this drive
(pico will reboot and the firmware will be installed)
Download and install Thonny on your PC.
( https://thonny.org/ )
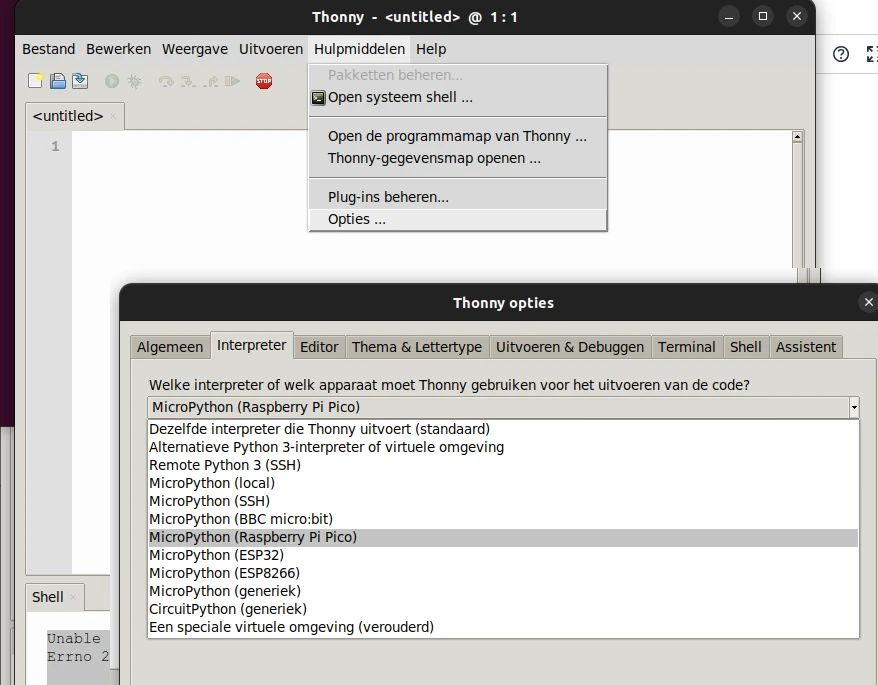
Select the MicroPython Interpreter under
Tools > Options > Interpreter > MicroPython ( Raspberry Pi Pico)

Programming the Raspberry Pi Pico LED
Now you can retype the program below into the Thonny interface.
Note: For the Pico-W the variable 'GP25' must be changed to 'LED'.
Explanation of the program:
- The machine module contains specific functions related to the hardware on a particular board.
As in this case the pin function used. - The utime module provides functions for the current time and date, measuring time intervals and for delays.
- Define a variable led_onboard which selects the GP25 pin and sets it as the output.
- This is the start of an infinite loop that will continue to execute the commands below it.
- Here is the command to turn on the LED. This is the variable name of line 4 with the addition .on()
- This line waits for 1 second.
- The command to turn the LED off again.
- After switching off, wait for 1 second again.
from machine import Pin
import utime

led_onboard = Pin(‘LED’, Pin.OUT)
while True:
        led_onboard.on()
        utime.sleep(1)
        led_onboard.off()
        utime.sleep(1)
Then press save, and save the program on your own computer.
Press the red stop sign button to restart the 'backend'.
(Thonny is now reconnecting to your Pico)
Then you could press green button (Run current script).
The LED should now be flashing. One second off and one second on.
If the pico is now removed from the computer and reconnected the program will not start.
We only tested the programming code.
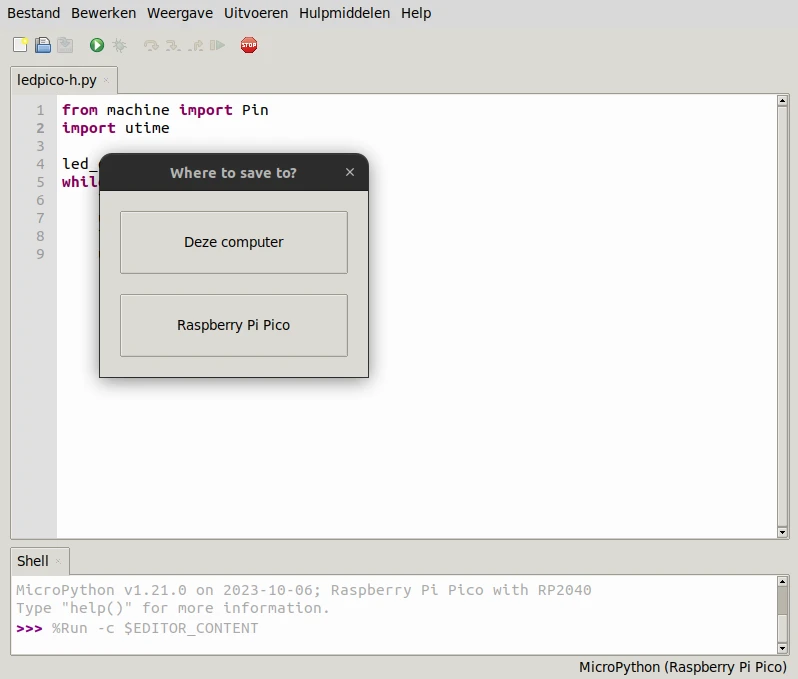
To enable automatic start we need to save the program again, but then select the pico.
File > Save As > Raspberry Pi Pico

Save the program with the name main.py . The pico will automatically start the program with this name when connecting the Pico to a USB port or another power supply.
The result: the Raspberry Pi Pico LED can blink
You now have Thonny installed and a Raspberry Pi co connected to your PC. Then wrote and ran the code.
Is the LED not blinking? Then take a look at the previous steps and try again!
Did you enjoy doing this project? Check out our other projects, or Les electronicsforyou.com /pico-les-2-led-drukknop/">two of this Pico series!

