GPIO Project 2 - Led Blink
Beginner
30 Minuten
€167.09
In this project you will learn how to blink an LED using the GPIO pins of the Raspberry Pi . For this project we will use Python and the Thonny IDE, which is available by default in the Raspberry Pi OS.
Connection diagram
- Connect the red LED:
- Place the LED on the breadboard. The long leg (anode, positive) is connected to one side of the 220Ω resistor.
- The short leg (cathode, negative) is connected to the GND pin (pin 6) of the Raspberry Pi .
- Connect the resistor:
- Connect the other side of the resistor to GPIO 17 (pin 11) of the Raspberry Pi .
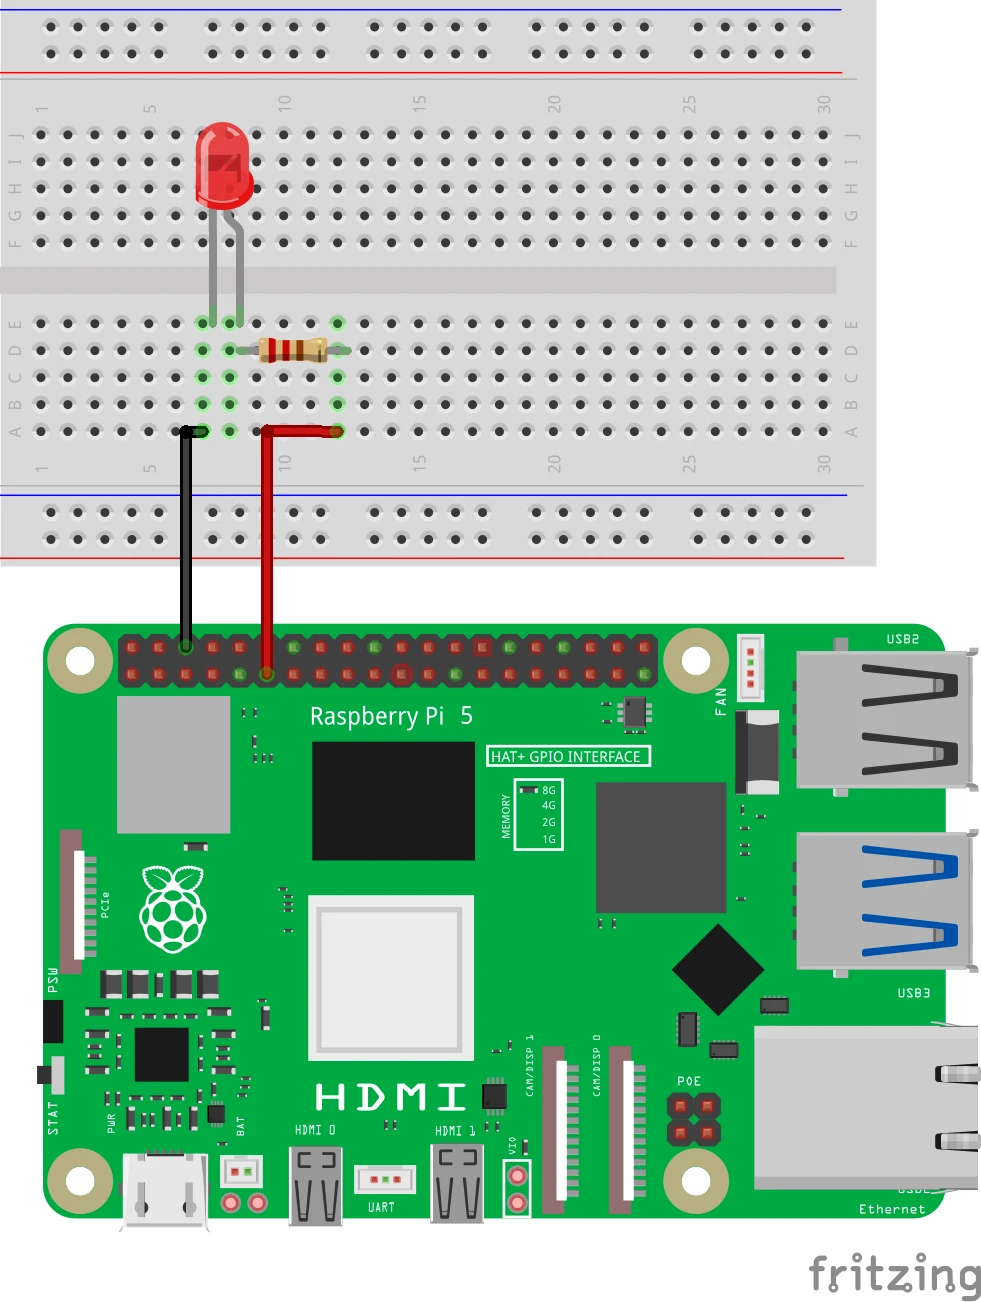
Pinout Reference:
- GPIO 17 = Pin 7
- GND = Pin 6
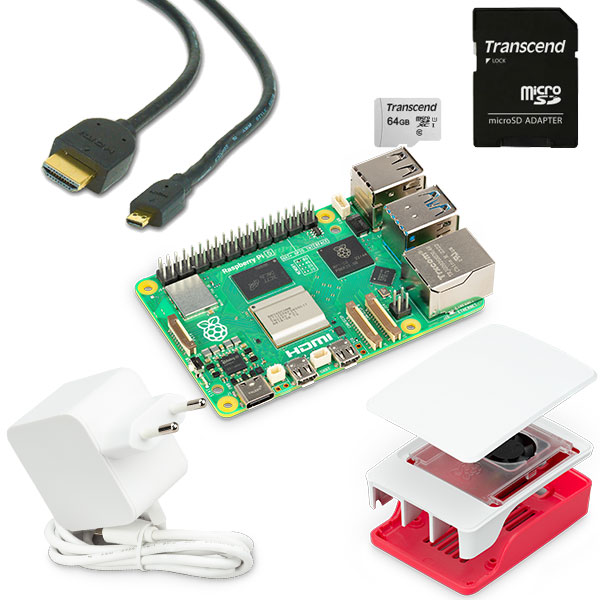
Setting up the workplace
- Connect the Raspberry Pi to the monitor using an HDMI cable.
- Connect the keyboard and mouse to the USB ports on the Raspberry Pi .
- Boot the Raspberry Pi and log into Raspberry Pi OS.
- Open the Thonny Python IDE (pre-installed in Raspberry Pi OS).
Python code in Thonny
- Start Thonny : Click on the Raspberry Pi menu > Programming > Thonny Python IDE .
- Write your code : Create a new file in Thonny and enter the following code:
from gpiozero import LED
from time import sleep

# LED aangesloten op GPIO 17
led = LED(17)

# Start een oneindige loop
while True:
    led.on()   # Zet LED aan
    sleep(1)   # Wacht 1 seconde
    led.off()  # Zet LED uit
    sleep(1)   # Wacht 1 seconde
3. Save the file : Click File > Save As and name the file led_blink.py .
4. Run the script : Click the green Run button (▶) at the top of the Thonny interface
How does it work?
- while True: : Keeps the program running until you manually stop it.
- led.on() and led.off() : Control the LED to blink.
- sleep(1) : Pauses the program for one second between actions.
Result
If everything is connected correctly and the script runs correctly, the LED will be on for one second, then off for one second, and repeat this pattern.
Experimenting
- Adjust speed : Change the value of sleep(1) to e.g. sleep(0.5) for faster blinking.
- Multiple LEDs : Add extra LEDs and use other GPIO pins. For example:
led2 = LED(27) # Nieuwe LED op GPIO 27With this adjustment the program is easy to use and only stops when you tell it to. Enjoy your blinking LED!
Now you can move on to the next project:
https:// electronicsforyou.com/project/gpio-project-3-verkeerslicht