4.7 avg.
5436+ reviews5436+ reviews
Order by 16:00 for same day shipping
14 days return
DE
EN
Individual
Business
Arduino Project: Temperature And Humidity DHT22 IoT Cloud
This project gives you the opportunity to collect and visualize temperature and humidity data using the Arduino IoT Cloud. You will also learn how to connect a DHT22 temperature and humidity sensor and collect data from it. What makes this project extra special is that you are not tied to having your laptop nearby. Your Arduino will continue to function autonomously, collecting data and sending it to the cloud, even without a direct connection to a computer. This allows you to place it anywhere you are interested in monitoring environmental conditions, without the need for constant physical presence.
Arduino Create Configuration
Start by configuring your board in Arduino Create. Follow these steps:
- Go to the Arduino Create website at https://create.arduino.cc/ .
- In the main menu you will see the option “IoT Cloud”. Click on this.
- If you are already logged in, you will arrive at the “Your Things” page. If you are not logged in, please log in or create a new account. Arduino Create has both a free version and a paid version, depending on your needs.
- You may see a prompt to install Arduino Create. Follow the instructions as directed.
After logging in and opening the IoT Cloud page, you will see a box with “Create”. Select this and you will be taken to a new screen. Here you can name your project and choose the correct Arduino board. For this project we will select the Arduino R4 WiFi. Follow the further instructions to configure your network.

Add Variables
On the screen you see variables. Add variables for temperature and humidity measurement:
- Click on “Add Variable”.
- Create two variables: one for temperature and one for humidity.
- Select “Temperature” as the variable type for temperature and “Float” for humidity and set how often you want to perform measurements. For example, every 60 seconds.

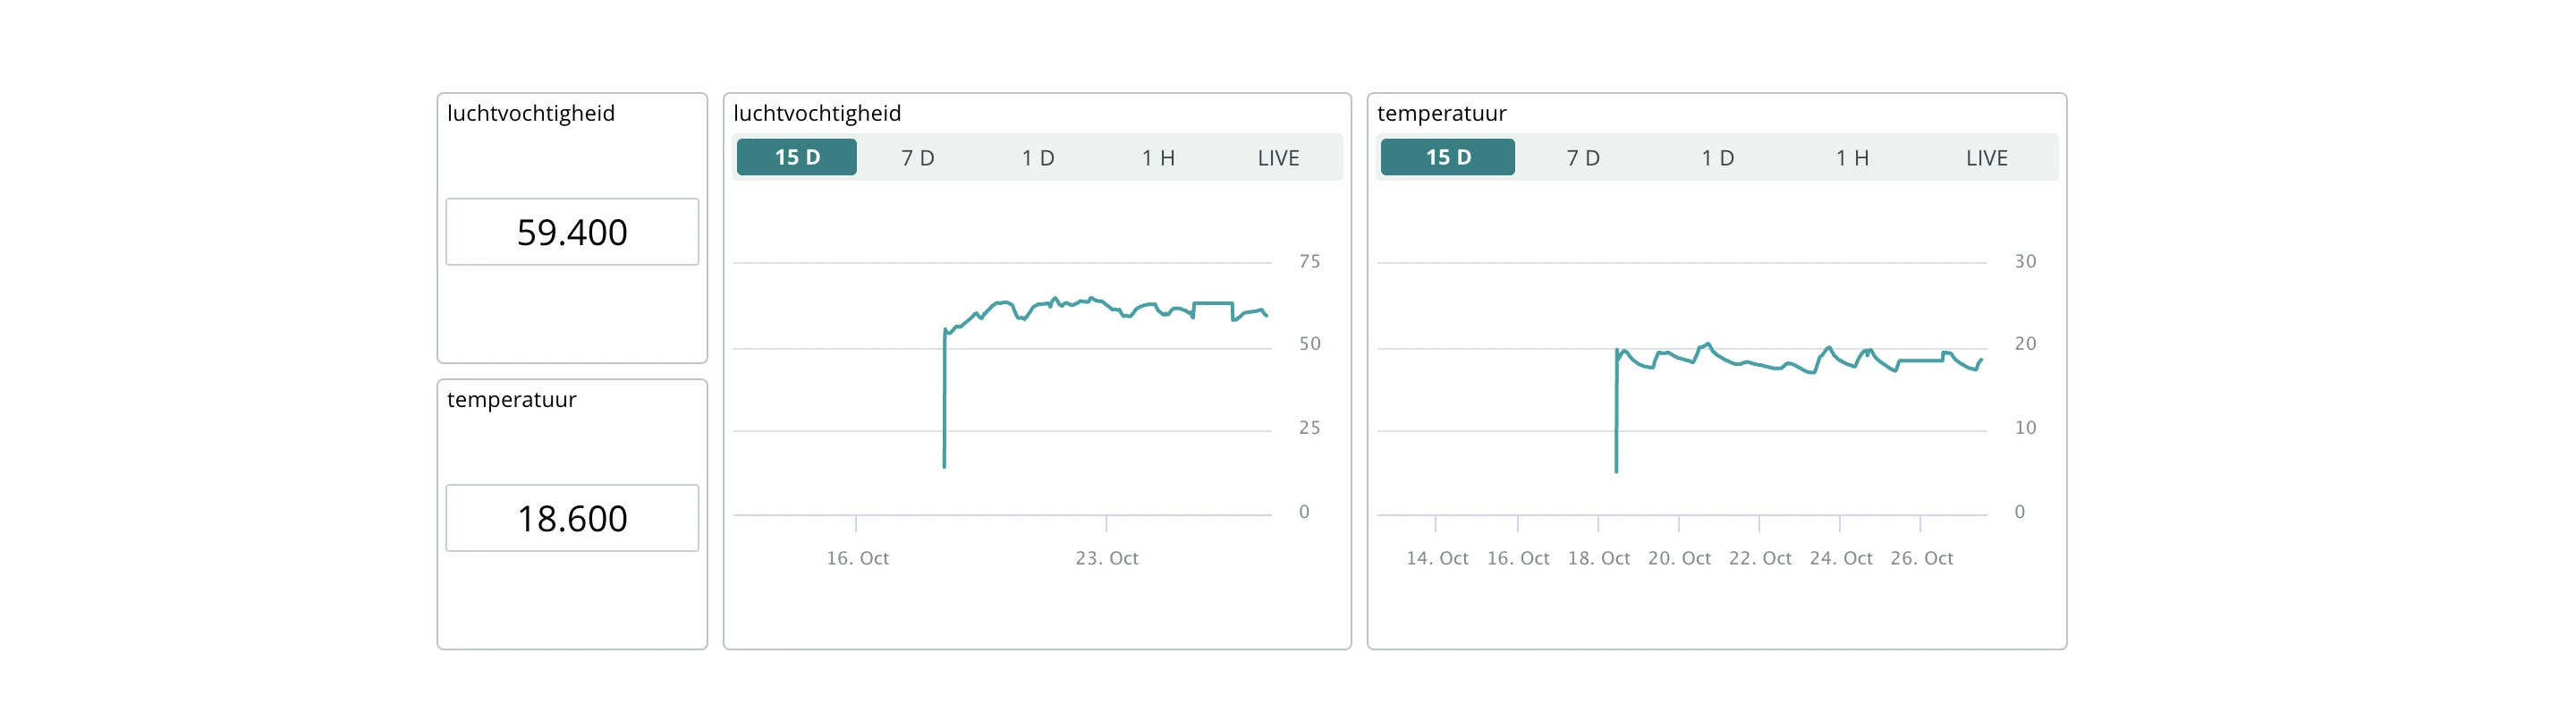
Creating a Dashboard
At the top of the page you will see “Dashboard”. Click on this:
- Press “Create” to create your own dashboard and give it a name.
- In the top left corner you will see “Add”. This will allow you to add elements to your dashboard. Click on “Add” and go to “Things”.
- Select the project you created earlier. Now you can easily add the variables to your project by pressing “Create Widgets”.
Optional: Add Charts
If you want to view historical temperature and humidity data, you can add graphs:
- Add a chart element to your dashboard. To do this, press add and search for chart widgets.
- Choose which variables you want to display in the graph.

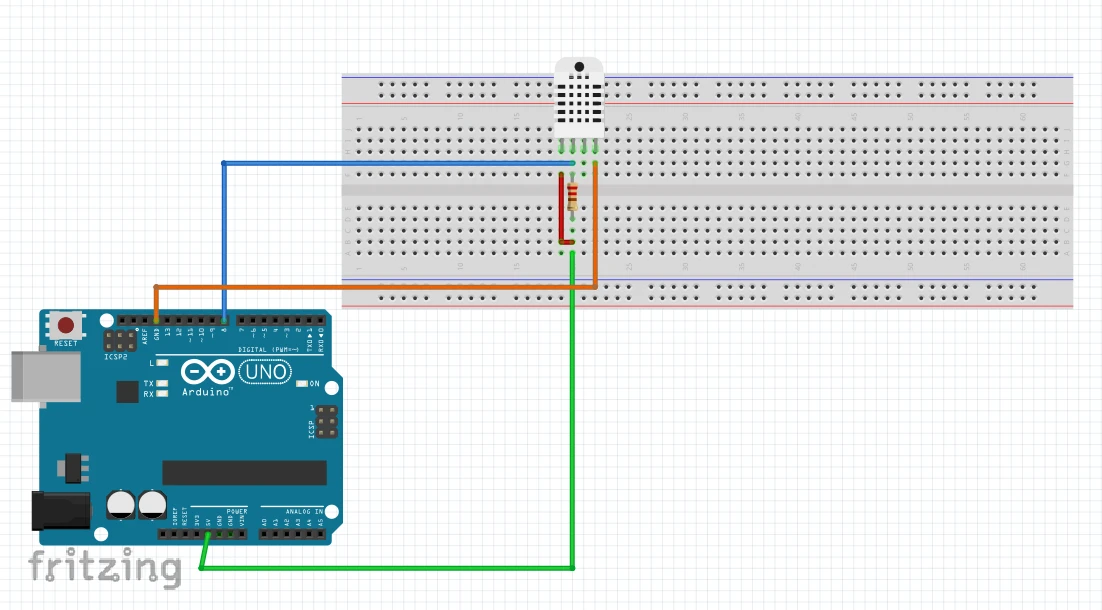
Connect
To connect you need:
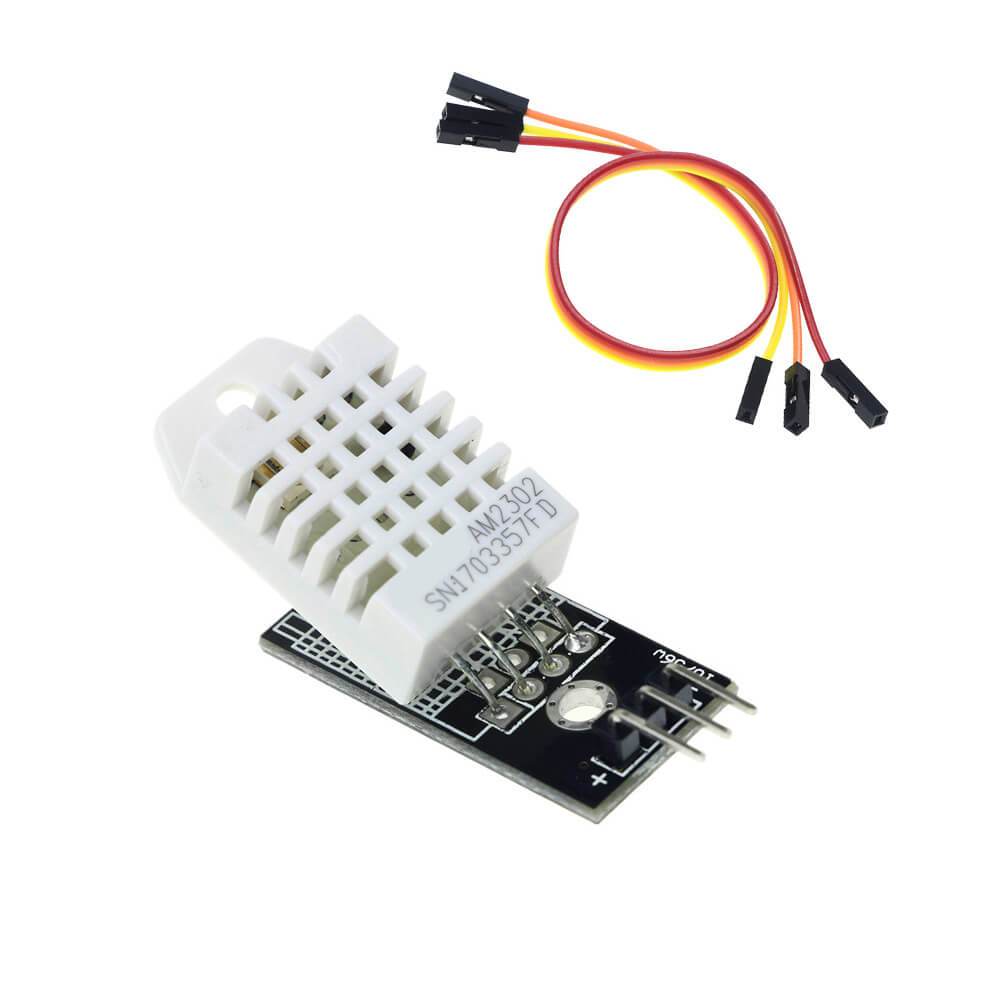
- DHT22 sensor
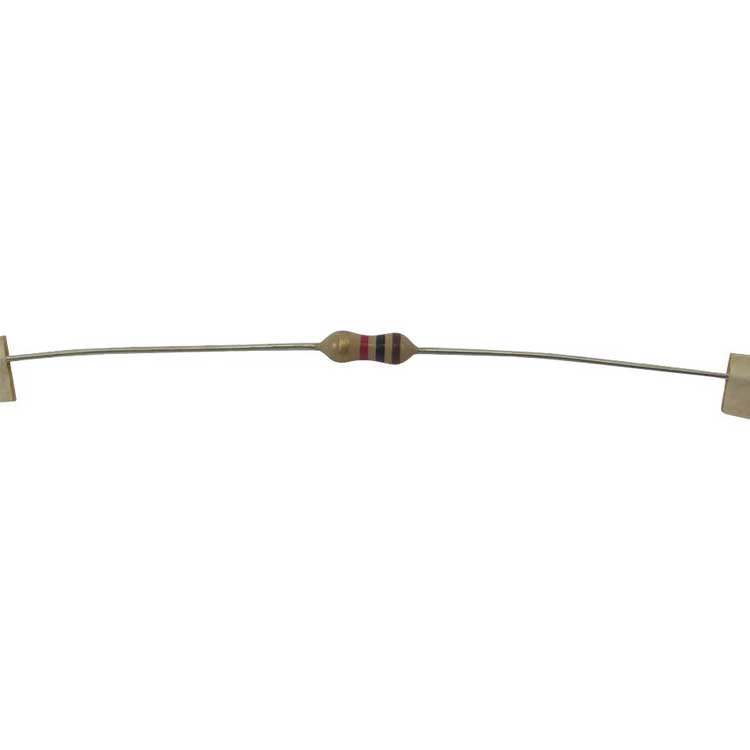
- 4.7K ohm resistor (or a resistor close to it)
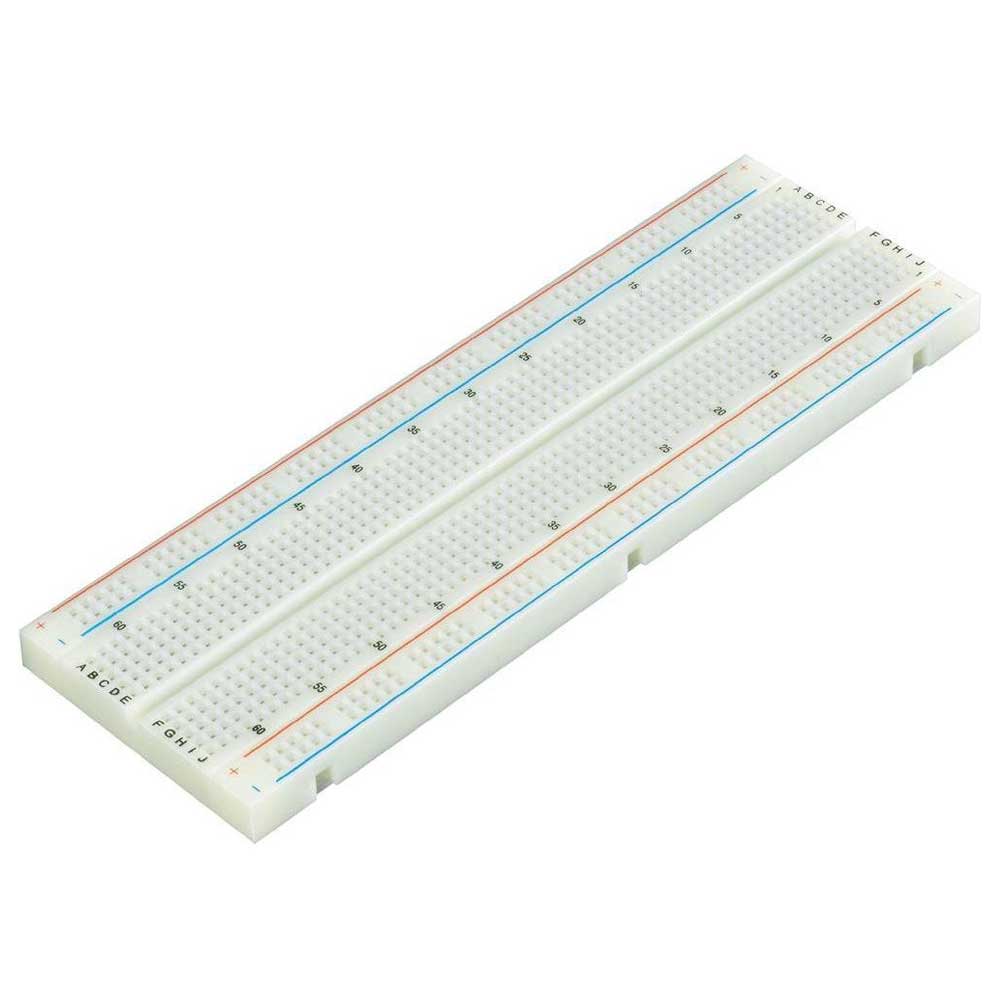
- Breadboard
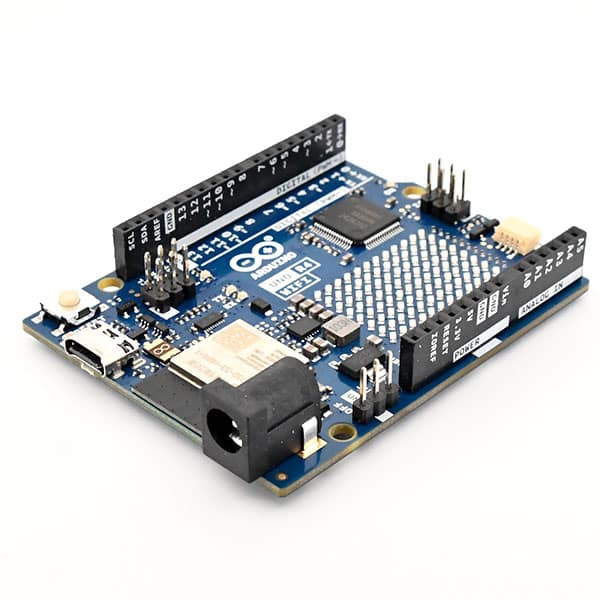
- Arduino R4 WiFi
- 4 jumper wires
Connect your DHT22 sensor to your Arduino this way:
Add Code
In the “sketch” you can see the code generated by Arduino for cloud connections. However, it lacks code for measuring temperature and humidity. Replace the automatic code of the sketch with the code below:
arduinoCopy code
#include "thingProperties.h"#include
#define DHTPIN 8
#define DHTTYPE DHT22

DHT dht(DHTPIN, DHTTYPE);


void setup() {
Serial.begin(9600);
delay(1500);


initProperties();


ArduinoCloud.begin(ArduinoIoTPreferredConnection);
setDebugMessageLevel(2);
ArduinoCloud.printDebugInfo();
dht.begin();
}


void loop() {
ArduinoCloud.update();


float h = dht.readHumidity();
float t = dht.readTemperature();


if (!isnan(h) && !isnan(t)) {
luchtvochtigheid = h;
temperatuur = t;
}
}
Running Code
Now you are ready to upload the code to your Arduino:
- Click on the “Verify and Upload” button.
- This will upload the code to your Arduino so that it can measure temperature and humidity and send that data to your dashboard. This will work even when the Arduino is no longer connected to your computer. This will allow you to place your Arduino in a different location and still receive information on your dashboard. This can be done by powering the Arduino.