4.7 avg.
5439+ reviews5439+ reviews
Order by 16:00 for same day shipping
14 days return
DE
EN
Individual
Business
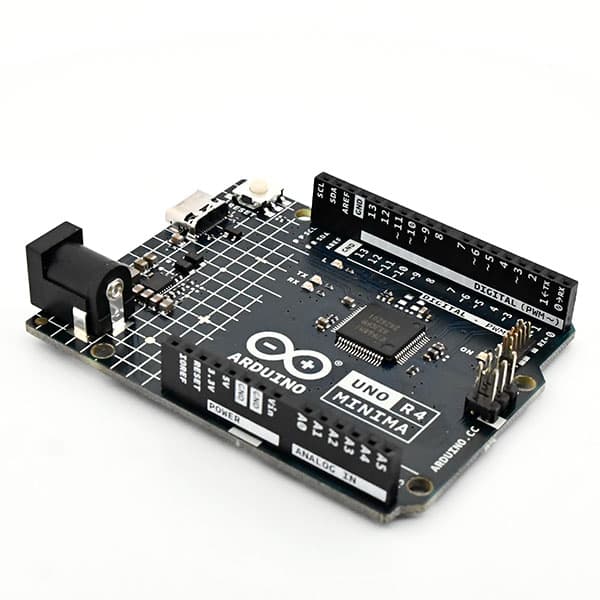
Arduino Project: Blink
The Arduino Blink project is the project that every Arduino beginner starts with. It is a simple project that you should be able to get working within 1 minute. In this project you let the onboard LED blink. By default 1 second on and 1 second off, but you can adjust this yourself.
Arduino blink programming
Download the latest Arduino IDE on your computer/laptop.
Once installed, connect the Arduino Uno to the computer using the USB cable.
Open the Arduino IDE, select Tools –> Board –> Arduino/Genuino Uno.
Then select the correct COM port.
Now your Arduino is ready to receive code.
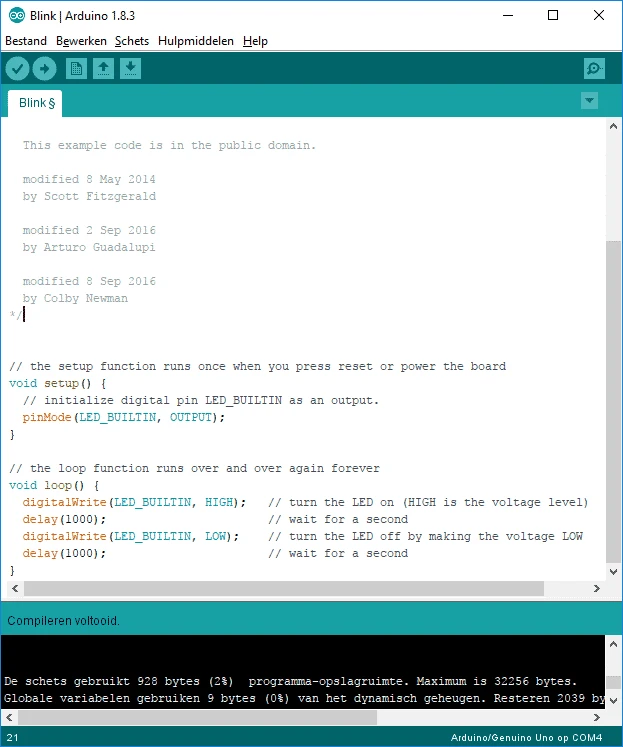
Select File –> Examples –> 01.Basics –> Blink
If all goes well, the following code should now appear:
// the setup function runs once when you press reset or power the board
void setup() {
// initialize digital pin LED_BUILTIN as an output.
pinMode(LED_BUILTIN, OUTPUT);
}

// the loop function runs over and over again forever
void loop() {
digitalWrite(LED_BUILTIN, HIGH); // turn the LED on (HIGH is the voltage level)
delay(1000); // wait for a second
digitalWrite(LED_BUILTIN, LOW); // turn the LED off by making the voltage LOW
delay(1000); // wait for a second
}