Arduino Project: Basic IR Remote Control
Beginner
25 Min
€27.39
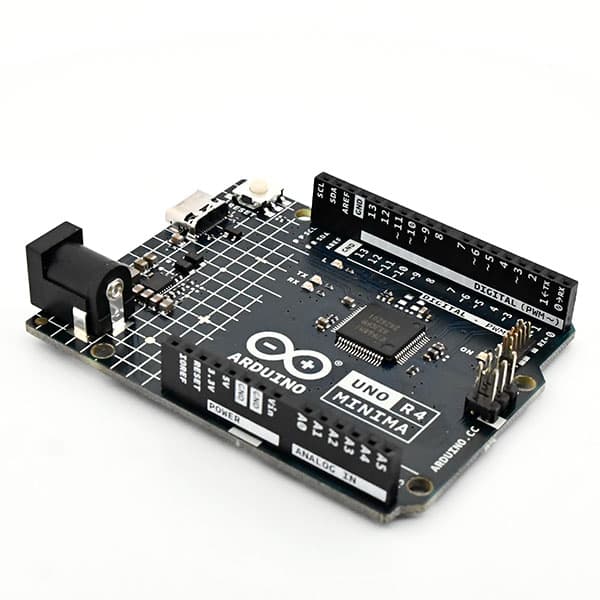
In this project you will learn how to connect an IR controller to an Arduino Uno and how to define the buttons.
Building and Wiring Arduino IR Remote
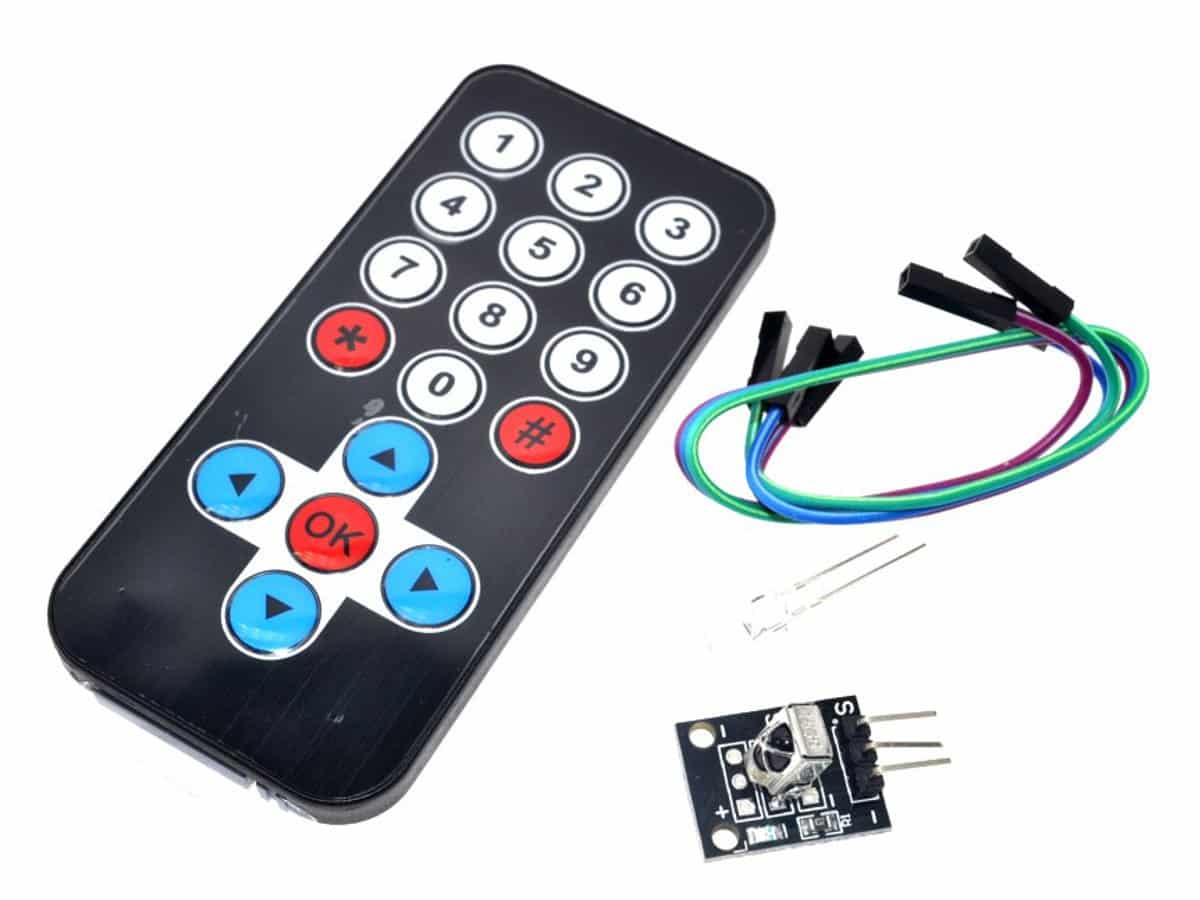
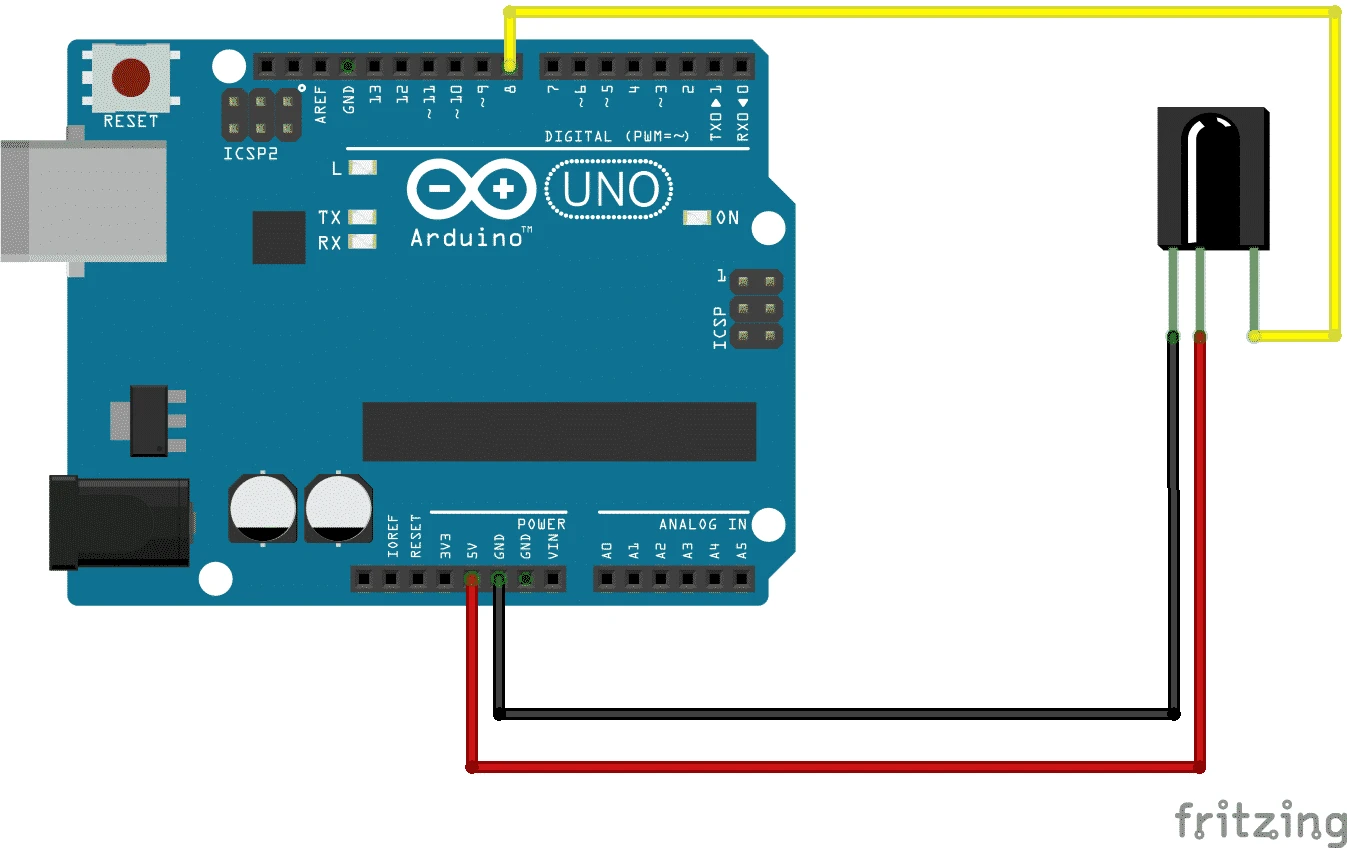
Now we are going to connect the IR Receiver.
The receiver has 3 Pins, one GND, one VCC and one Signal. The GND goes to GND, the VCC to 5V and the signal to Digital pin nr 8.
Read buttons
#include <IRremote.h>

const int RECV_PIN = 8;
IRrecv irrecv(RECV_PIN);
decode_results results;

void setup(){

Serial.begin(9600);
irrecv.enableIRIn();
irrecv.blink13(true); }
void loop(){

if (irrecv.decode(&results))
{ Serial.println(results.value, HEX);
irrecv.resume(); } }

Assigning value to codes
 #include <IRremote.h>

const int RECV_PIN = 8;

IRrecv irrecv(RECV_PIN);

decode_results results;

unsigned long key_value = 0;

void setup(){

Serial.begin(9600);
irrecv.enableIRIn();
irrecv.blink13(true); }

void loop(){

if (irrecv.decode(&results)){
if (results.value == 0XFFFFFFFF)
Serial.println(results.value, HEX);

irrecv.resume();
switch(results.value){
case 0xFFA25D:
Serial.println(“1”);

break; case 0xFF629D: Serial.println(“2”);
break; case 0xFFE21D: Serial.println(“3”);
break; case 0xFF22DD: Serial.println(“4”);
break; case 0xFF02FD: Serial.println(“5”);
break ; case 0xFFC23D: Serial.println(“6”);
break ; case 0xFFE01F: Serial.println(“7”);
break ; case 0xFFA857: Serial.println(“8”);
break ; case 0xFF906F: Serial.println(“9”);
break ; case 0xFF6897: Serial.println(“*”);
break ; case 0xFF9867: Serial.println(“0”);
break ; case 0xFFB04F: Serial.println(“#”);
break ; case 0xFF18E7: Serial.println(“UP”);
break ; case 0xFF7A85: Serial.println(“OK”);
break ; case 0xFF10EF: Serial.println(“LEFT”);
break ; case 0xFF38C7: Serial.println(“OK”);
break ; case 0xFF5AA5: Serial.println(“RIGHT”);
break ; case 0xFF4AB5: Serial.println(“DOWN”);
break ; } key_value = results.value; irrecv.resume(); } }
Of course, this is just the basics of what you can do with this infrared remote. Modify the code to light different LEDs or create a remote controlled robot.