4.7 avg.
5492+ reviews5492+ reviews
Order by 16:00 for same day shipping
14 days return
DE
EN
Individual
Business
Arduino IoT Cloud lesson 3: Push button
This is the third lesson from the Arduino IoT Cloud manual . Haven't followed the first lessons yet? Check out this HERE . In this lesson you will learn how to see in the Arduino IoT Cloud whether a button is on or off (pressed or not pressed). If you are going to work with many buttons later, you can see the status of this button from the IoT Cloud.
Setup Arduino Create
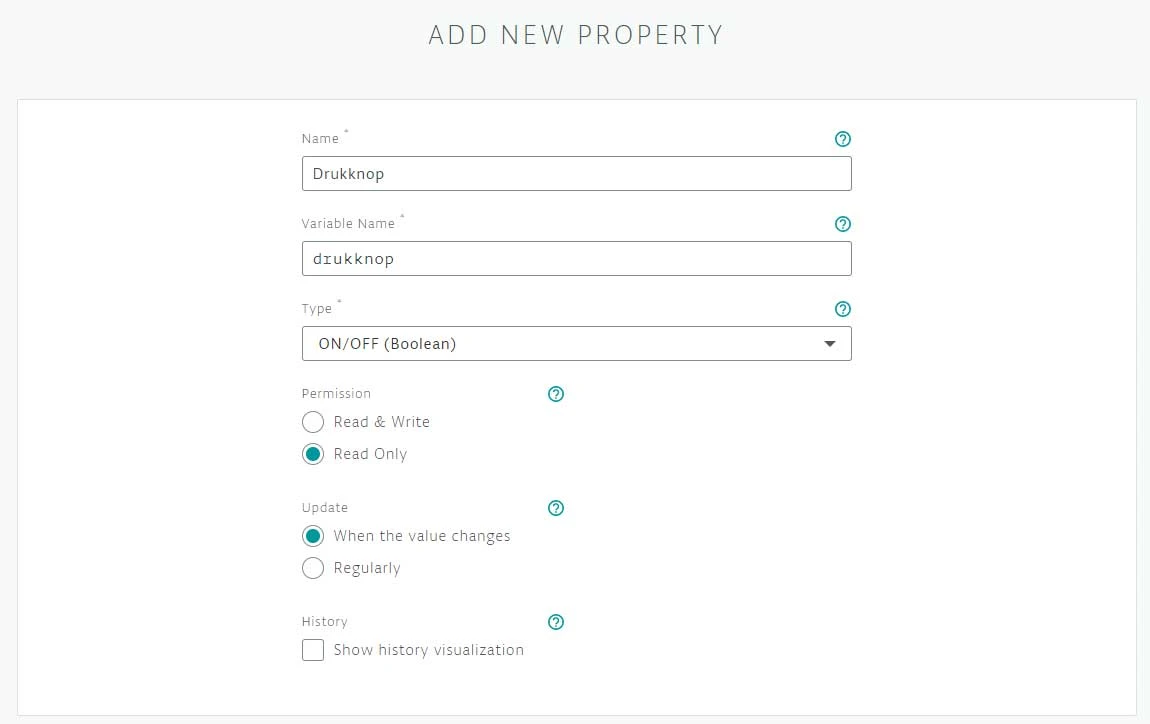
For the project we create a new “Thing”. You can also use one of the “Things” from the previous lessons. But to keep things clear we create a new “Thing” for this project. In this project we named the “Thing” Arduino-IoT-lesson-3-Pushbutton. Once the thing is created we add a property to it. In this case the property is a Pushbutton. For type we go for the boolean again, but the permission must be set to read only. We do this because we want to read the physical pushbutton.
Now that we have created the property we will build and wire the circuit.
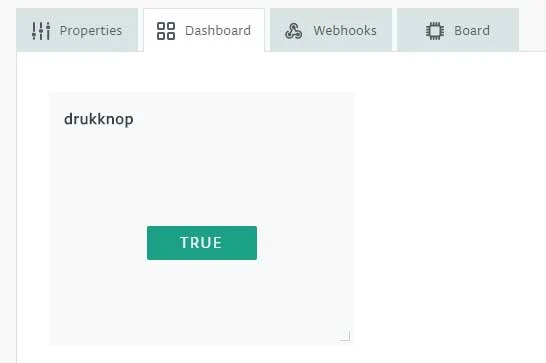
As in the previous lesson, you can see that no data has come in yet. As soon as the code is on the Arduino Nano 33 IoT it will read “True” or “False”. It is generally set to “False”, as soon as the button is pressed it changes to “True”.

Building and Wiring
Now we're going to put the project together.
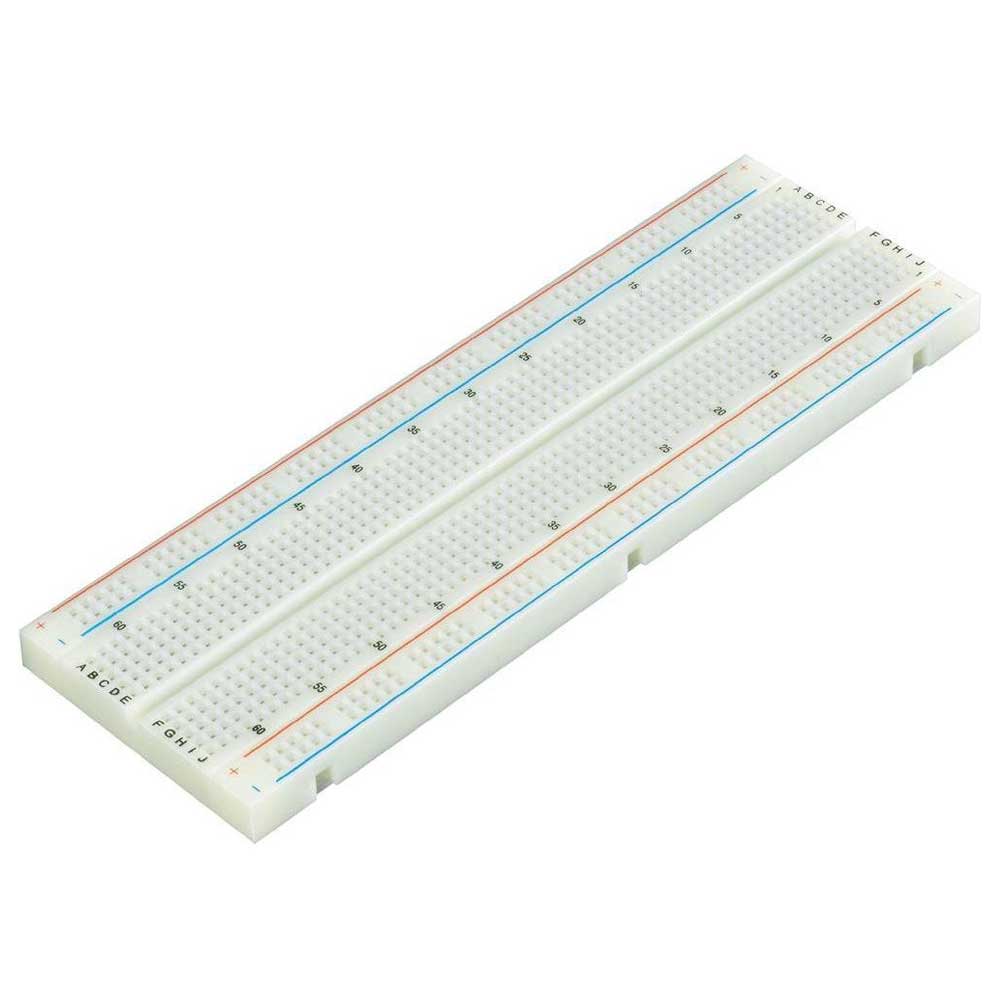
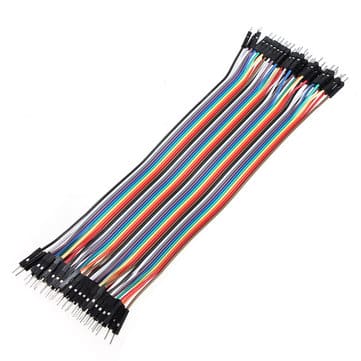
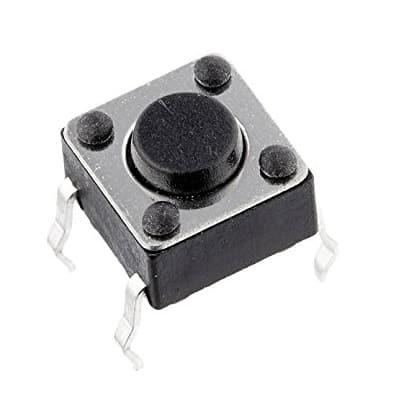
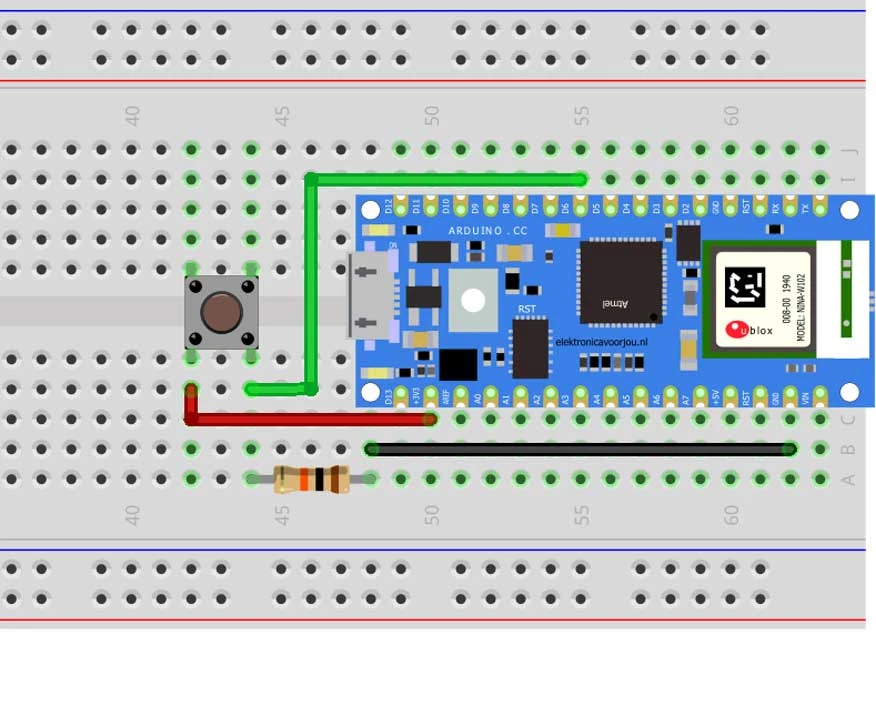
You start by placing the Arduino Nano 33 IoT on the breadboard. In the middle of the breadboard is a slot. Make sure the pins of the board are on both sides of the slot as shown below. The button has 4 connections 2 on each side. Now connect the jumper wires to each pin on one side (See diagram). The button is Normally Open, as soon as the button is pressed a connection is made.
Put the 3.3 volts on the plus side, then we use pin 5 to connect the button. Pin 5 is connected to the minus side of the button. Before you connect the minus to the GND, a 10k ohm resistor must be placed between it.
Now that you have finished building and wiring the circuit, you can start programming it.
Programming
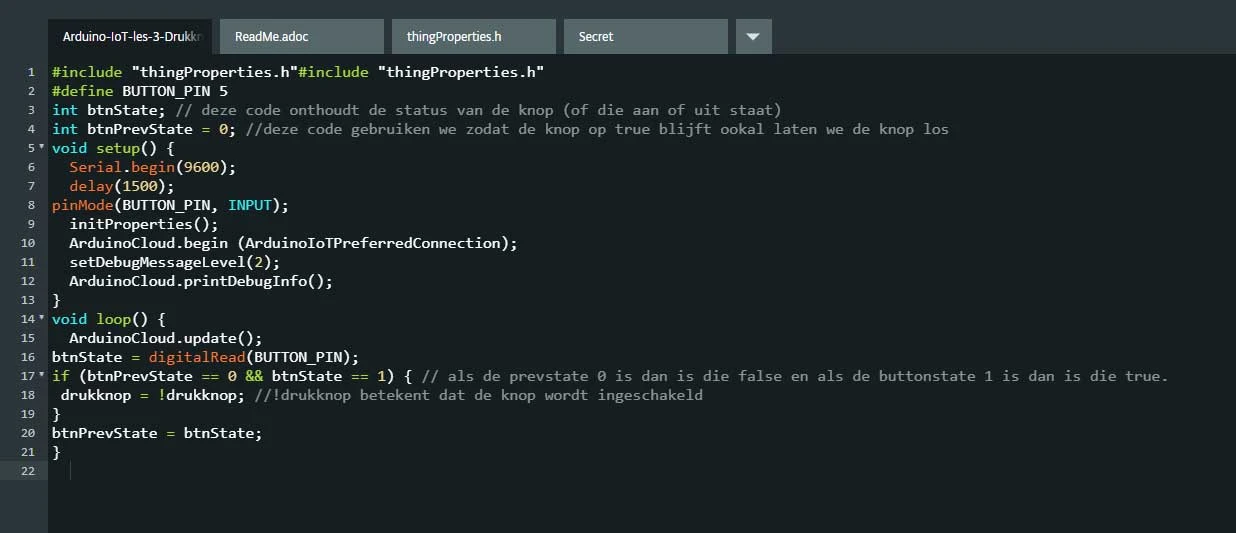
We program the Arduino in the same way as in the previous lessons. The code you will use for this is below. If you want to learn it better, type the code instead of copying and pasting it. You will learn to program better that way.
Once you have written the code you can upload it to the Arduino. If this is successful you go back to the IoT Cloud, you click on dashboard. If it is correct it says "False". As soon as you press the button this changes to "True".
#include “thingProperties.h”
#define BUTTON_PIN 5
int btnState; // deze code onthoudt de status van de knop (of die aan of uit staat)
int btnPrevState = 0; //deze code gebruiken we zodat de knop op true blijft ookal laten we de knop los
void setup() {
Serial.begin(9600);
delay(1500);
pinMode(BUTTON_PIN, INPUT);
initProperties();
ArduinoCloud.begin (ArduinoIoTPreferredConnection);
setDebugMessageLevel(2);
ArduinoCloud.printDebugInfo();
}
void loop() {
ArduinoCloud.update();
btnState = digitalRead(BUTTON_PIN);
if (btnPrevState == 0 && btnState == 1) { // als de prevstate 0 is dan is die false en als de buttonstate 1 is dan is die true.
drukknop = !drukknop; //!drukknop betekent dat de knop wordt ingeschakeld
}
btnPrevState = btnState;
}