5357+ reviews
Order by 16:00 for same day shipping
14 days return
DE
EN
Individual
Business
Tinkerkit BRACCIO - Robot arm

Tinkerkit BRACCIO Robot Arm Construction Kit
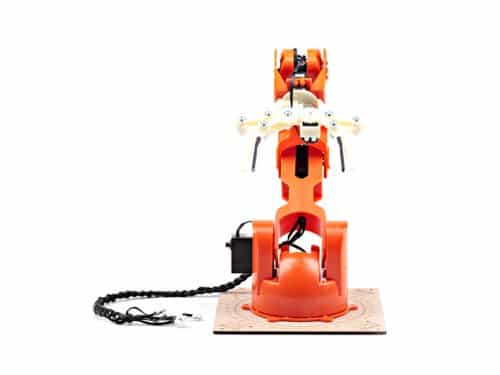
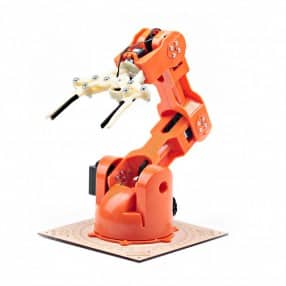
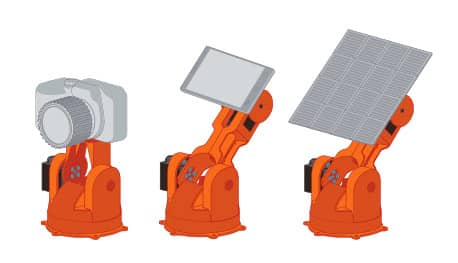
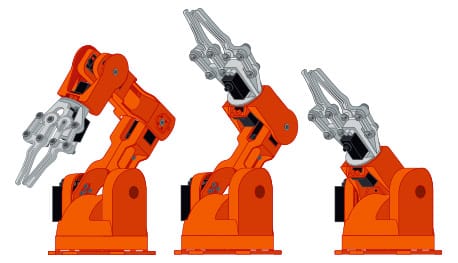
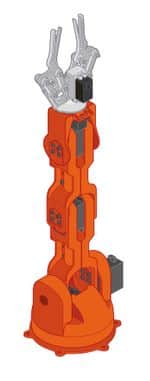
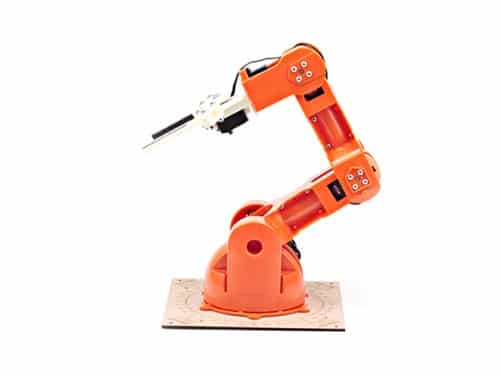
The BRACCIO Robot Arm is the official robot arm of Arduino. With this robot you can experiment and gain experience with programming a Robot Arm. The Tinkerkit BRACCIO is a versatile Robot Arm that can be configured in different ways, by the possibility to attach multiple objects to the end of the Robot Arm. For example, to let a camera follow your face, a solar panel to follow the sun. The BRACCIO is also designed to easily work with an Arduino Microcontroller, via the supplied SHIELD. We recommend ordering an Arduino UNO so that you can get started right away! The Robot Arm comes in a kit, which means that you have to assemble it yourself. This is easy to do with the (English) manual and Youtube instructions. There are also a number of standard programmings available via GitHub . Arduino is busy updating the Braccio website, in the meantime you can consult the old Braccio website.
What's in the Tinkerkit Braccio?
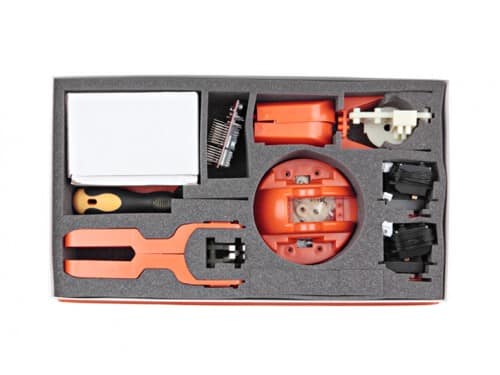
21 x Plastic parts 63 x Screws 16 x Flat washer 7 x Hex nut 2 x Springs Servo motors: 2 x SR 311, 4 x SR 431 1 x Arduino compatible shield 1 x Power supply 5V, 5A 1 x Phillips screwdriver 1 x Double Allen key 1 x Spiral protection wrap
Compatible Arduino Board s :
- Uno
- Uno SMD
- Uno WiFi
- Due
- Mega 2560
- Ethernet
- Leonardo
- Leonardo ETH
- M0
- M0 Pro
- Yun*
- Tian*
- Primo*
*Tian or Yun. Be careful with the shield, if you push it too far you will get a short circuit between the M1 connector and the ethernet port.
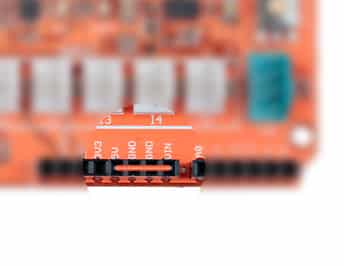
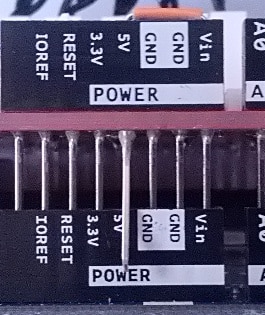
*Arduino YÚN, Tian and Primo with Braccio Shield V4 To get the shield working you need to set the power switch to "VIN" and you need to bridge the 5V pin to the VIN Pin (see image). You also need to bend the 5V pin of the shield around the connector (see image) 

Tinkerkit BRACCIO - Robot arm
Sold out
€309.40
Order before 4:00 PM = shipped today
14 days free returns
SKU: ARD1023 Categories: Robotics , Arduino , Arduino starter kits
Tinkerkit BRACCIO Robot Arm Construction Kit
The BRACCIO Robot Arm is the official robot arm of Arduino. With this robot you can experiment and gain experience with programming a Robot Arm. The Tinkerkit BRACCIO is a versatile Robot Arm that can be configured in different ways, by the possibility to attach multiple objects to the end of the Robot Arm. For example, to let a camera follow your face, a solar panel to follow the sun. The BRACCIO is also designed to easily work with an Arduino Microcontroller, via the supplied SHIELD. We recommend ordering an Arduino UNO so that you can get started right away! The Robot Arm comes in a kit, which means that you have to assemble it yourself. This is easy to do with the (English) manual and Youtube instructions. There are also a number of standard programmings available via GitHub . Arduino is busy updating the Braccio website, in the meantime you can consult the old Braccio website.
What's in the Tinkerkit Braccio?
21 x Plastic parts 63 x Screws 16 x Flat washer 7 x Hex nut 2 x Springs Servo motors: 2 x SR 311, 4 x SR 431 1 x Arduino compatible shield 1 x Power supply 5V, 5A 1 x Phillips screwdriver 1 x Double Allen key 1 x Spiral protection wrap
Compatible Arduino Board s :
- Uno
- Uno SMD
- Uno WiFi
- Due
- Mega 2560
- Ethernet
- Leonardo
- Leonardo ETH
- M0
- M0 Pro
- Yun*
- Tian*
- Primo*
*Tian or Yun. Be careful with the shield, if you push it too far you will get a short circuit between the M1 connector and the ethernet port.
*Arduino YÚN, Tian and Primo with Braccio Shield V4 To get the shield working you need to set the power switch to "VIN" and you need to bridge the 5V pin to the VIN Pin (see image). You also need to bend the 5V pin of the shield around the connector (see image) 

