5184+ reviews
Order by 16:00 for same day shipping
14 days return
DE
EN
Individual
Business
Arduino Uno WiFi Rev2

Arduino Uno WiFi Description
Add this board to a device and you can connect it to a WiFi network, using the secure ECC608 crypto chip accelerator.
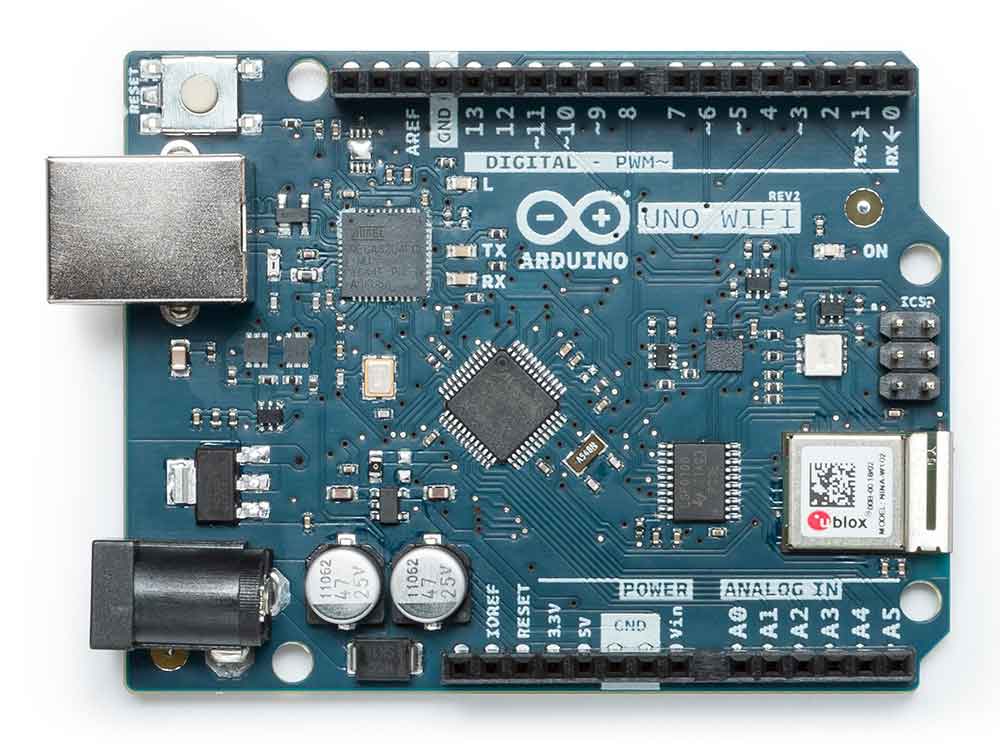
The Arduino Uno WiFi is functionally the same as the Arduino Uno Rev3, but with the addition of WiFi and some other improvements. It contains a brand new 8-bit microprocessor from Microchip and has a built-in IMU (inertial measurement unit).
The Wi-Fi module is a standalone SoC with integrated TCP/IP protocol stack that can provide access to a Wi-Fi network or act as an access point.
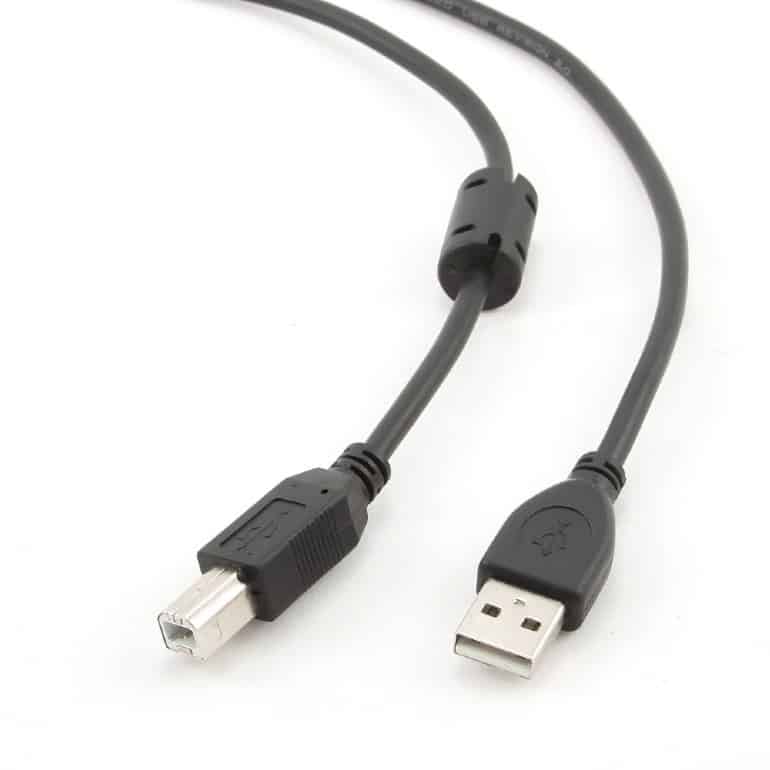
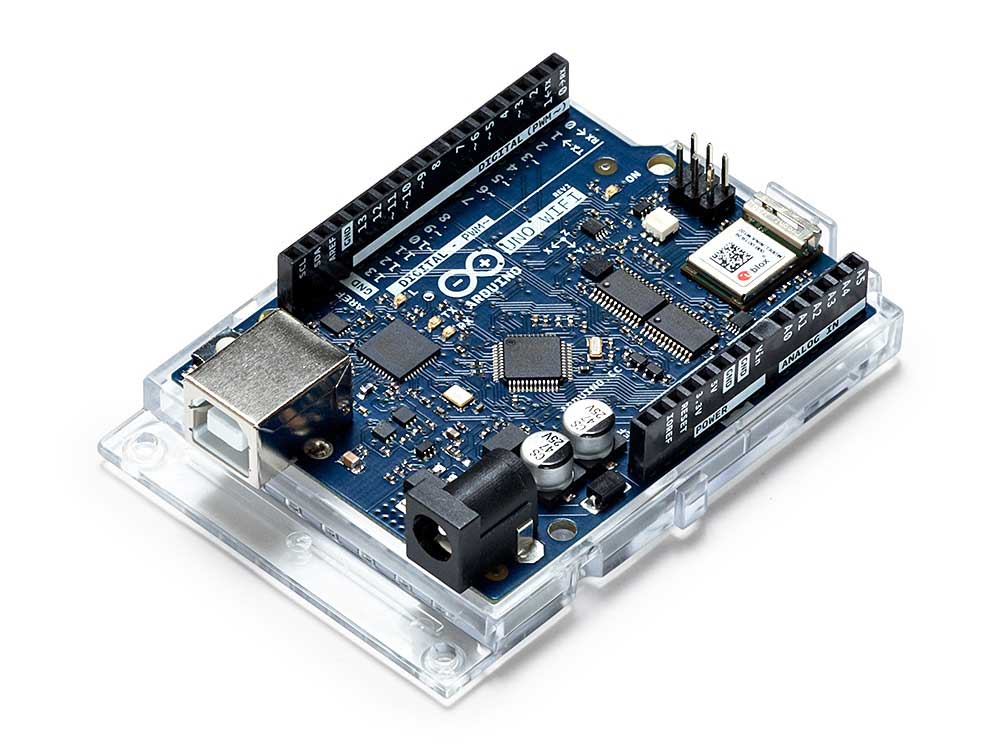
The Arduino Uno WiFi has 14 digital input/output pins — 5 can be used as PWM outputs with Pin 11 not being PWM like on the UNO Rev3 — 6 analog inputs, a USB connection, a power jack, an ICSP header, and a reset button. It contains everything needed to support the microcontroller. Simply connect it to a computer with a USB cable or power it with an AC adapter to get started.
Getting started with the Uno WiFi
In the Getting Started section you can find all the information you need to configure your board, use the Arduino Software (IDE), and start tinkering with coding and electronics.
Arduino Uno WiFi Rev2
Sold out
€46.17
USB Cable
Arduino Uno WiFi Rev2
€46,17
Sum
€46,17
Order before 4:00 PM = shipped today
14 days free returns
SKU: ARD2015 Categories: Arduino , Arduino Boards
Arduino Uno WiFi Description
Add this board to a device and you can connect it to a WiFi network, using the secure ECC608 crypto chip accelerator.
The Arduino Uno WiFi is functionally the same as the Arduino Uno Rev3, but with the addition of WiFi and some other improvements. It contains a brand new 8-bit microprocessor from Microchip and has a built-in IMU (inertial measurement unit).
The Wi-Fi module is a standalone SoC with integrated TCP/IP protocol stack that can provide access to a Wi-Fi network or act as an access point.
The Arduino Uno WiFi has 14 digital input/output pins — 5 can be used as PWM outputs with Pin 11 not being PWM like on the UNO Rev3 — 6 analog inputs, a USB connection, a power jack, an ICSP header, and a reset button. It contains everything needed to support the microcontroller. Simply connect it to a computer with a USB cable or power it with an AC adapter to get started.
Getting started with the Uno WiFi
In the Getting Started section you can find all the information you need to configure your board, use the Arduino Software (IDE), and start tinkering with coding and electronics.
