4.7 avg.
5184+ reviews5184+ reviews
Order by 16:00 for same day shipping
14 days return
DE
EN
Individual
Business
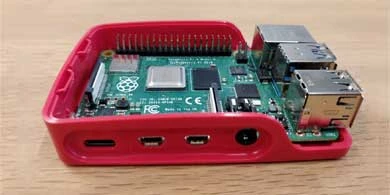
Raspberry Pi 4B Kodi kit manual

Connect
The Heatsink Case consists of a bottom and a top. On the top are two fans mounted.
Parts:
Raspberry Pi 4B, Micro-HDMI cable, USB-C Power supply, Micro-SD card, Case
Step 1:
Inside the bottom of the case are four red pins, press the Raspberry Pi onto these so that it sits properly down.
Step 2:
Place the top of the housing and slide the Micro-SD card into the SD slot with the metal strips facing the printed circuit board.
Step 3:
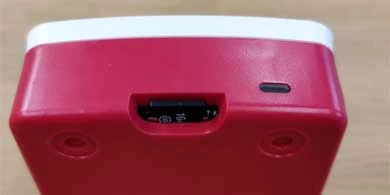
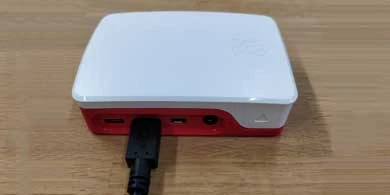
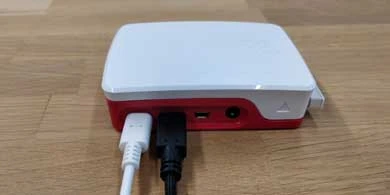
Then insert the Micro-HDMI cable into the left port.

Step 4:
Connect your keyboard and mouse to one of the USB ports.
Step 5:
Finally, connect the power to the USB-C port to the left of the Micro-HDMI port.
Your Raspberry Pi is now booting!
Do you have the kit with Heatsink Case?
Then watch the video below!

Start up
Your setup is now ready to be booted.
When the Raspberry Pi starts up now you will see the Kodi interface on your monitor. When starting up for the first time you still have to set it up, but that is explained step by step.
You can now add and play your own media!
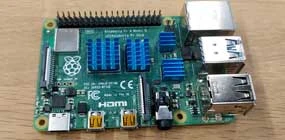
Heatsinks
Species:
Depending on the set of heatsinks in the kit, you can attach them as follows.
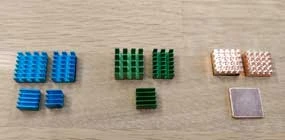
4 pieces:
You stick the large heatsink on the processor, the elongated one on the memory, and the two small ones on the right
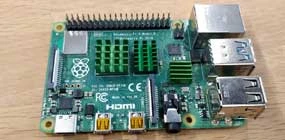
3 pieces:
You stick the large heatsink on the processor, the elongated one on the memory and the small one on the USB chip
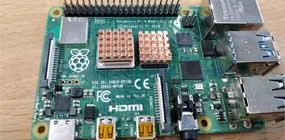
Copper:
Stick the copper heatsinks on the processor and memory.
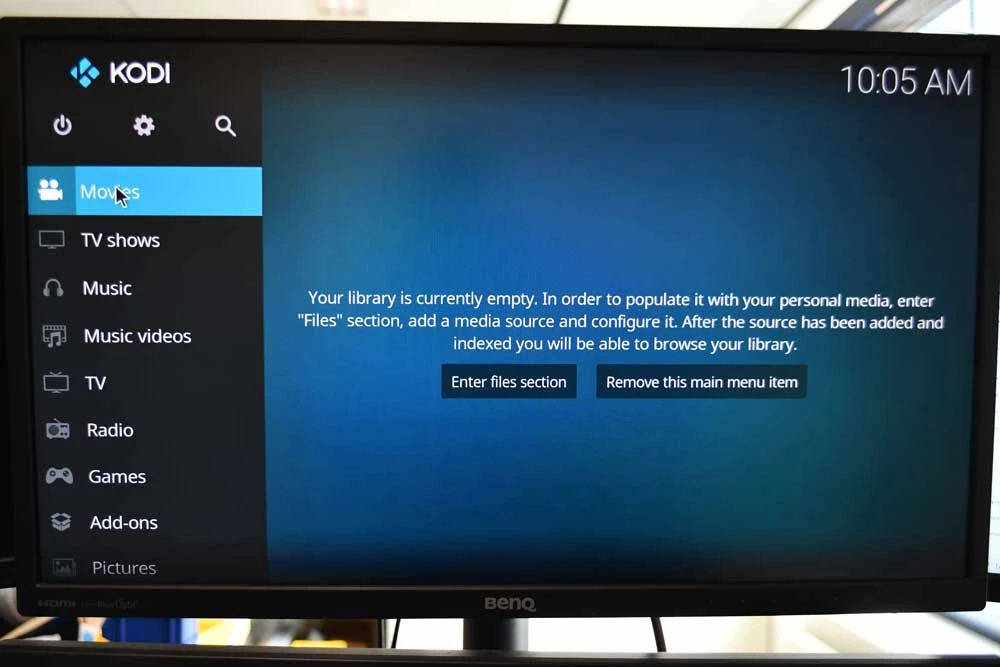
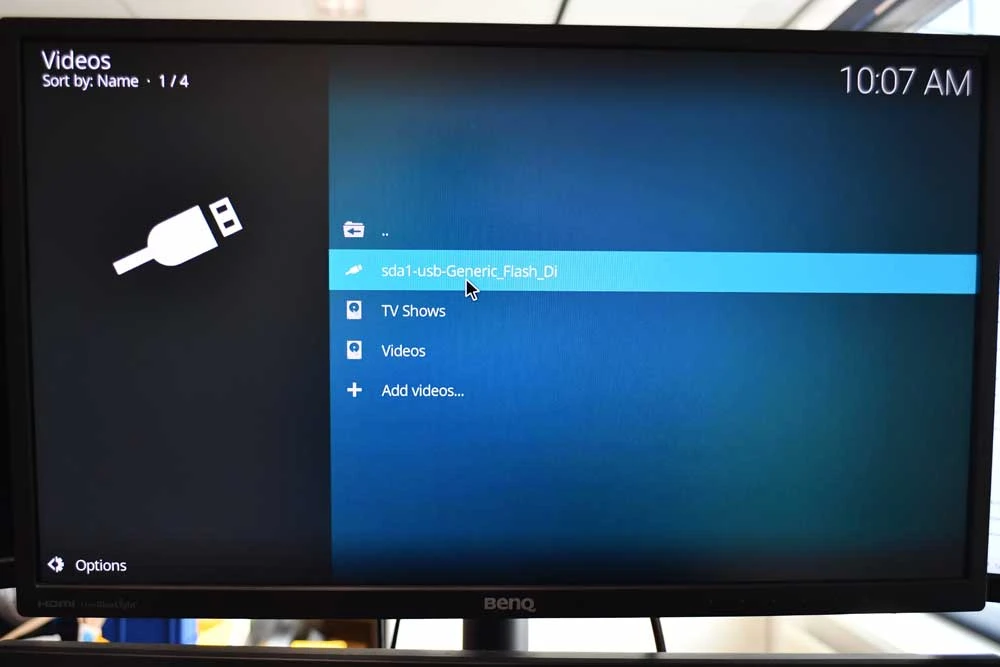
Play files
Playing a file is very simple. You place the desired file on a USB stick. Then you connect the USB stick to the Raspberry Pi . Do you want to play a video? Then go to the heading "Movies". Select your USB stick and the movie you want to play. Your movie will now start playing!