Servo Calibration: How to Ensure Accurate Movements?
Calibrating your servo motors is very important. A properly calibrated servo system is the backbone of any project that requires precision and reliability. Whether you work in robotics, model building, or other applications, properly tuning your servos ensures consistent and accurate movement. In this comprehensive guide, we will take you through the entire calibration process. From the basics and materials required to advanced techniques, cross-platform implementation, maintenance strategies, and best practices.
Why servo calibration?
Servos and motors are indispensable components in modern applications. A servo is essentially an electric motor with a built-in sensor and feedback system. This allows it to accurately determine and correct its position. This makes servos ideal for applications where precision is essential. The importance of accurate calibration cannot be overemphasized. A correctly calibrated servo not only delivers optimum performance. It also prevents mechanical damage and increases the safety of the entire system.
How Servos Work
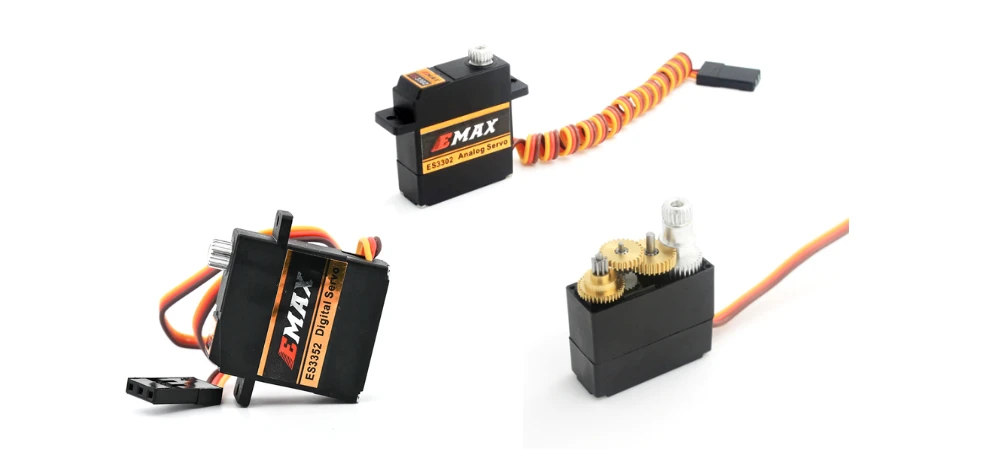
Servos differ from other motors in their integrated feedback mechanism. They receive a pulse width modulation (PWM) signal that indicates the desired position. Inside a servo are a motor, a gear system and an internal sensor (often a potentiometer). Together they ensure that deviations are corrected immediately. This closed control loop makes it possible to work with high precision. This is essential for applications such as robotics and CNC machines.
Materials and tools required
A successful calibration starts with good preparation. Make sure you have:
- Servo Motor(s): Choose servos that suit your specific application.
- Controller/Microcontroller: Devices such as Arduino, ESP or Raspberry Pi can be used to generate the PWM signals.
- Breadboard, Connection Cables and Mounting Aids: For a stable setup.
- Stable Power Supply: A reliable power supply prevents fluctuations in operation.
- Measuring Equipment and Software: Multimeters, oscilloscopes and calibration software help you make accurate measurements and adjustments.
Preparing for calibration
Careful preparation is the key to success. Start by creating a clean and safe work area. Check that all hardware is mounted correctly and connections are tight. Before you begin calibration, it is important to:
- Visually inspect the servos for any damage or wear.
- Verify the connections, cables and power supply.
- Install the software and firmware up-to-date. This ensures that communication between components runs smoothly.
Step-by-step calibration procedure
A systematic approach ensures that your servos are finely tuned. The procedure involves the following stages:
- Initial Configuration and Test: Start the calibration software and set the basic parameters such as PWM frequency and standard position. Perform an initial test to check whether the servo responds.
- Zero Position and Reference Setting: Bring the servo to the desired 'zero' position and record this as a reference point. Repeat to ensure consistency.
- Setting Limit Values: Move the servo to the extreme positions and record the measured values. Set the minimum and maximum positions accurately to avoid mechanical overload.
- Fine Tuning and Testing: Test incremental movements between set limits. Check that the servo reaches the desired positions without overshoot or oscillation and adjust settings as necessary.
- Verify, Save and Document: Perform extensive testing and save the optimized parameters. Document all settings and observations for future maintenance.
Troubleshooting and troubleshooting
During calibration, various problems can occur. For example, you may experience inaccurate positions, delayed response or mechanical blockages. A systematic troubleshooting consists of:
- Check Wiring and Connections: Make sure all connections are correct and that there are no loose cables or damage.
- Verification of Software Settings: Check the PWM signals and PID settings. Small deviations can have large effects.
- Using Diagnostic Tools: A multimeter or oscilloscope can be used to check voltage levels and signal integrity. Software log files and error codes can provide additional clues.
If necessary, repeat the calibration procedure with the adjusted settings. Then document the adjustments made.
Advanced calibration techniques
For very high precision applications, standard procedures can sometimes be insufficient. Advanced techniques offer the possibility to further refine the performance of your servos:
- Fine-tuning via PID adjustments: Adjust the proportional, integral and derivative parameters to minimize overshoot and oscillations.
- Automatic Calibration: Modern systems have automatic routines that analyze real-time data and automatically adjust settings for consistent results.
- Additional Measurement Equipment: Integrate high-precision encoders or laser distance meters to make feedback more accurate and optimize calibration.
- Data Logging and Analysis: Document performance during various test phases to identify trends and further improve settings.
How to use an Arduino to calibrate servo motors?
Arduino is one of the most popular platforms for controlling servo motors. The Arduino platform offers a simple hardware & programming environment. In addition, there is an extensive community that is happy to help with solving problems. When using an Arduino for calibration of servo motors, the following points apply:
Hardware and Connection:
- Connect the servo to one of the PWM outputs on the Arduino.
- Provide a stable power supply and connect the servo correctly to the power supply and ground.
Software and Code:
- Use the standard Servo library, which allows for simple control.
- Write a test program in which you slowly move the servo between the minimum and maximum values.
- Use the serial monitor to receive real-time feedback and adjust calibration parameters.
Calibration procedure:
- Start with some basic code that moves the servo to a 'zero' position.
- Adjust the PWM signals and record the response.
- Optimize the movement by gradually refining the values and saving the settings.
This platform is ideal for beginners and hobbyists, providing an accessible way to accurately calibrate servos.
How do you use an ESP to calibrate servo motors?
ESP modules, such as the ESP8266 or ESP32, are popular choices for projects involving wireless communication. They combine the functionality of a microcontroller with built-in WiFi connectivity:
Hardware and Connection:
- Connect the servo to a suitable PWM pin on the ESP module.
- Pay attention to the supply voltage; some ESP modules operate at 3.3V, so make sure the servo is compatible with this or use a voltage regulator.
Software and Code:
- Program the ESP module using the Arduino IDE.
- Use the same Servo library as with Arduino; however, be aware of any differences in timing and PWM resolution.
- Implement a web server or MQTT functionality for remote control and monitoring of the calibration parameters.
Calibration procedure:
- Start with an initial test and observe the response via a web interface or serial output.
- Adjust PWM values and optimize settings in real time.
Using an ESP module offers additional possibilities for remote monitoring and control. This is particularly useful in IoT applications.
How to use a Raspberry Pi to calibrate servo motors?
The Raspberry Pi is a full-fledged mini-computer. With its versatility and powerful computing capabilities, it is also excellent for servo control and calibration:
Hardware and Connection:
- Connect the servo to a GPIO pin that can generate PWM signals.
- Optionally use an external PWM driver or a HAT (Hardware Attached on Top) for more precision and multiple servos.
Software and Code:
- Program in Python using libraries such as RPi.GPIO or pigpio that support PWM control.
- Develop scripts that move the servo and use the command line or a GUI for real-time feedback.
- Implement logging and data analysis in the software to accurately record calibration parameters.
Calibration procedure:
- Start with a basic program that drives the servo to a zero position.
- Test incremental movements and adjust settings based on measured results.
- Document the optimal values and implement a recalibration routine if necessary.
The Raspberry Pi is ideally suited for applications that combine complex logic, networking and data analysis.


Maintenance and recalibration
A one-time calibration is not sufficient for long-term reliable use. Regular maintenance and periodic recalibration are essential:
- Regular Inspection and Firmware Updates: Periodically check the physical and electrical condition of your servos. Make sure all software and firmware are up to date.
- Preventive Maintenance: Monitor power supply, check mechanical parts such as gears and fasteners. Perform routine calibration tests.
- Documentation: Maintain a logbook recording all maintenance and recalibration activities. This helps identify trends and make necessary adjustments in a timely manner.
Frequently asked questions and additional tips
Here we answer the most common questions about servo calibration and provide additional advice to get the most out of your system:
- How often should I calibrate?
This depends on the conditions of use. In case of intensive use, frequent checks are recommended. - What if the servo does not reach the expected position?
Check the hardware, power and software settings and repeat the calibration if necessary. - How can I further improve accuracy?
Optimize PID settings and use additional measuring equipment for accurate feedback. - Is automatic calibration possible?
Yes, modern systems often provide automatic routines that ensure consistent and efficient adjustments. - Tips for sustainable use:
Provide a stable workspace, document all calibration and maintenance activities. If problems persist, call in a specialist.
Conclusion and recommendations
A well-calibrated system delivers reliable and accurate performance. This guide provides a clear roadmap. We started with servo operation and preparation. Then we discussed the step-by-step calibration procedure and troubleshooting. We also covered advanced techniques and specific implementations with Arduino, ESP and Raspberry Pi . Regular maintenance and recalibration are essential.
Use quality measuring equipment and ensure a stable workspace. Document all steps carefully. Keep up to date with the latest technological developments and implement automatic calibration routines if possible.
With this approach, your servos will work accurately, safely and sustainably. Invest in maintenance and optimization. This way, your system will remain future-proof and perform at the highest level.