How to install Raspberry Pi OS (formerly Raspbian)?
This guide explains step by step how to install Raspberry Pi OS. You will read about the features of the operating system, which storage media you can use, and how to customize and maintain the system after installation. We will also cover headless installation and alternative imager tools.
What is Raspberry Pi OS?
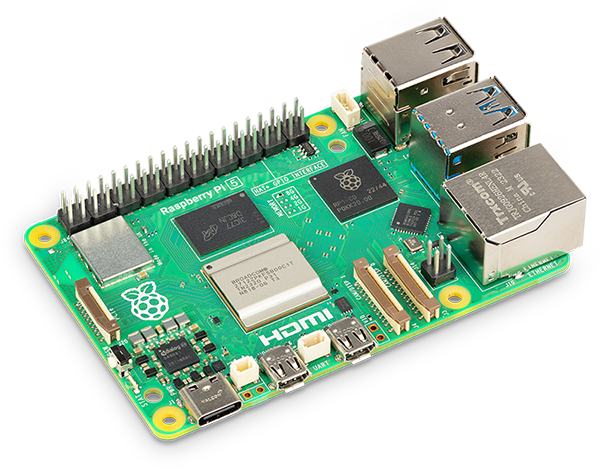
Just like you have Windows or MacOS for your computer, you have Raspberry Pi OS for your RPI minicomputer. Raspberry Pi OS, formerly called Raspbian, is the default operating system for Raspberry Pi . It is based on Debian Linux. Pi OS is designed to be stable, easy to use and lightweight. Because of this, it works well even on older models of the Raspberry Pi .
The interface is simple and intuitive. Both beginners and advanced users will find their way in the system. Many programs are included as standard. Think of educational tools and productivity applications. For example, you can browse the internet, watch videos and write texts. This makes Raspberry Pi OS ideal for both standard computer use and building projects.
A big advantage is the active community. There are many people who share their knowledge. This makes it easy to get help if you run into something. Thanks to regular updates, the system remains up-to-date and secure.
The Raspberry Pi OS boot procedure
When you boot the Raspberry Pi , the operating system is loaded from a storage medium. Usually this is an SD card. The built-in firmware automatically searches for the correct files on the SD card. The SD card contains multiple partitions. One partition contains the boot files and another the Linux files and configuration.
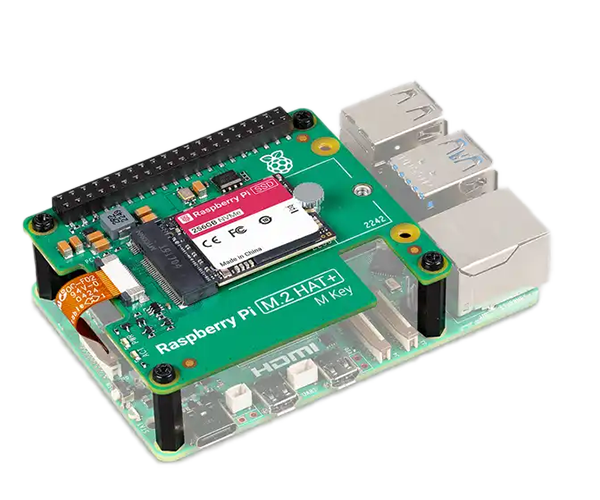
Some newer Raspberry Pi models can also boot from USB. You can then use a USB stick or an external SSD. This offers advantages such as faster read and write speeds and more storage capacity.
In addition, network boot (PXE boot) is possible. With this method, the boot files are loaded from a server. This is useful in environments with multiple devices. The firmware determines which boot source is tried first. With a configuration file such as config.txt you can change the order.


SD Card vs SSD
The choice of storage medium is important for the performance of your Raspberry Pi . Usually you choose between an SD card and an SSD.
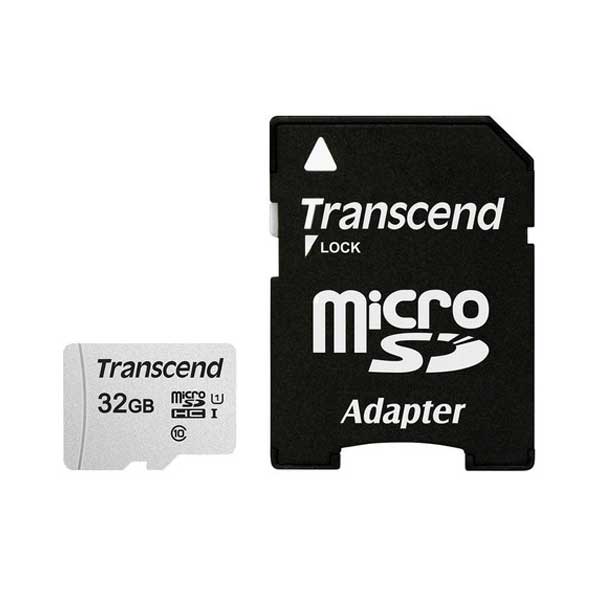
SD card
An SD card is compact and affordable. Most Raspberry Pi models have a built-in SD card slot. This makes installation easy. For light applications, an SD card is often sufficient.
However, there are also disadvantages. SD cards wear out faster with intensive use. They are usually slower when reading and writing data. This can affect the overall system performance.
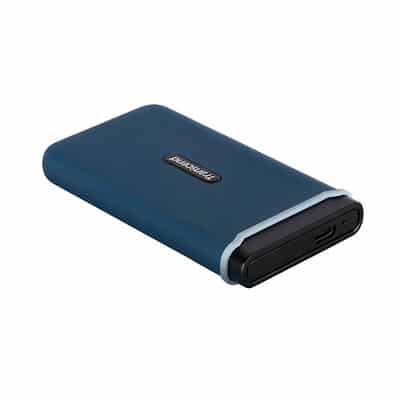
SSD
An SSD is a more modern storage medium. It uses flash memory and often works much faster than an SD card. An SSD can be connected to the Raspberry Pi via a USB connection. This ensures better performance and more durability.
The downside is that SSDs are usually more expensive. You may also need additional hardware, such as a USB to SATA adapter. The choice between an SD card and an SSD depends on your project. For simple tasks, the SD card is often sufficient. For demanding applications, an SSD is the better option.
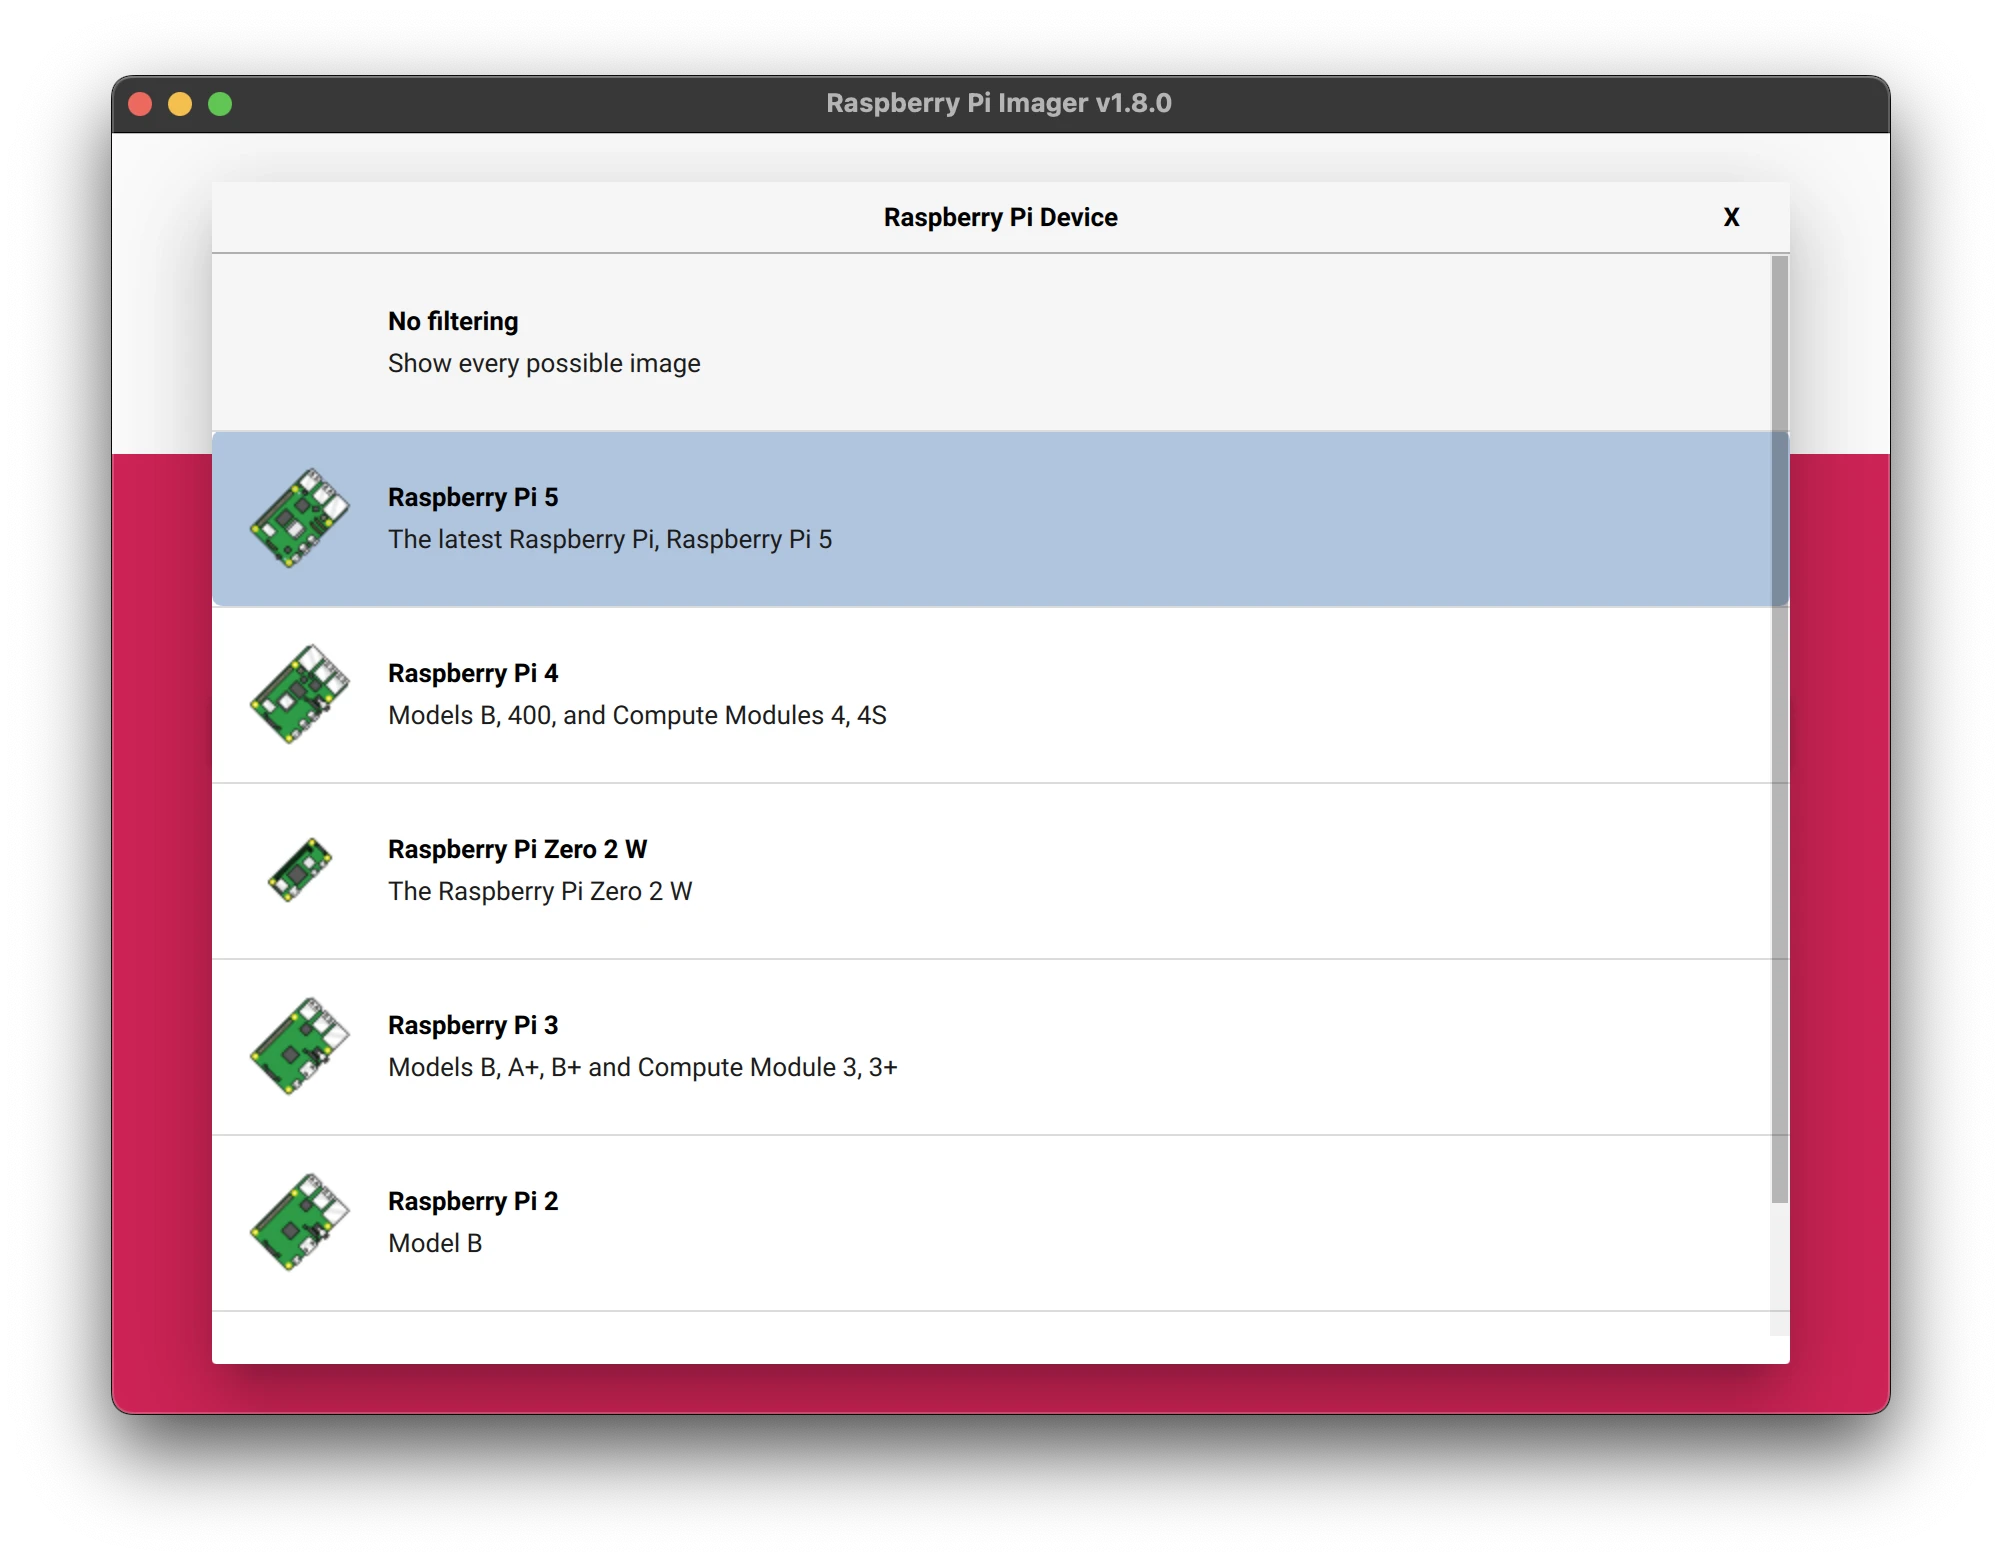
The Official Raspberry Pi Imager
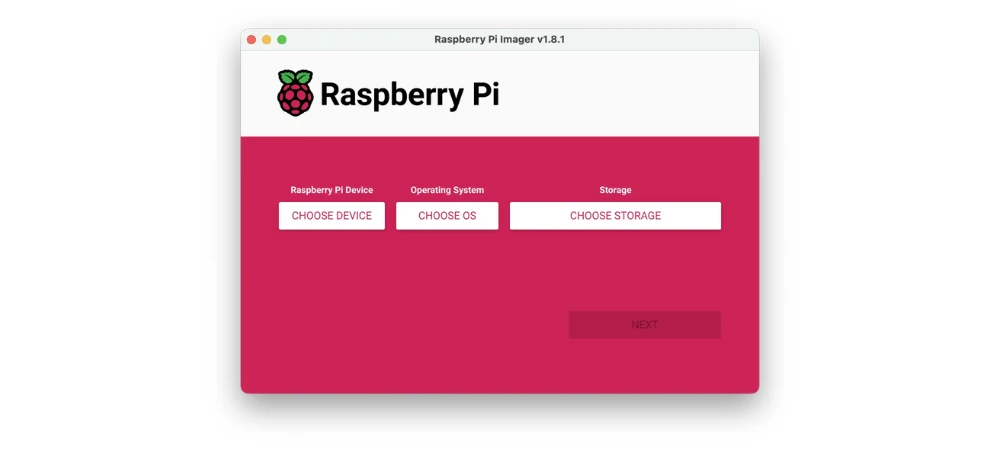
The Raspberry Pi Imager is a tool of Raspberry Pi . With this tool you install Raspberry Pi OS on an SD card or SSD. The imager is available for Windows, macOS and Linux.
Using the imager is easy.
- You download the tool from the official website.
- After installation, you start the application and choose the desired operating system.
- You then select the storage medium on which the system should be placed.
- With one click, the image is downloaded and written.
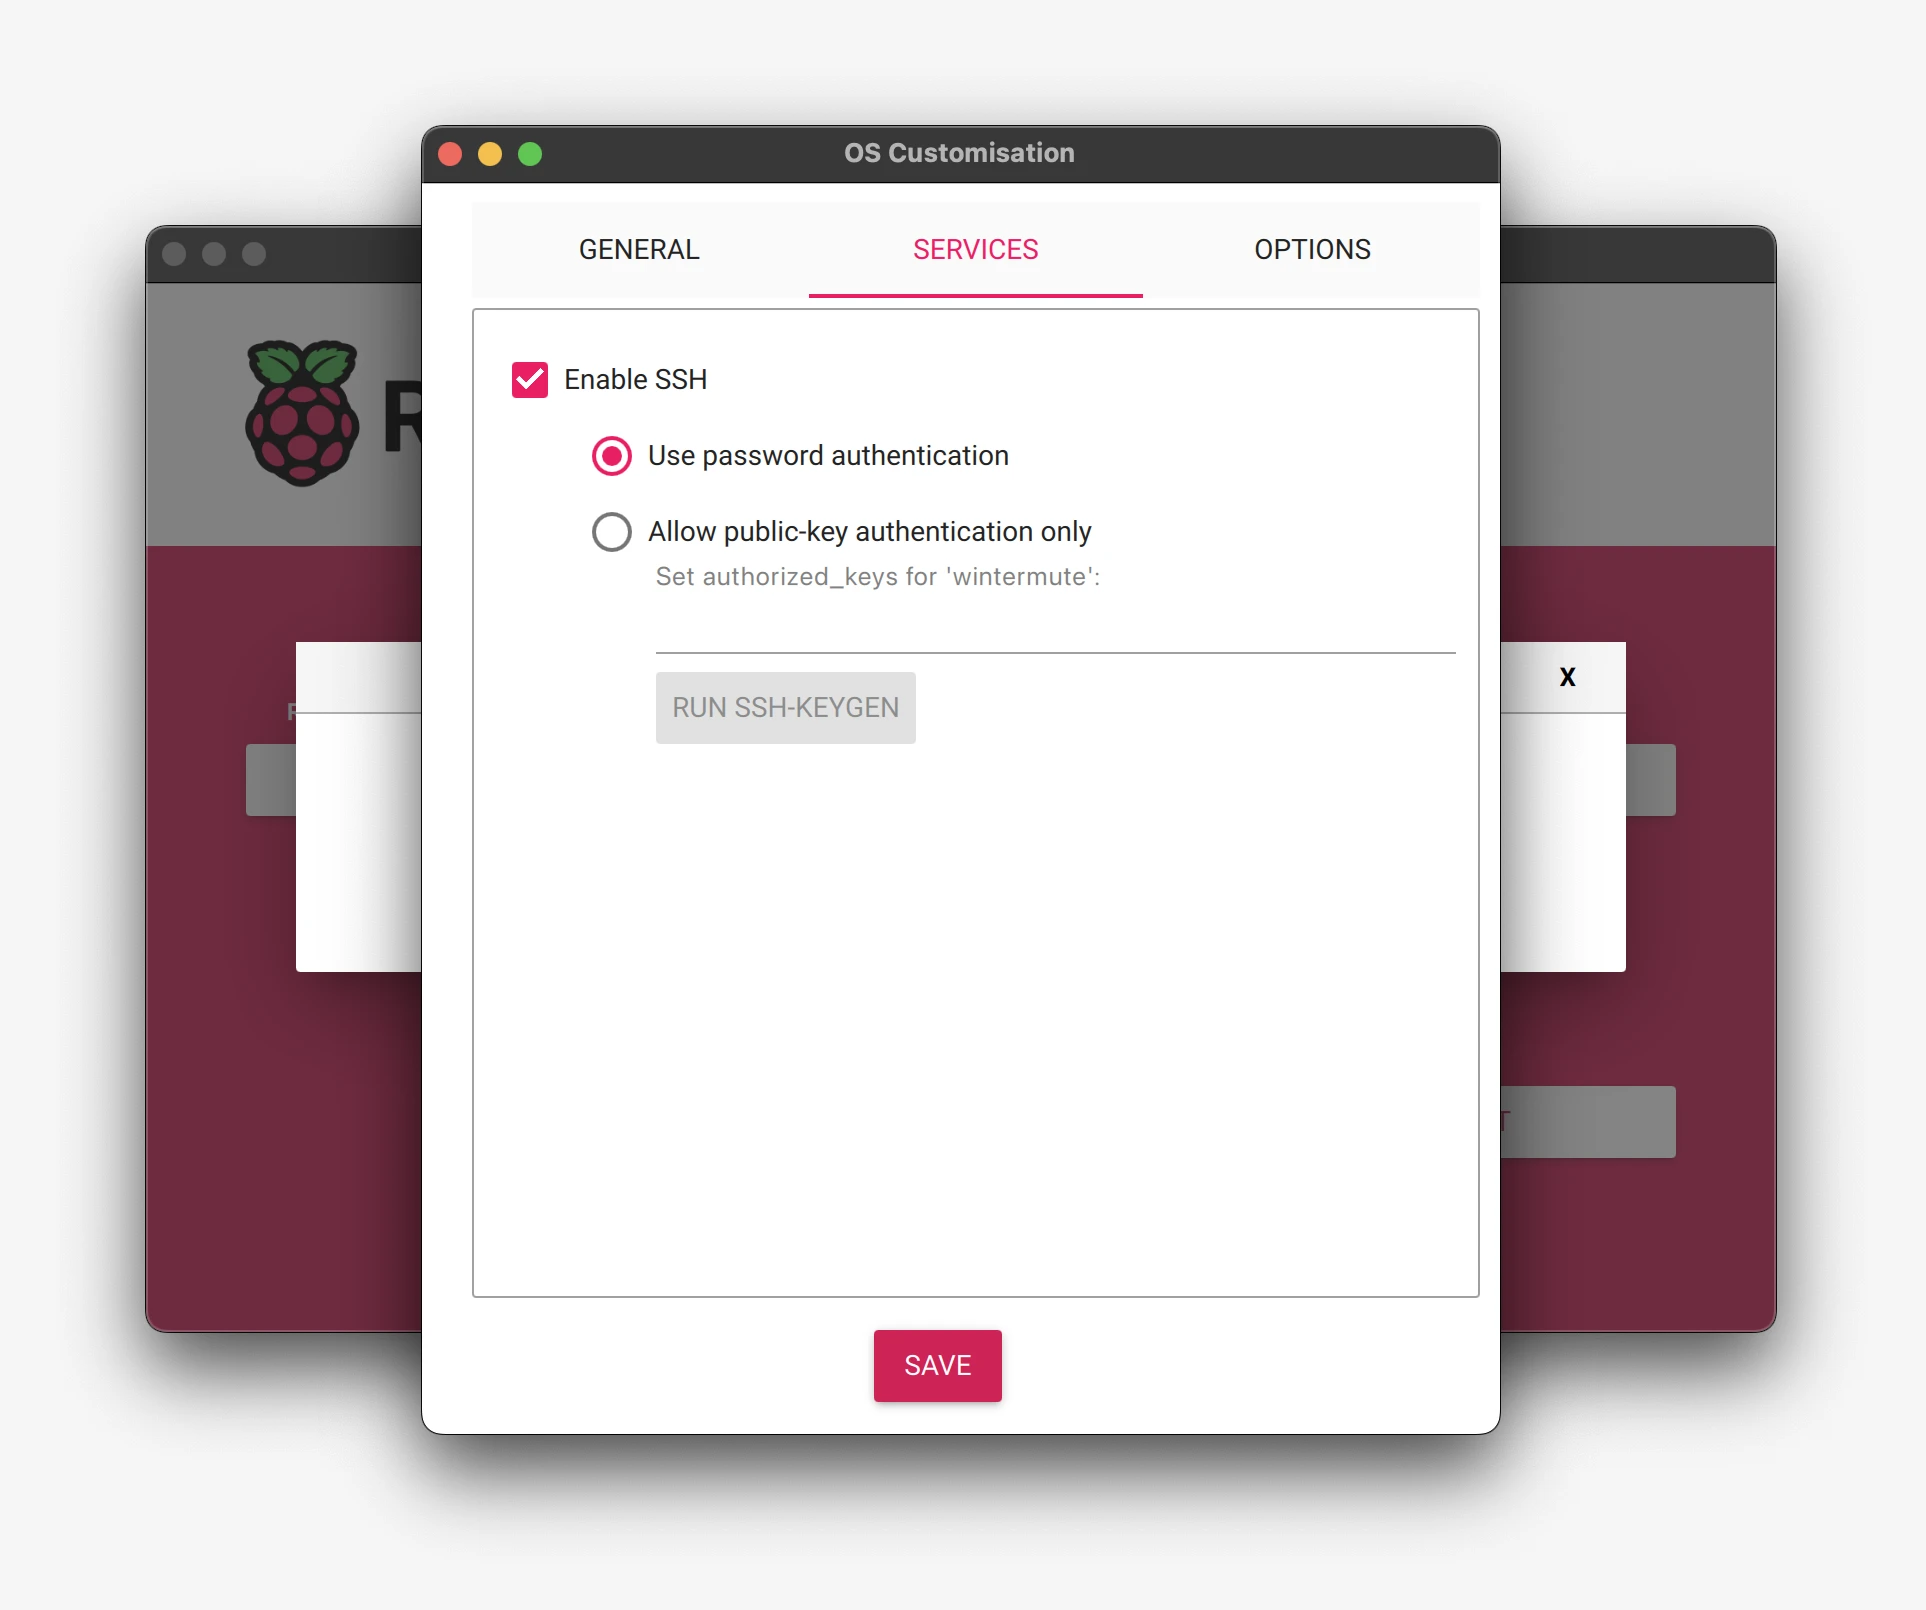
The imager is very user-friendly. Beginners do not need any technical knowledge. Advanced users can pre-configure additional settings. Think of SSH access and Wi-Fi data. This allows you to get started right away, even with a headless installation.
Install without computer
If you don't have a computer, you can still install Raspberry Pi OS. Connect the Raspberry Pi to your router with a network cable. Then insert an empty SD card into the Pi.
As soon as you boot the Raspberry Pi , the firmware looks for a bootloader. This bootloader enables network boot. The Pi then connects to a server or installation source. The necessary files are downloaded from this source. The files are written directly to the SD card.
Once the installation is complete, the Raspberry Pi will reboot. The new operating system will run from the SD card. You can then continue configuring the Pi via SSH or with the raspi-config tool.
This method has clear advantages. You do not need a separate computer. The network cable provides a stable and fast connection. This ensures that the files are downloaded reliably. The entire process is automatic.
Please note that your Raspberry Pi supports network boot. Not all models offer this function by default. Also make sure that the SD card is empty before you start. All data on the SD card will be erased.
This way you can easily install Raspberry Pi OS without a computer. The Pi itself takes care of the installation via the network cable and an empty SD card. You do need a keyboard and screen to start the installation.

Alternative imager tools
In addition to the official Raspberry Pi Imager, there are other tools available. These alternative tools sometimes offer additional features or support more system images. Some popular options are:
balenaEtcher
BalenaEtcher is very user-friendly. It has a clear interface and works on Windows, macOS and Linux. The tool checks if the image is written correctly. This prevents errors and corrupted files.
Win32 Disk Imager
Win32 Disk Imager is especially popular among Windows users. The software is lightweight and consumes little system resources. It is a stable way to write images to SD cards or USB sticks.
Apple Pi Baker
For macOS users, Apple Pi Baker is a good choice. This application is specially designed for Mac users. In addition to flashing images, you can also make backups and restore existing installations.
Command Line Tools
For experienced users, using command line tools such as the “dd” command is an option. This command offers a lot of flexibility. However, it requires caution. An incorrect command can lead to data loss.
When choosing an image tool, it is important to pay attention to compatibility and support. Choose a tool that is well updated and fits your operating system.
Which version of Raspberry Pi OS do you choose?
There are multiple versions of Raspberry Pi OS. The two main variants are the desktop version and the Lite version.
Raspberry Pi OS (Desktop)
The desktop version has a full graphical interface. This makes the system suitable for daily use. You can build media centers with it and run educational applications. This version does require a bit more hardware. Older or less powerful models may work a bit slower because of this.
Raspberry Pi OS Lite
The Lite version has no graphical interface. It works entirely via the command line. This makes the system fast and efficient. It is ideal for servers, IoT projects and other applications where little resources are needed. For projects without graphical elements, the Lite version is often the best choice.
When choosing a version, it is important to consider your project goals. If you want to build a system with a user-friendly interface, choose the desktop version. For applications where speed and efficiency are paramount, the Lite version is a better choice. Both versions are regularly updated and supported by the community.
Headless installation (without screen)
A headless installation means that you install the Raspberry Pi without a monitor, keyboard or mouse. This is ideal for applications where you want to manage the Pi remotely. The installation is largely the same as a regular installation. The main difference is in the additional configuration steps.
You start by downloading the desired image of Raspberry Pi OS. Then you write it to an SD card or SSD using an image tool. After writing, you modify the boot partition.
Add an empty file called “ssh” to your boot partition. This will automatically enable the SSH server on boot. If you want to use Wi-Fi, add a file called “wpa_supplicant.conf” with your network details. This will make the Raspberry Pi connect to your network immediately on boot.
Insert the SD card into the Raspberry Pi and connect the power supply. The Pi boots up and connects to your network. You can find the IP address of the Raspberry Pi with a network scanner or via your router. Then use an SSH client to log in. When logging in, you immediately change the default password. This increases the security of your system.
A headless installation is useful for environments with multiple Raspberry Pi 's. You can then manage them centrally. This is especially useful in professional and educational settings.
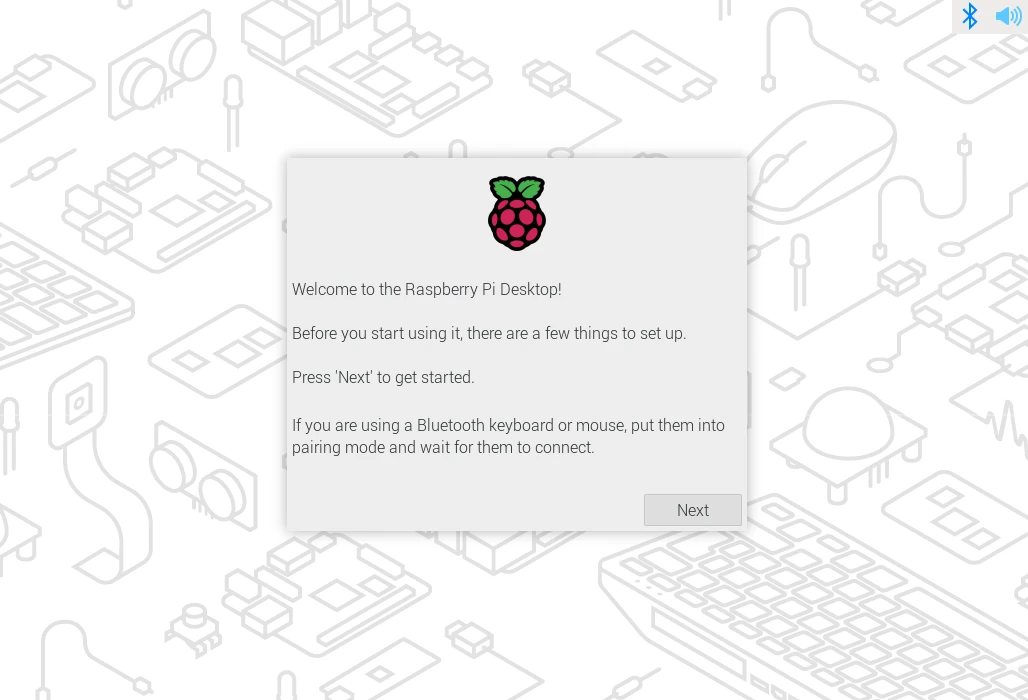
Configuring Raspberry Pi OS
After installing Raspberry Pi OS, the first step is to configure the system. When you first start it, you will enter a configuration menu. With this menu, you can set basic settings. Think of the language, keyboard and time zone.
Network settings are also important. Make sure you have a stable Wi-Fi connection or set a static IP address if necessary. For remote management, enable SSH access. This can be done via the configuration menu or by adding an empty file “ssh” in the boot partition.
Security is another important aspect. Change the default password immediately. You can also set up a firewall for extra security.
You can install additional software via the package manager apt. This applies to both educational tools and media applications. The system comes with a basic package of programs, but you can expand this. Make sure you perform regular updates. This keeps the system safe and stable.
Advanced users can adjust additional settings. For example, you can overclock the CPU and GPU. This improves performance, but requires extra attention to temperature and stability. Adjustments in configuration files such as config.txt and cmdline.txt can also be useful. These allow you to fine-tune hardware settings and boot parameters to your project.
Updating and maintaining Raspberry Pi OS
A well-functioning system requires regular maintenance. It is important to keep your Raspberry Pi OS up-to-date. Updates ensure security and stability.
Use the package manager apt to perform updates. In the terminal type:
- sudo apt update
- sudo apt upgrade -y
These commands will first refresh the package lists and then update all software. Also, don't forget to update the firmware with sudo rpi-update if necessary. Be careful with this command, as it can be unstable sometimes.
Automatic updates can take a lot of work off your hands. With cronjobs you can set updates to run at fixed times. This way your system is maintained automatically. In addition, it is wise to make regular backups. For example, make a snapshot of the SD card or save important configuration files. This prevents you from losing data if something goes wrong.
Removing unnecessary packages can also help. Type:
- sudo apt autoremove -y
- sudo apt autoclean
This will free up space on your SD card. Log management is also important. Logrotate can automatically compress or delete old logs.
Use monitoring tools like htop to keep an eye on system load. This will help you spot problems early. Regular maintenance will keep your Raspberry Pi safe and fast.
Security is a crucial part of maintenance. Make sure you use strong passwords. If necessary, limit access to files to what is necessary. A firewall can provide additional protection against unwanted access. Apply security patches immediately as they become available.