
5 Fun Projects to Make with Kids Using the Micro:bit
In een tijd waarin technologie een steeds grotere rol speelt, is het belangrijk dat kinderen op jonge leeftijd kennismaken met de digitale wereld. De Micro:bit is een kleine programmeerbare microcontroller. Deze gadget biedt een toegankelijke en speelse manier om de basis van techniek en programmeren te leren. Hij is populair op scholen en wint ook bij ouders aan populariteit. Ouders zoeken vaak een educatief en interactief hulpmiddel om samen met hun kinderen te ontdekken en te leren.
The wonderful world of the Micro:bit
In a time where technology plays an increasingly important role, it is important that children are introduced to the digital world at a young age. The Micro:bit is a small programmable microcontroller. This gadget offers an accessible and playful way to learn the basics of technology and programming. It is popular in schools and is also gaining popularity with parents. Parents are often looking for an educational and interactive tool to discover and learn together with their children.
In this article, we will take you into the world of the Micro:bit . We will explain what it is and what benefits it offers. We will also present five fun projects that you can make together with your child. Whether you are a beginner or already have some experience, the Micro:bit has something to offer for everyone. Our goal is to lower the threshold and show that technology invites experimentation, creativity and collaboration.
What is the Micro:bit?
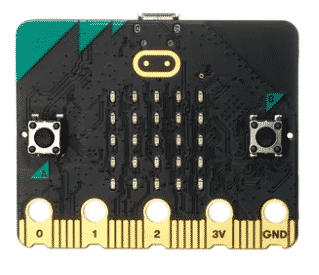
The Micro:bit is a small, programmable electronics board. It is specially designed to introduce children and beginners to coding and electronics. It is compact and has a user-friendly interface. This makes the Micro:bit ideal for educational purposes. Some key features are:
- Easy-to-use hardware: The Micro:bit has an LED matrix, buttons, sensors such as an accelerometer and a compass, and wireless communication via Bluetooth. This makes it possible to create all kinds of interactive projects.
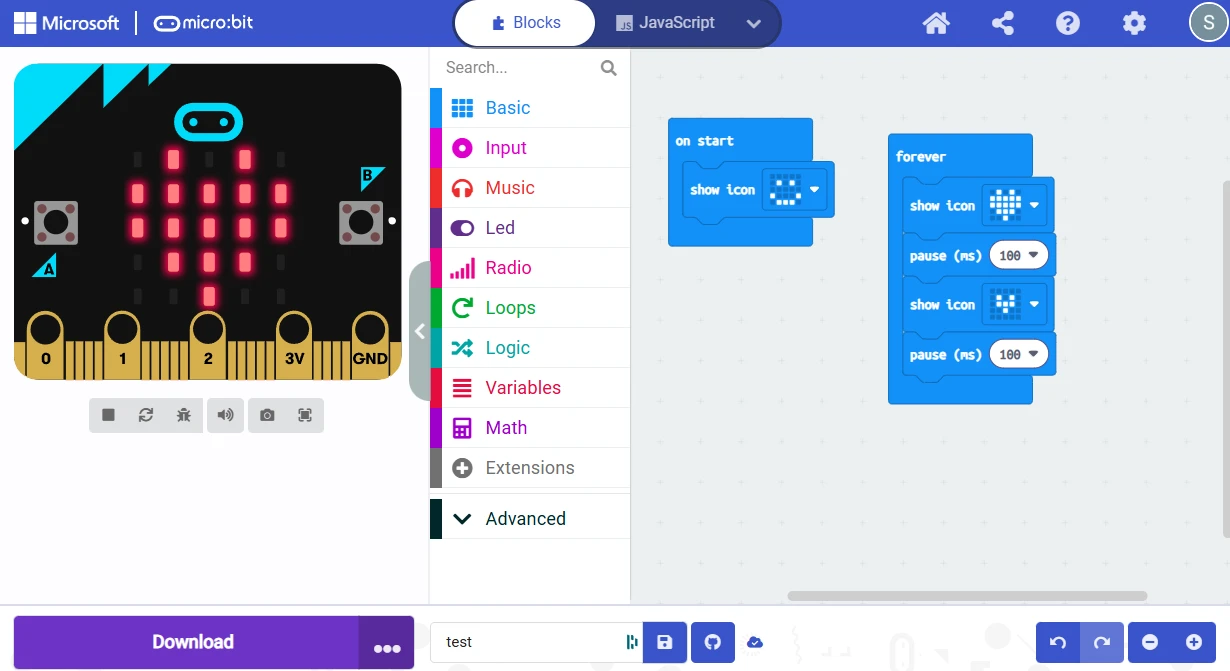
- Accessible programming platform: You can work with different programming languages. There is a block editor such as MakeCode and Python is also available. This makes it suitable for both younger children and more advanced users.
- Low entry threshold: No complicated installation or expensive equipment required. Children and parents can get started on educational projects right away.
The Micro:bit encourages children to experiment with technology in a playful way. Thanks to the LED matrix and sensors, children can see directly what their code does. They learn to understand the cause and effect of their actions. This develops their technical insight. Their problem-solving skills and creativity are also boosted.
Why Micro:bit? The benefits for children
The Micro:bit is more than just a technological aid. It contributes to children's development in several ways. Some of the benefits are:
- Stimulates creativity and innovation: Children are encouraged to think outside the box. They discover that technology does not only have ready-made applications. Creating something new is also central.
- Supports problem-solving skills: Children learn to think more logically by solving programming problems step by step. This skill helps them in school and everyday life.
- Encourages collaboration: Many projects with the Micro:bit can be done together. This encourages social skills, collaboration and communication. Children have to come up with ideas together and divide tasks.
- Strengthens digital skills: In an increasingly digital world, the Micro:bit offers an early introduction to the digital world. This is both fun and useful for the future.
- Low entry threshold for technology: Many parents sometimes find technology complicated and inaccessible. With the Micro:bit you can get started without much prior knowledge. The simple design and intuitive programming environments make this possible.
Working with the Micro:bit offers children a playful introduction to technology. They learn the basics of programming and electronics. At the same time, they develop important soft skills such as creativity, perseverance and collaboration.
You can make these projects with the Micro:bit
Below you will find five projects that are both fun and educational. Each project is designed so that parents and children can work, experiment and learn together.
Project 1: The digital pet
Description: Imagine having a pet that is never hungry. A pet that is always happy and responds to your commands. In this project you will create your own digital pet. The LED matrix and the built-in sensors bring this virtual animal to life. The animal responds to shaking, pushing buttons or light.
What you need:
- A Micro:bit
- Basic knowledge of programming in the MakeCode editor
- Optional: a battery holder and cables
How does it work? You program the Micro:bit to show a face on the LED matrix. Using push buttons, the pet can show different emotions. The animal can 'move' thanks to the accelerometer. This teaches children the basics of interaction and conditional logic.
What do you learn from it?
- The basics of programming
- How to process sensor input
- The importance of feedback in interactive systems
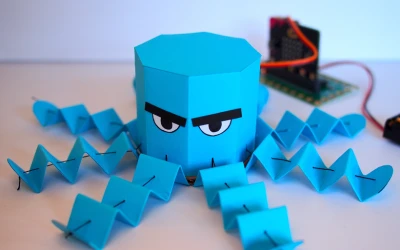
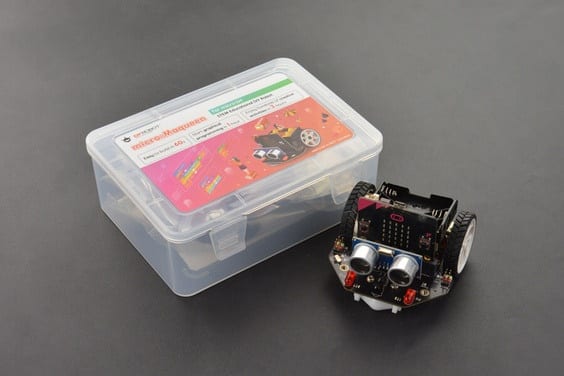
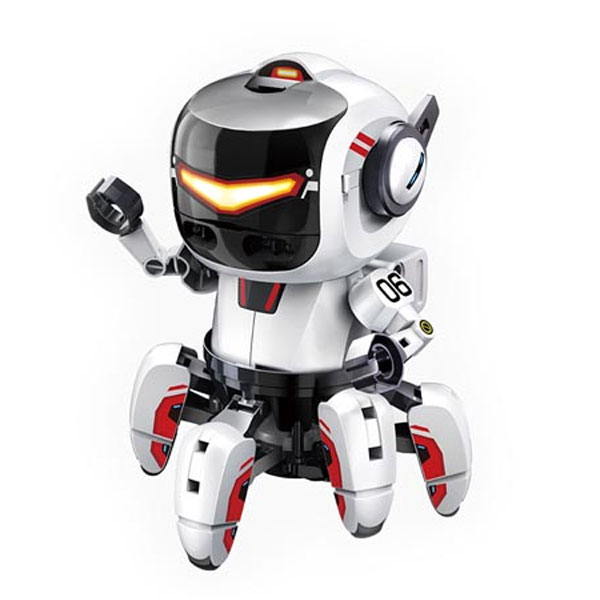
Project 2: The moving robot
Description: In this project you will create a simple robot that responds to movement. The Micro:bit uses its built-in accelerometer to determine when the robot should move. This project combines programming with basic electronics.
What you need:
- A Micro:bit
- A motor or servo (depending on the design)
- Batteries and a simple robot base
How does it work? The Micro:bit registers movements and sends signals to a motor or servo. This makes the robot move. This project shows how sensors can be linked to motor output. Parents and children can experiment together with different movement patterns and responses.
What do you learn from it?
- How sensor input and motor output work together
- Basic concepts of mechanics and electronics
- How to Program a Simple Robot
Project 3: The light show
Description: With this project you will create an interactive light show. You will use the LED matrix of the Micro:bit to program colorful patterns. These patterns respond to sound, touch or movement.
What you need:
- A Micro:bit
- Possibly additional sensors, such as a sound or touch sensor
- Batteries and a case for the Micro:bit
How does it work? You program the LEDs to show patterns and animations. These are triggered by external input. The result is a dynamic light show. Children learn how sensor input can be converted into visual output. Together you vary with colors, patterns and trigger events.
What do you learn from it?
- Basics of programming and animation
- How you convert input (such as sound or touch) into output (light patterns)
- Creative thinking and experimenting with visual effects
Project 4: The weather station
Description: Turn your Micro:bit a mini weather station. This project teaches children how to collect and interpret environmental data. You use the built-in sensors and optional extra modules.
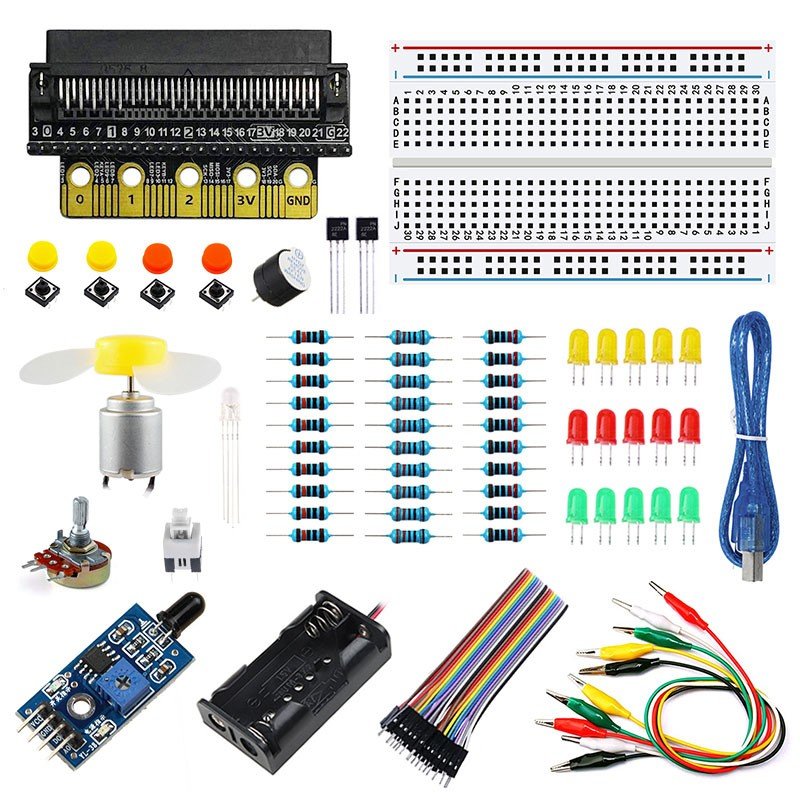
What you need:
- A Micro:bit
- Possibly additional sensors, such as a temperature sensor or light sensor
- Batteries and possibly a display to visualize the data
How does it work? The Micro:bit collects data from the sensors and processes it. For example, you display the temperature on the LED matrix or give a signal at extreme values. Together with your child, you will learn how data is collected, analyzed and presented.
What do you learn from it?
- How data is collected and processed
- The importance of sensors in modern technology
- How technology helps us understand the world around us
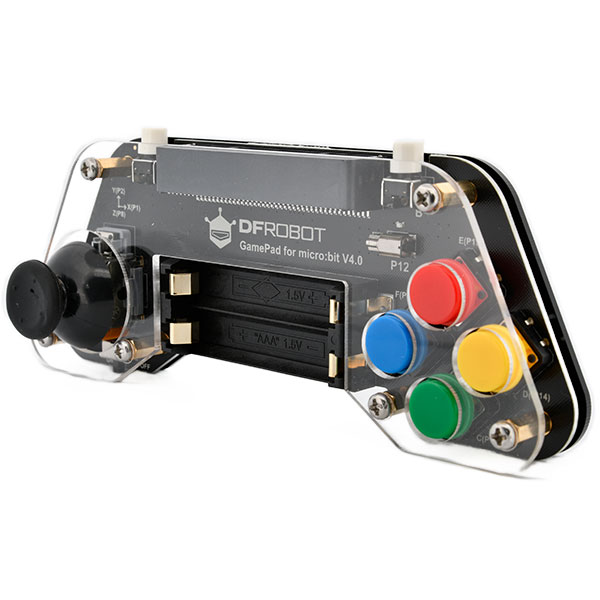
Project 5: Interactive games
Description: Games stimulate learning and creativity. With this project you and your child create an interactive game on the Micro:bit . Think of a reaction game, a maze game or another game concept where speed and agility are central.
What you need:
- A Micro:bit
- Basic knowledge of programming via the MakeCode editor or Python
- Optional: extra buttons or an external display for a better gaming experience
How does it work? You program the Micro:bit to set game rules. The game counts points and responds to user input. A simple example is a game where the player must quickly respond to changing patterns on the LED matrix. As the game progresses, you add extra features, such as timeouts or bonus points.
What do you learn from it?
- Logical control and game mechanics
- The importance of a user-friendly interface and feedback
- Creative programming and creating game rules

Tips for parents: Working together with the Micro:bit
Although the projects are fun and challenging, they can sometimes seem overwhelming for parents. Here are some tips to make it easier with your child:
- Start small and build slowly: Start with simple projects and work your way up to more complex applications. The success of each completed project motivates both of you.
- Use online tutorials and communities: There are many online resources and videos available. These explain step by step how to work with the Micro:bit . Use the documentation on platforms such as MakeCode.
- Work together: Discuss the project ideas with your child. Let them help you think about the design choices. Try to learn yourself. Discovering together makes the learning process more fun and strengthens the bond.
- Be patient: New technology can seem intimidating at first. Give yourself and your child time to make mistakes and learn from them. Making mistakes is part of the learning process.
- Encourage creativity: Let your child experiment with their own ideas. Don't try to do everything perfectly. Space to experiment yields the most beautiful discoveries.
- Make it visual and tangible: The LED matrix and sensors make abstract concepts concrete. Show your child how code directly affects the Micro:bit . This makes learning intuitive.
Inspiration and next steps
Now that you have a good overview of the Micro:bit and its projects, it is time for the next step. Here are some suggestions for moving forward:
- Workshops and courses: See if there are any workshops being held in your area or online. This provides an opportunity to learn and share experiences with other families.
- Online communities: There are numerous forums, Facebook groups and websites dedicated to the Micro:bit . You can gather ideas, ask questions and share your own projects. Connecting with other makers can be very inspiring.
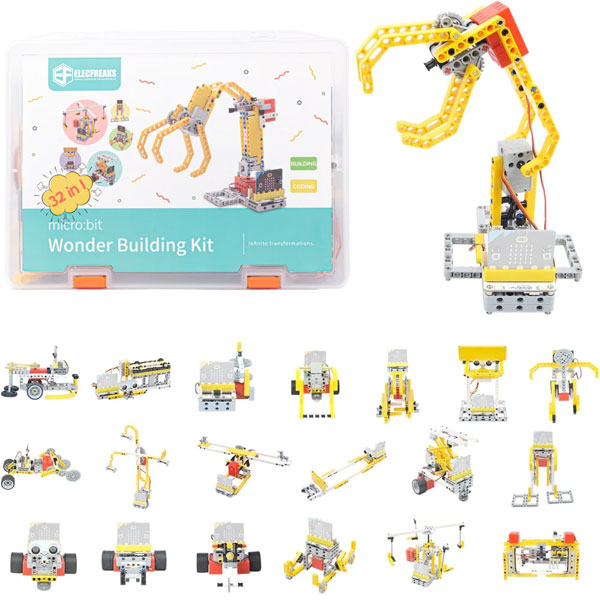
- Additional modules: Once your child has mastered the basics, you can consider adding additional sensors or expansion cards. This opens up new possibilities and provides additional challenge.
- Project Portfolio: Have your child keep a digital portfolio of all projects. This can include photos, videos or written stories. This way your child can see how far he or she has come.
- Combine with other hobbies: The Micro:bit can also be used in other creative activities, such as art and music. Think of projects where the Micro:bit responds to sounds during a music session or where LED patterns support a work of art. This makes learning more versatile and fun.
Conclusion: Learning and discovering together
The Micro:bit is much more than a small technological tool. It forms a bridge between the digital and the physical world. Discovering, creating and learning together with your child becomes a fun experience. Working with the Micro:bit you will get acquainted with programming and electronics. At the same time, you will develop important skills such as problem-solving, collaboration and creativity.
Whether you are creating a digital pet, building a moving robot, programming a dazzling light show, setting up a mini weather station or developing an interactive game, each project offers unique learning opportunities. Using the Micro:bit makes the path to technology accessible and fun.
The most important thing is to have fun together. Your child’s curiosity is ignited. Technology doesn’t have to be complicated. With the Micro:bit the world of coding and electronics becomes simple and inviting. Start small, experiment and discover the endless possibilities together.
In short, the Micro:bit offers a unique opportunity to explore the wonderful world of technology together. By carrying out practical projects, you will learn the technical aspects and develop creativity and perseverance. What are you waiting for? Dive into the world of the Micro:bit together and experience how much fun learning can be!