4.7 avg.
5482+ reviews5482+ reviews
Order by 16:00 for same day shipping
14 days return
DE
EN
Individual
Business
Arduino & Raspberry Pi communication project
In this project you will learn how to communicate between an Arduino and Raspberry Pi . In this project we assume that you have Raspberry Pi OS installed and that Node-RED is installed.
This manual covers:
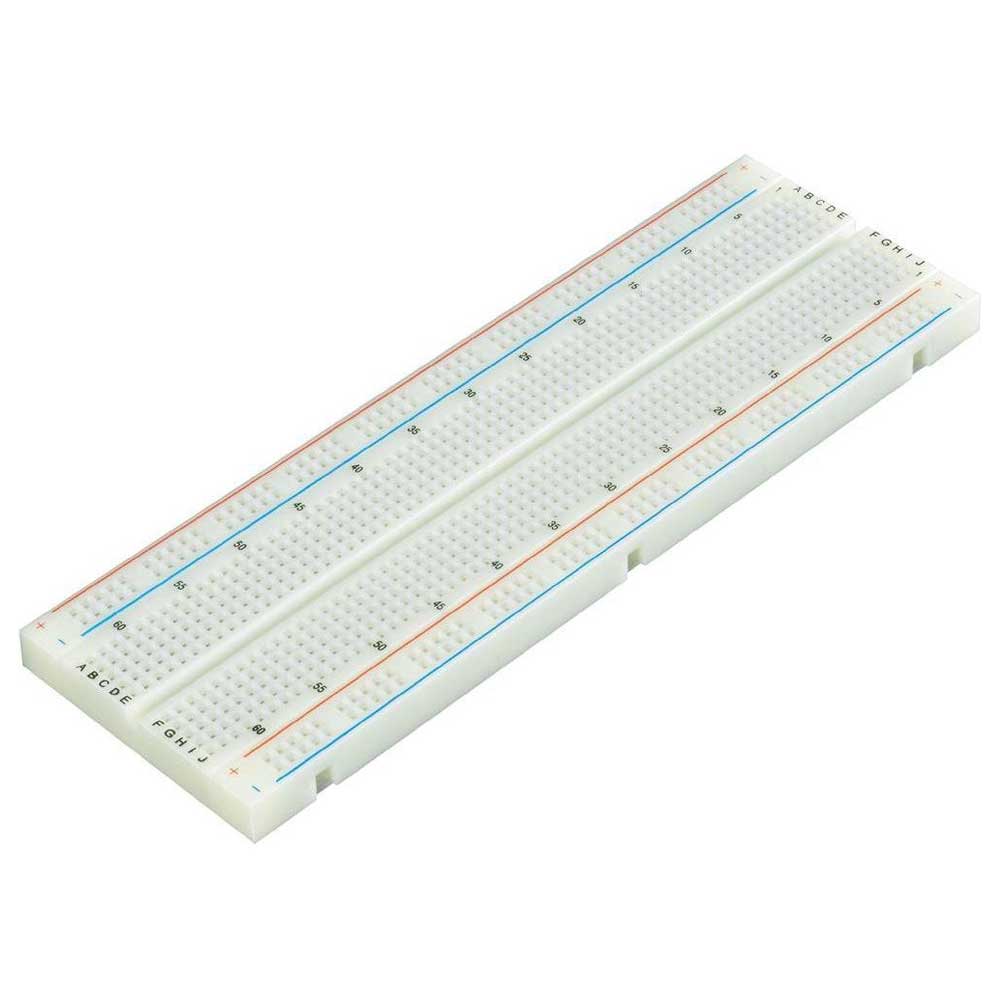
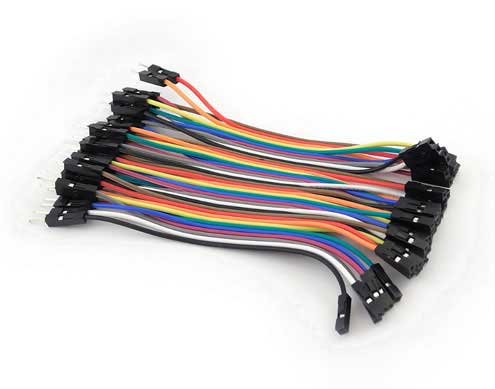
- Supplies
- Wiring
- Programming the Arduino
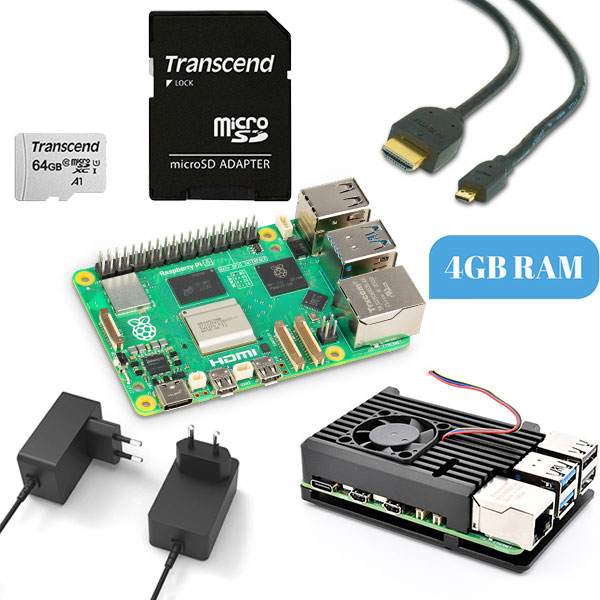
- Programming the Raspberry Pi
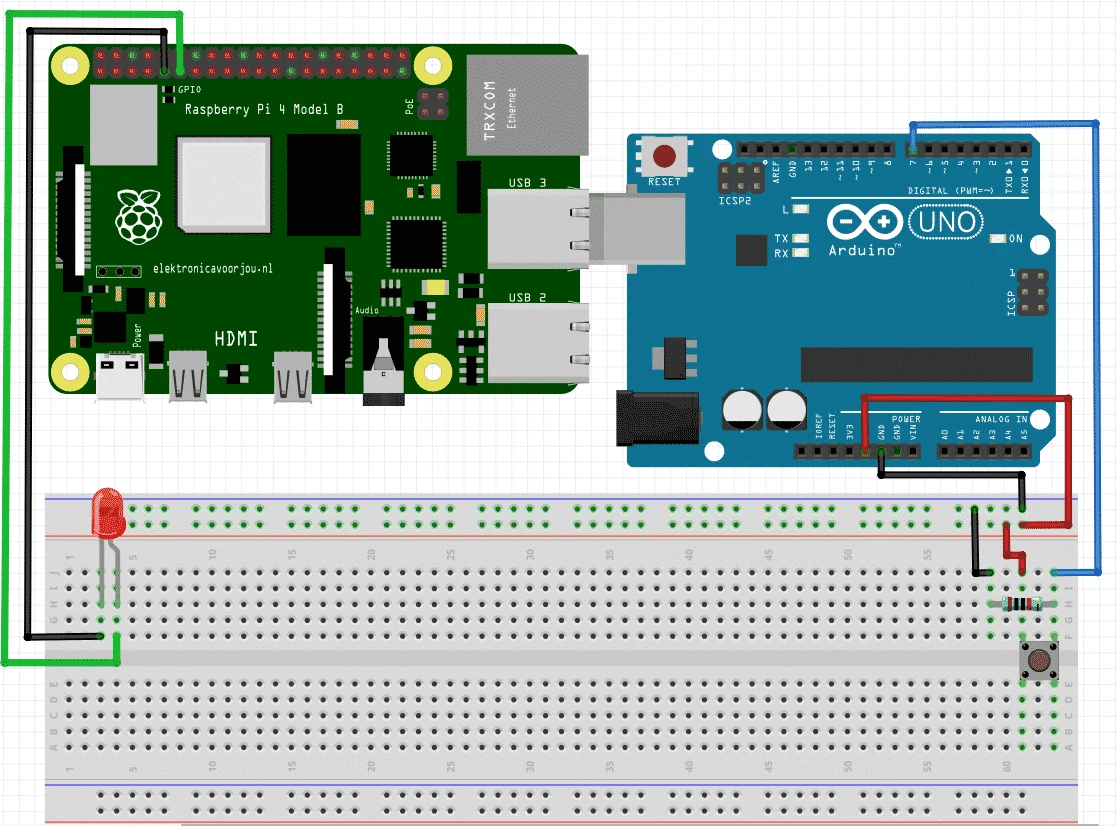
Wiring Arduino & Raspberry Pi
First we are going to connect everything. On the diagram below you see a Fritzing diagram. If you connect the components as follows you can go to the next step.
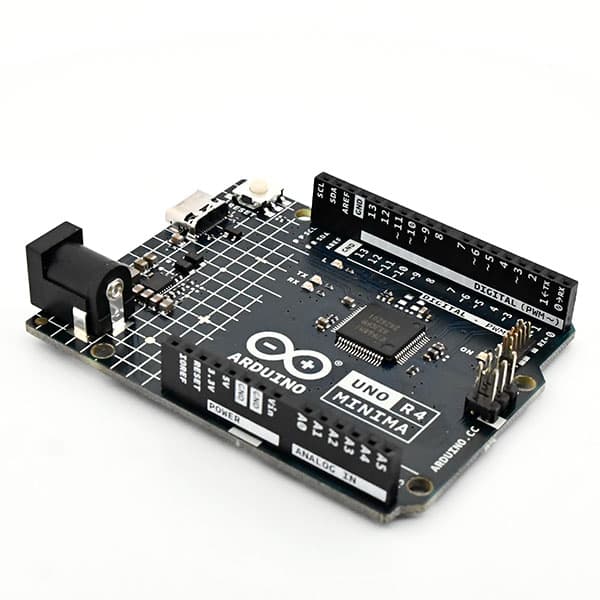
Programming the Arduino
We program the Arduino in the Arduino IDE . The code you will use for this is below. If you want to learn it better, type the code instead of copying and pasting it. You will learn to program better that way.
Once you have written the code you can upload it to the Arduino. Once this is done, connect your Arduino to the Raspberry Pi .
void setup() {
Serial.begin(9600);
pinMode(A5,INPUT);
}

void loop() {
Serial.println(digitalRead(A5));
}
Programming the Raspberry Pi
Now that you have programmed the Arduino, you can connect it to the Raspberry Pi . Then, start Node-RED. You will now see a console with a link that will look something like this: “http://xxx.xxx.xxx.xxx:1880”. The “xxx.xxx.xxx.xxx” is different for everyone. For us, it is “10.122.0.139”. Go to the web browser on your Raspberry Pi or on another PC and go to this link. You will now see the following screen.
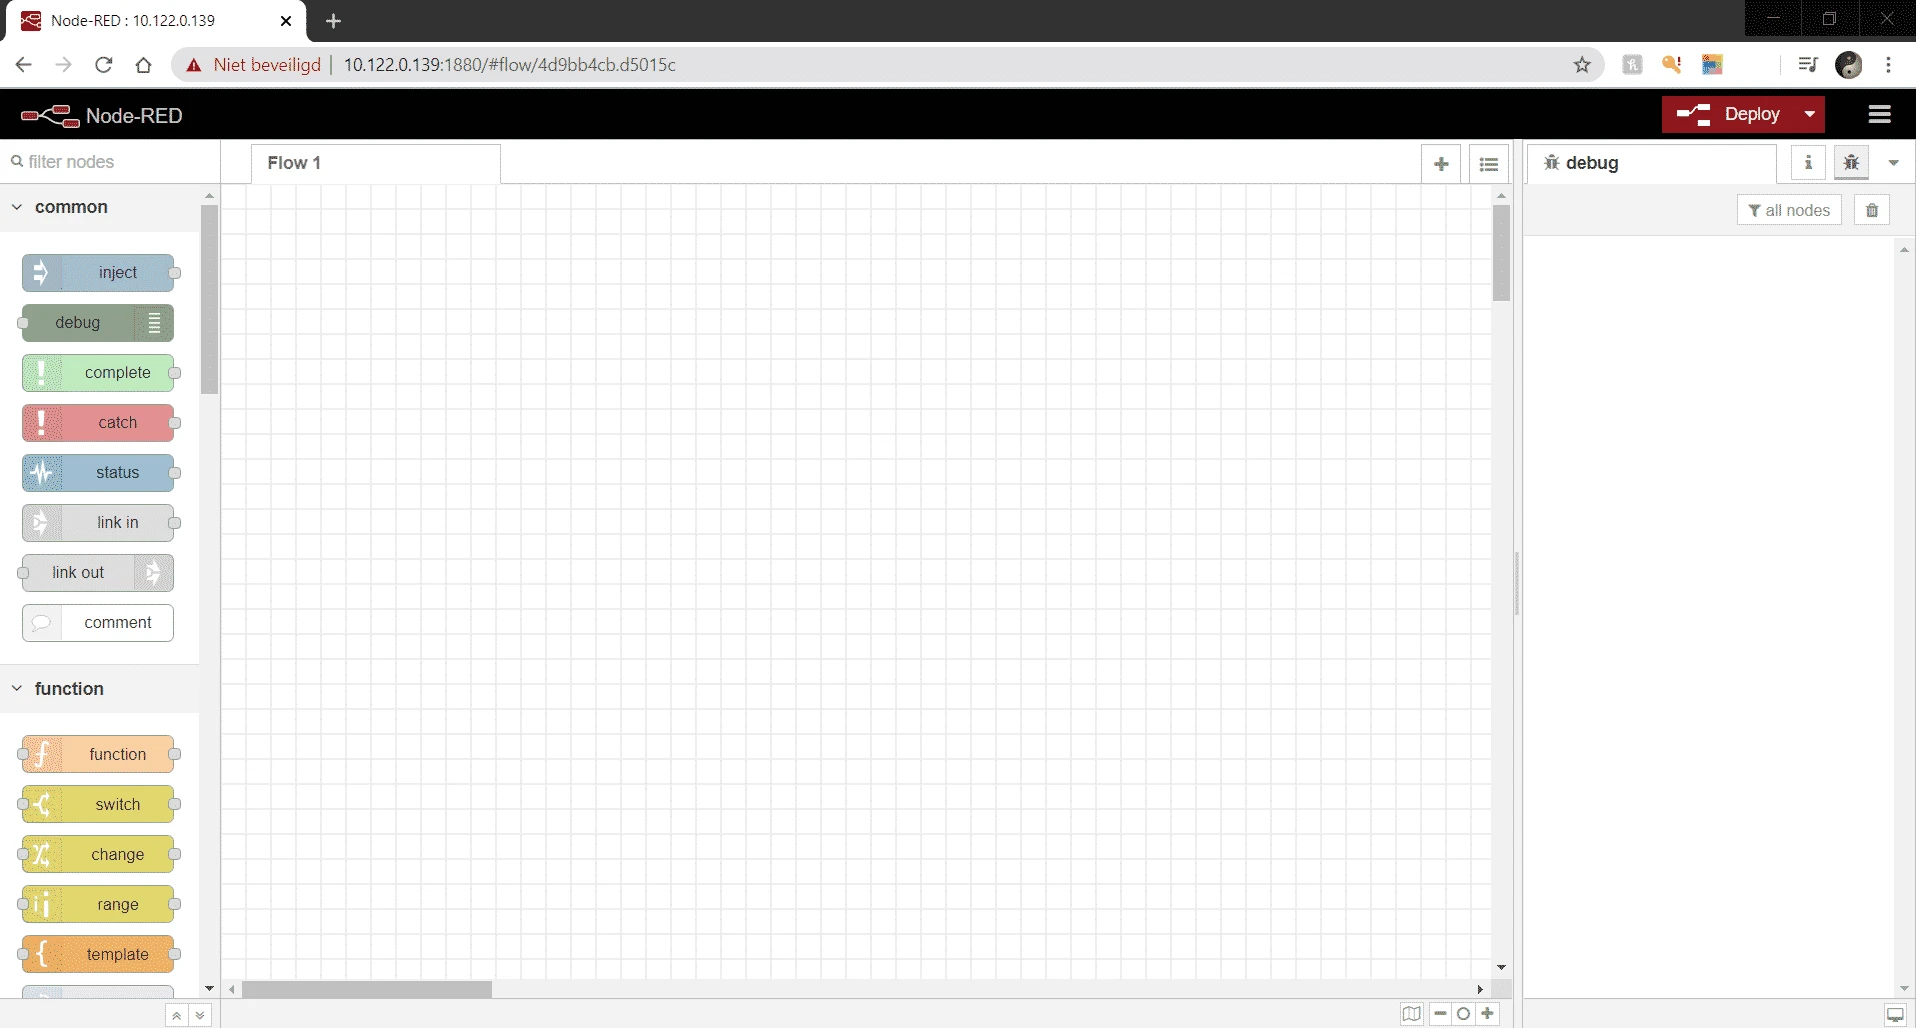
On the left you see a row of blocks that you can add. Go to the heading “Network” and drag a “serial in” to the white area. Then go to the heading “ Raspberry Pi ” and drag a “rpi gpio out” to the white area. Connect these blocks to each other and now it is time to set up the blocks. Double click on the “serial in” block. Select the correct port and give the block a name. Then double click on the “rpi gpio out” block and select “GPIO17 – 11”, then select “Digital output” for type. Then check “Initialise pin state?”, select “initial level of pin – low (0)” and give the block a name.
Now click on Deploy at the top right and test your circuit. If it doesn't work, select another port at "serial in".